Bicycle Wheels Rebuild
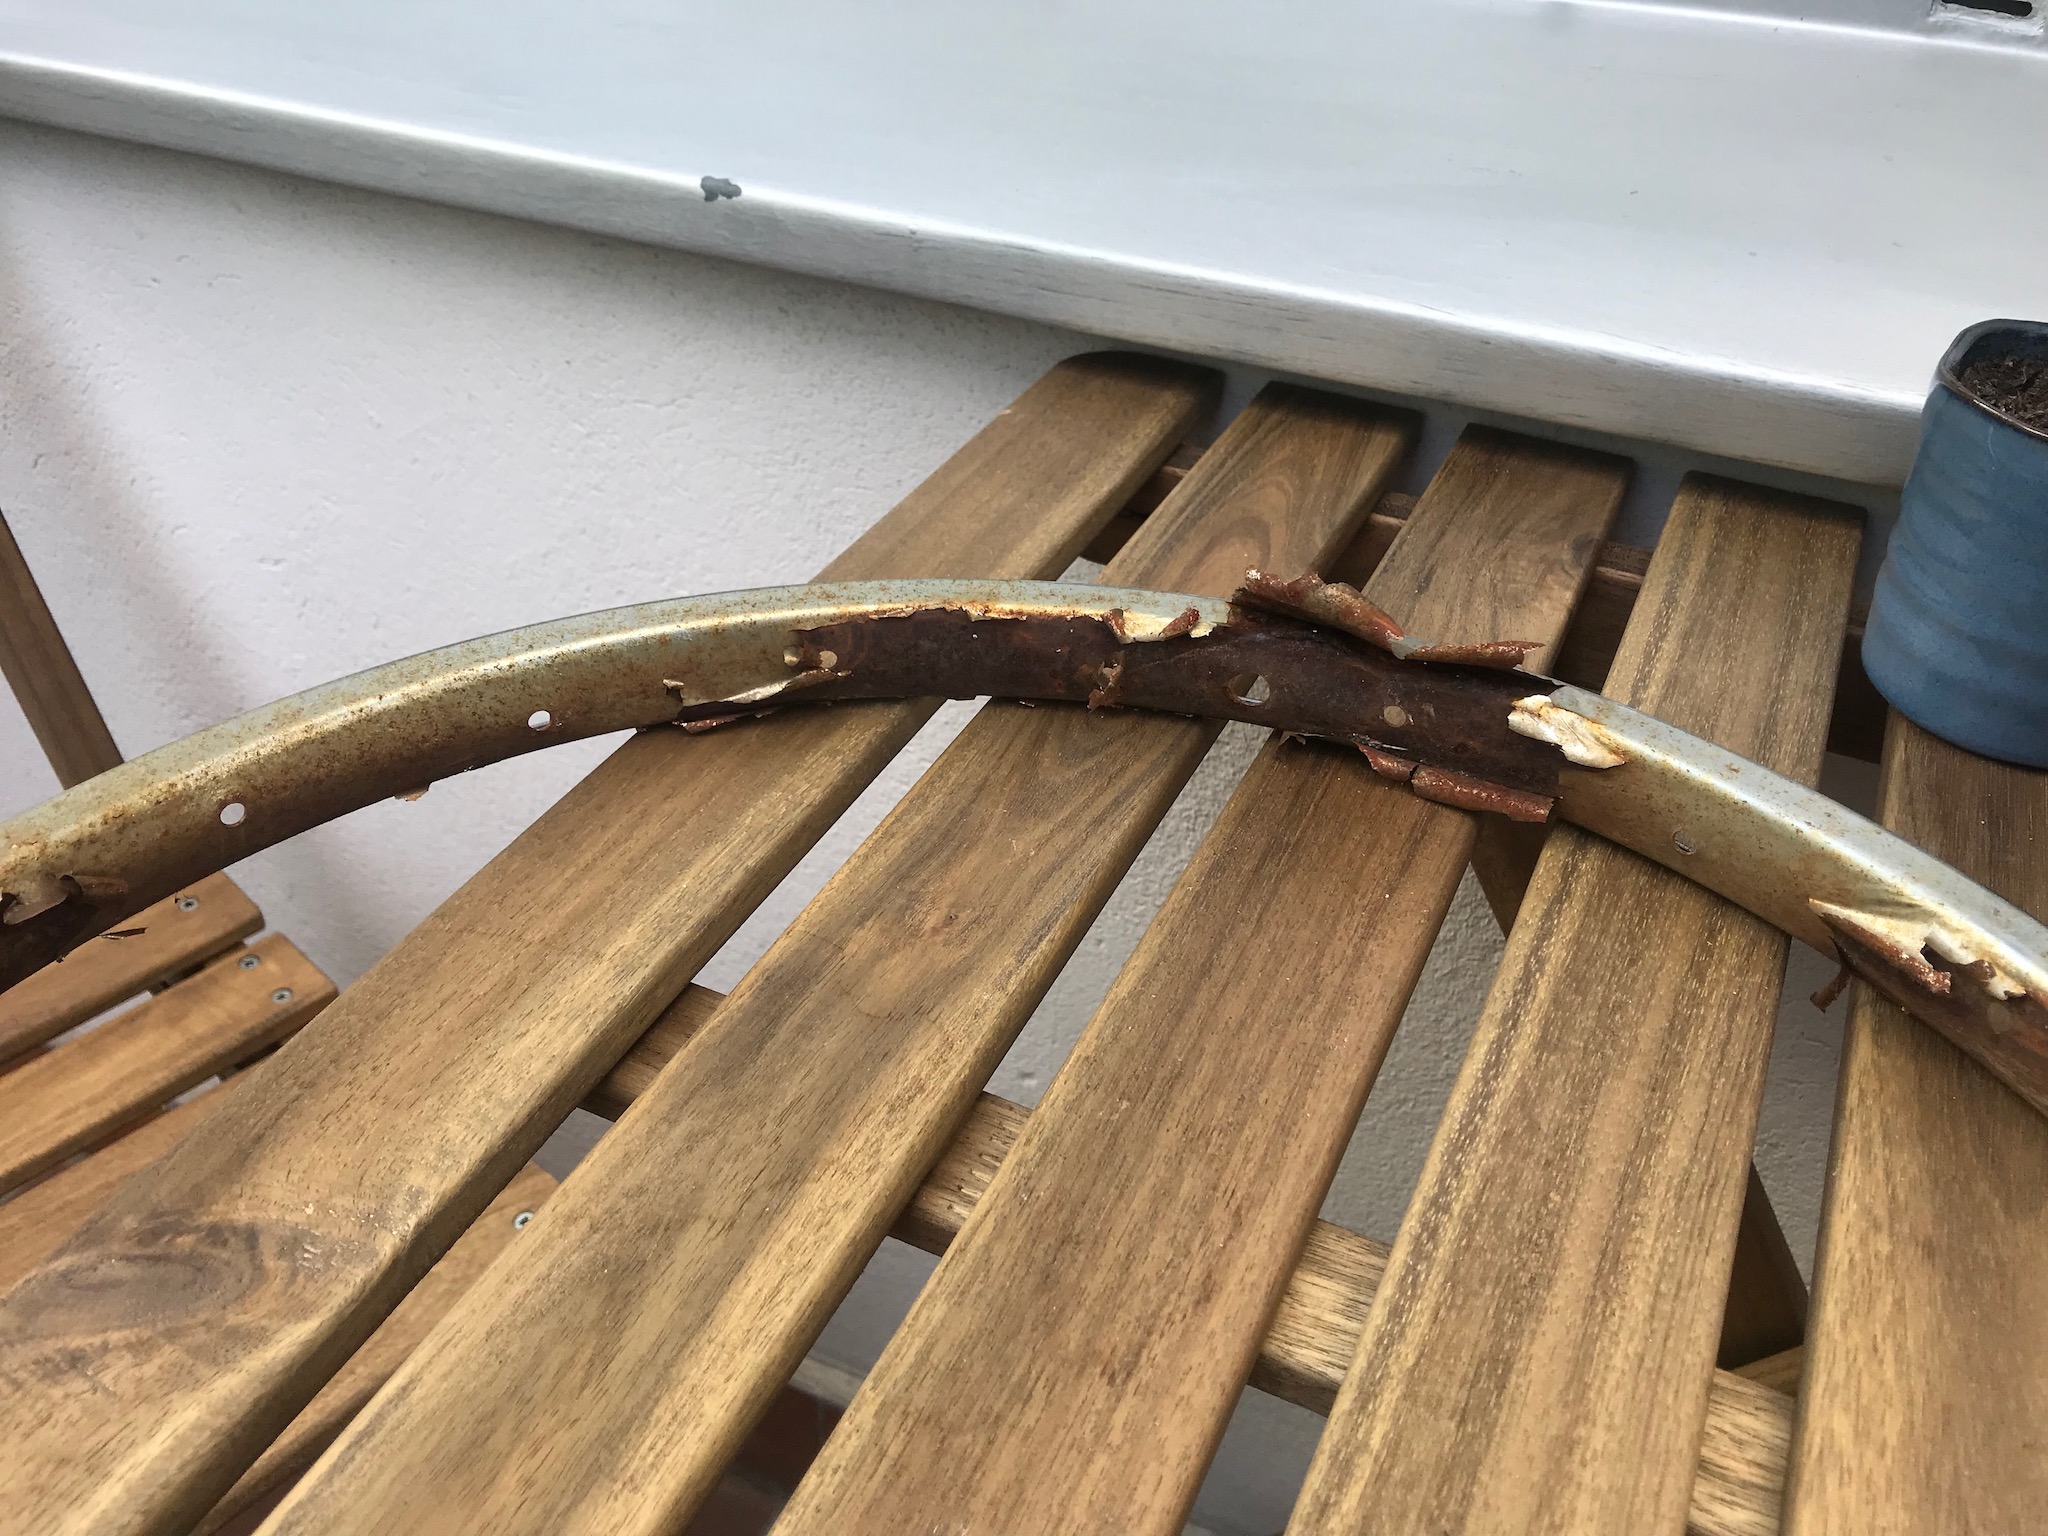
I've done a lot of work on bicycles, but I've never had the opportunity to work on assembling or disassembling a wheel. Recently, I had exactly that opportunity when a dilapidated bicycle appeared by my neighbors. I asked them about it, and they said that they had tried to get new tires on it, but the bike shop had refused to install them citing that they would need new rims and wheels, as the integrity of the metal was too corroded.
The bicycle shop was probably correct, but I figured it would be a fun experiment to see what it is like to take apart wheels and to work on them. Upon first inspection of the wheels, they look to be in terrible condition.
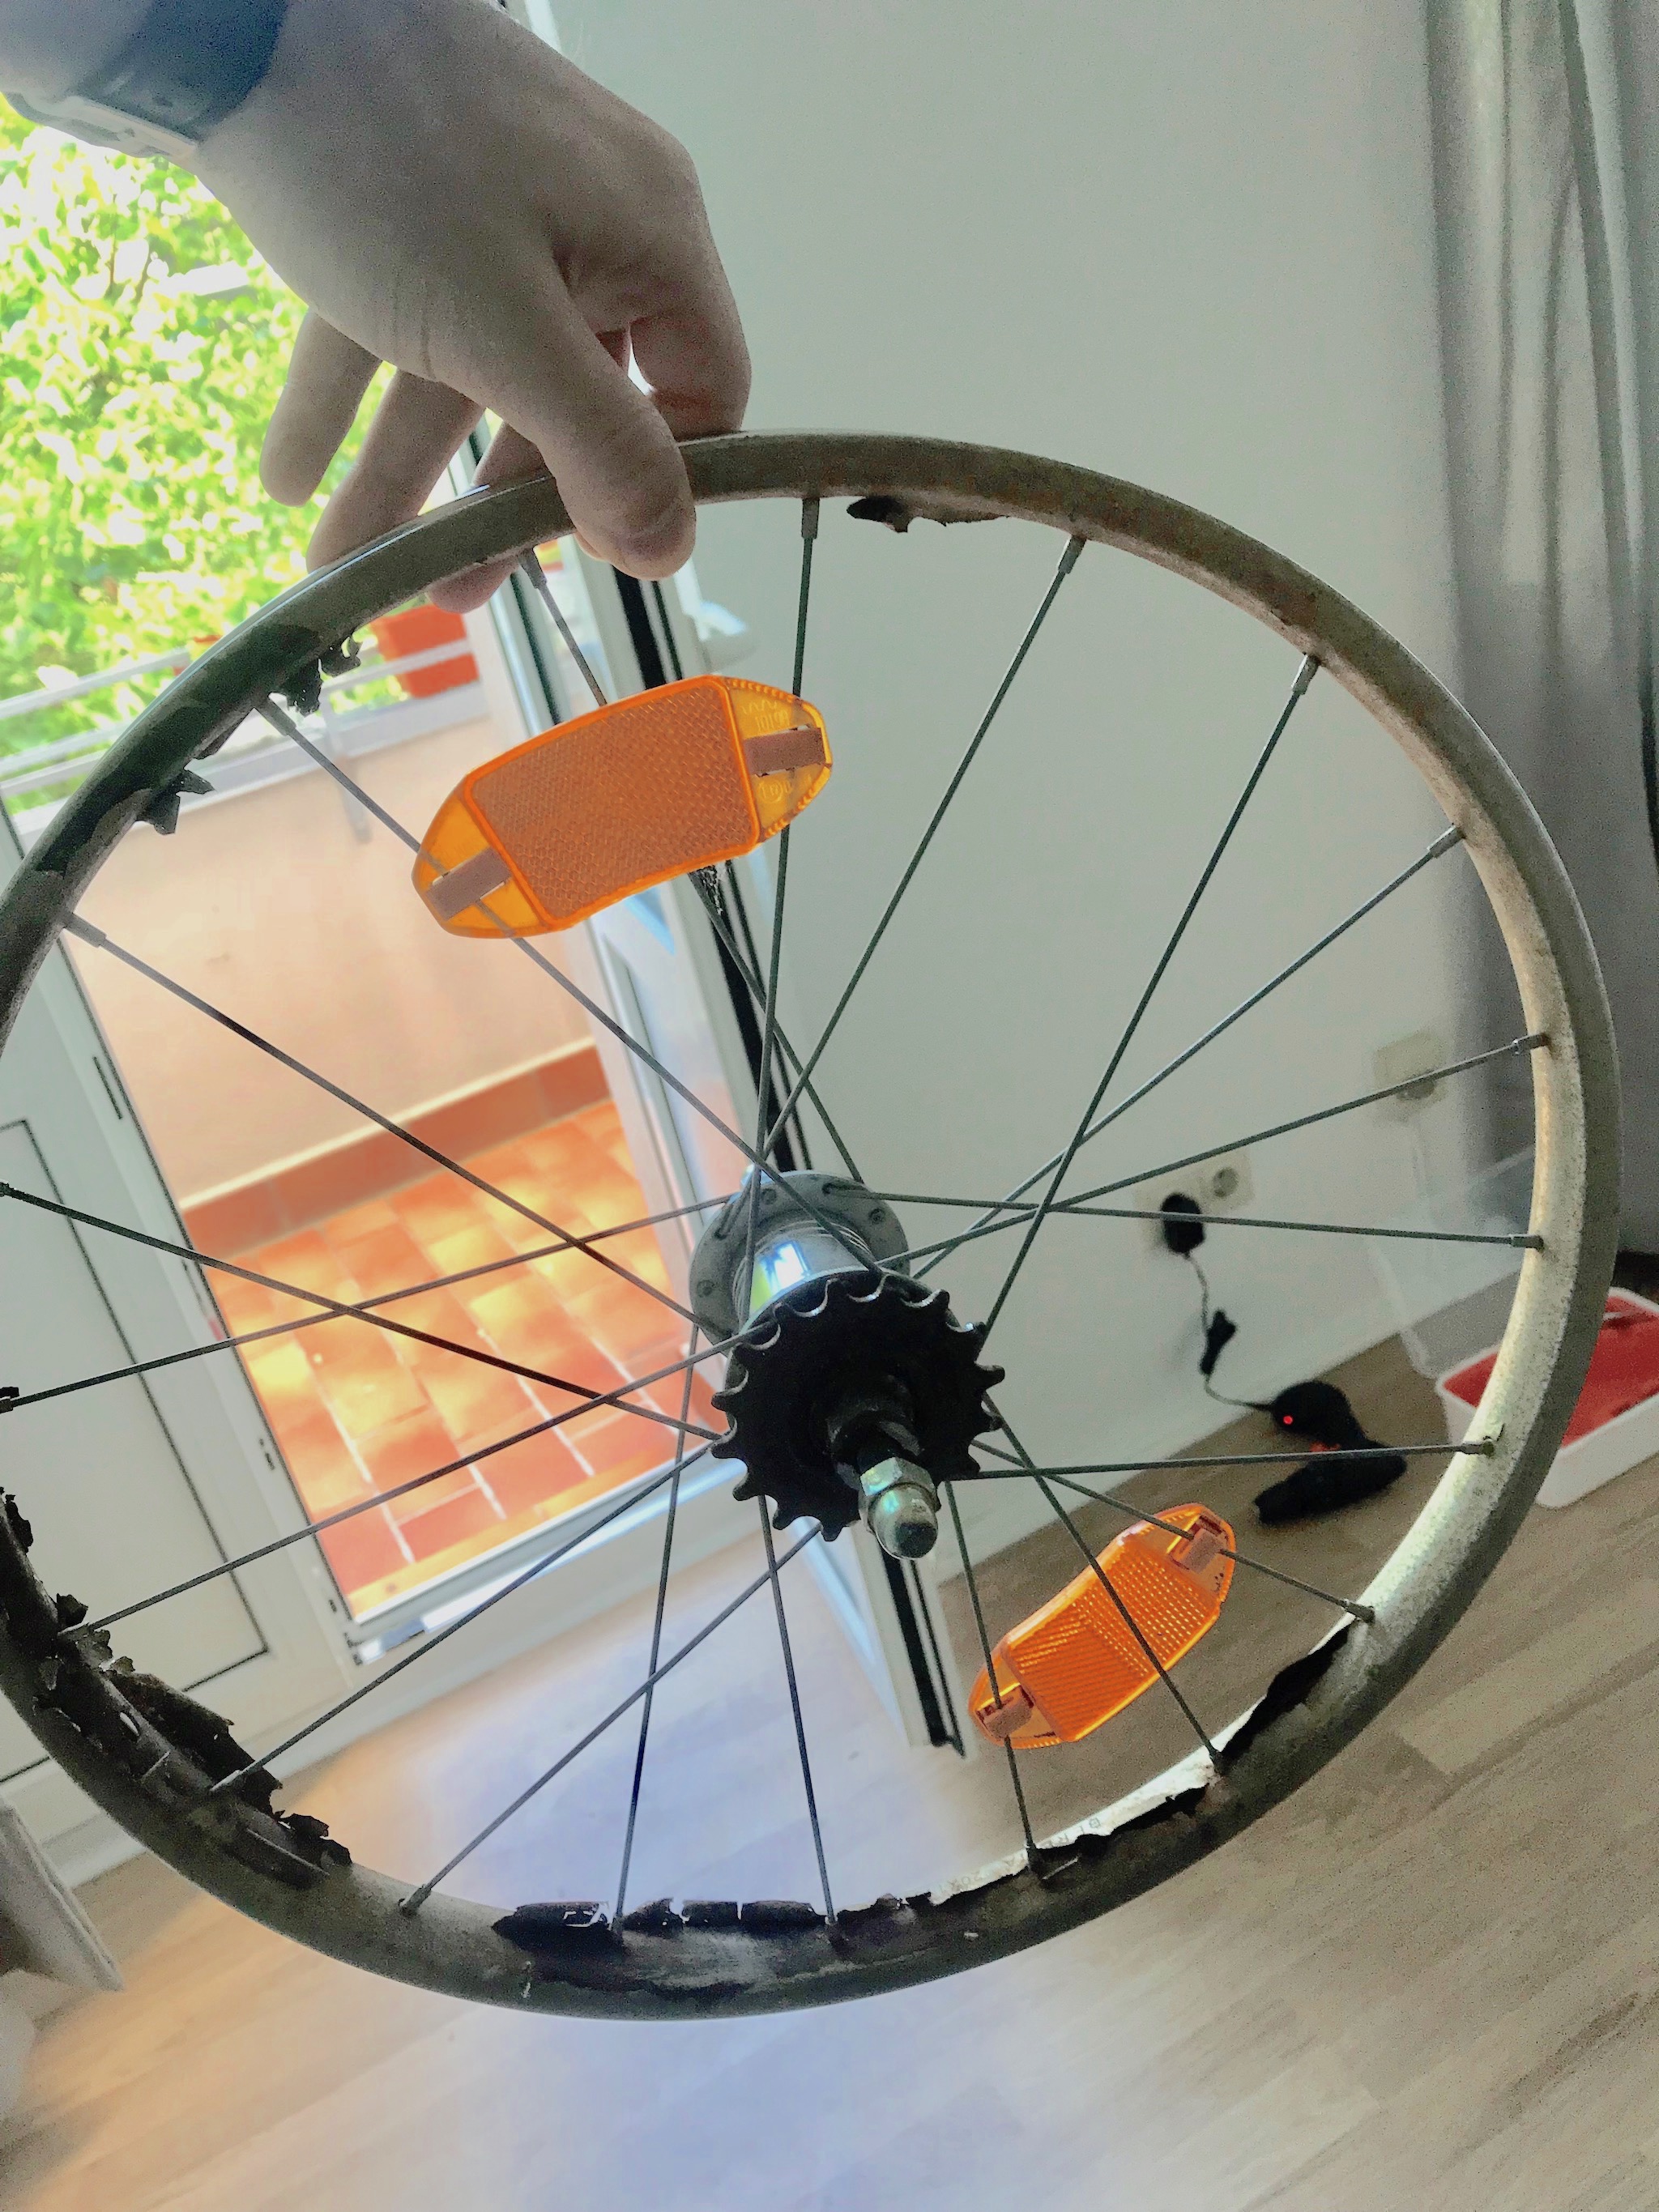
It would seem that the rust has completely eaten through all of the metal. I began disassembling the wheels to figure out what I could salvage.
Looking closer at the wheel, it is more evident that the flaking metal is actually just a metal paint that is coming off in huge patches.
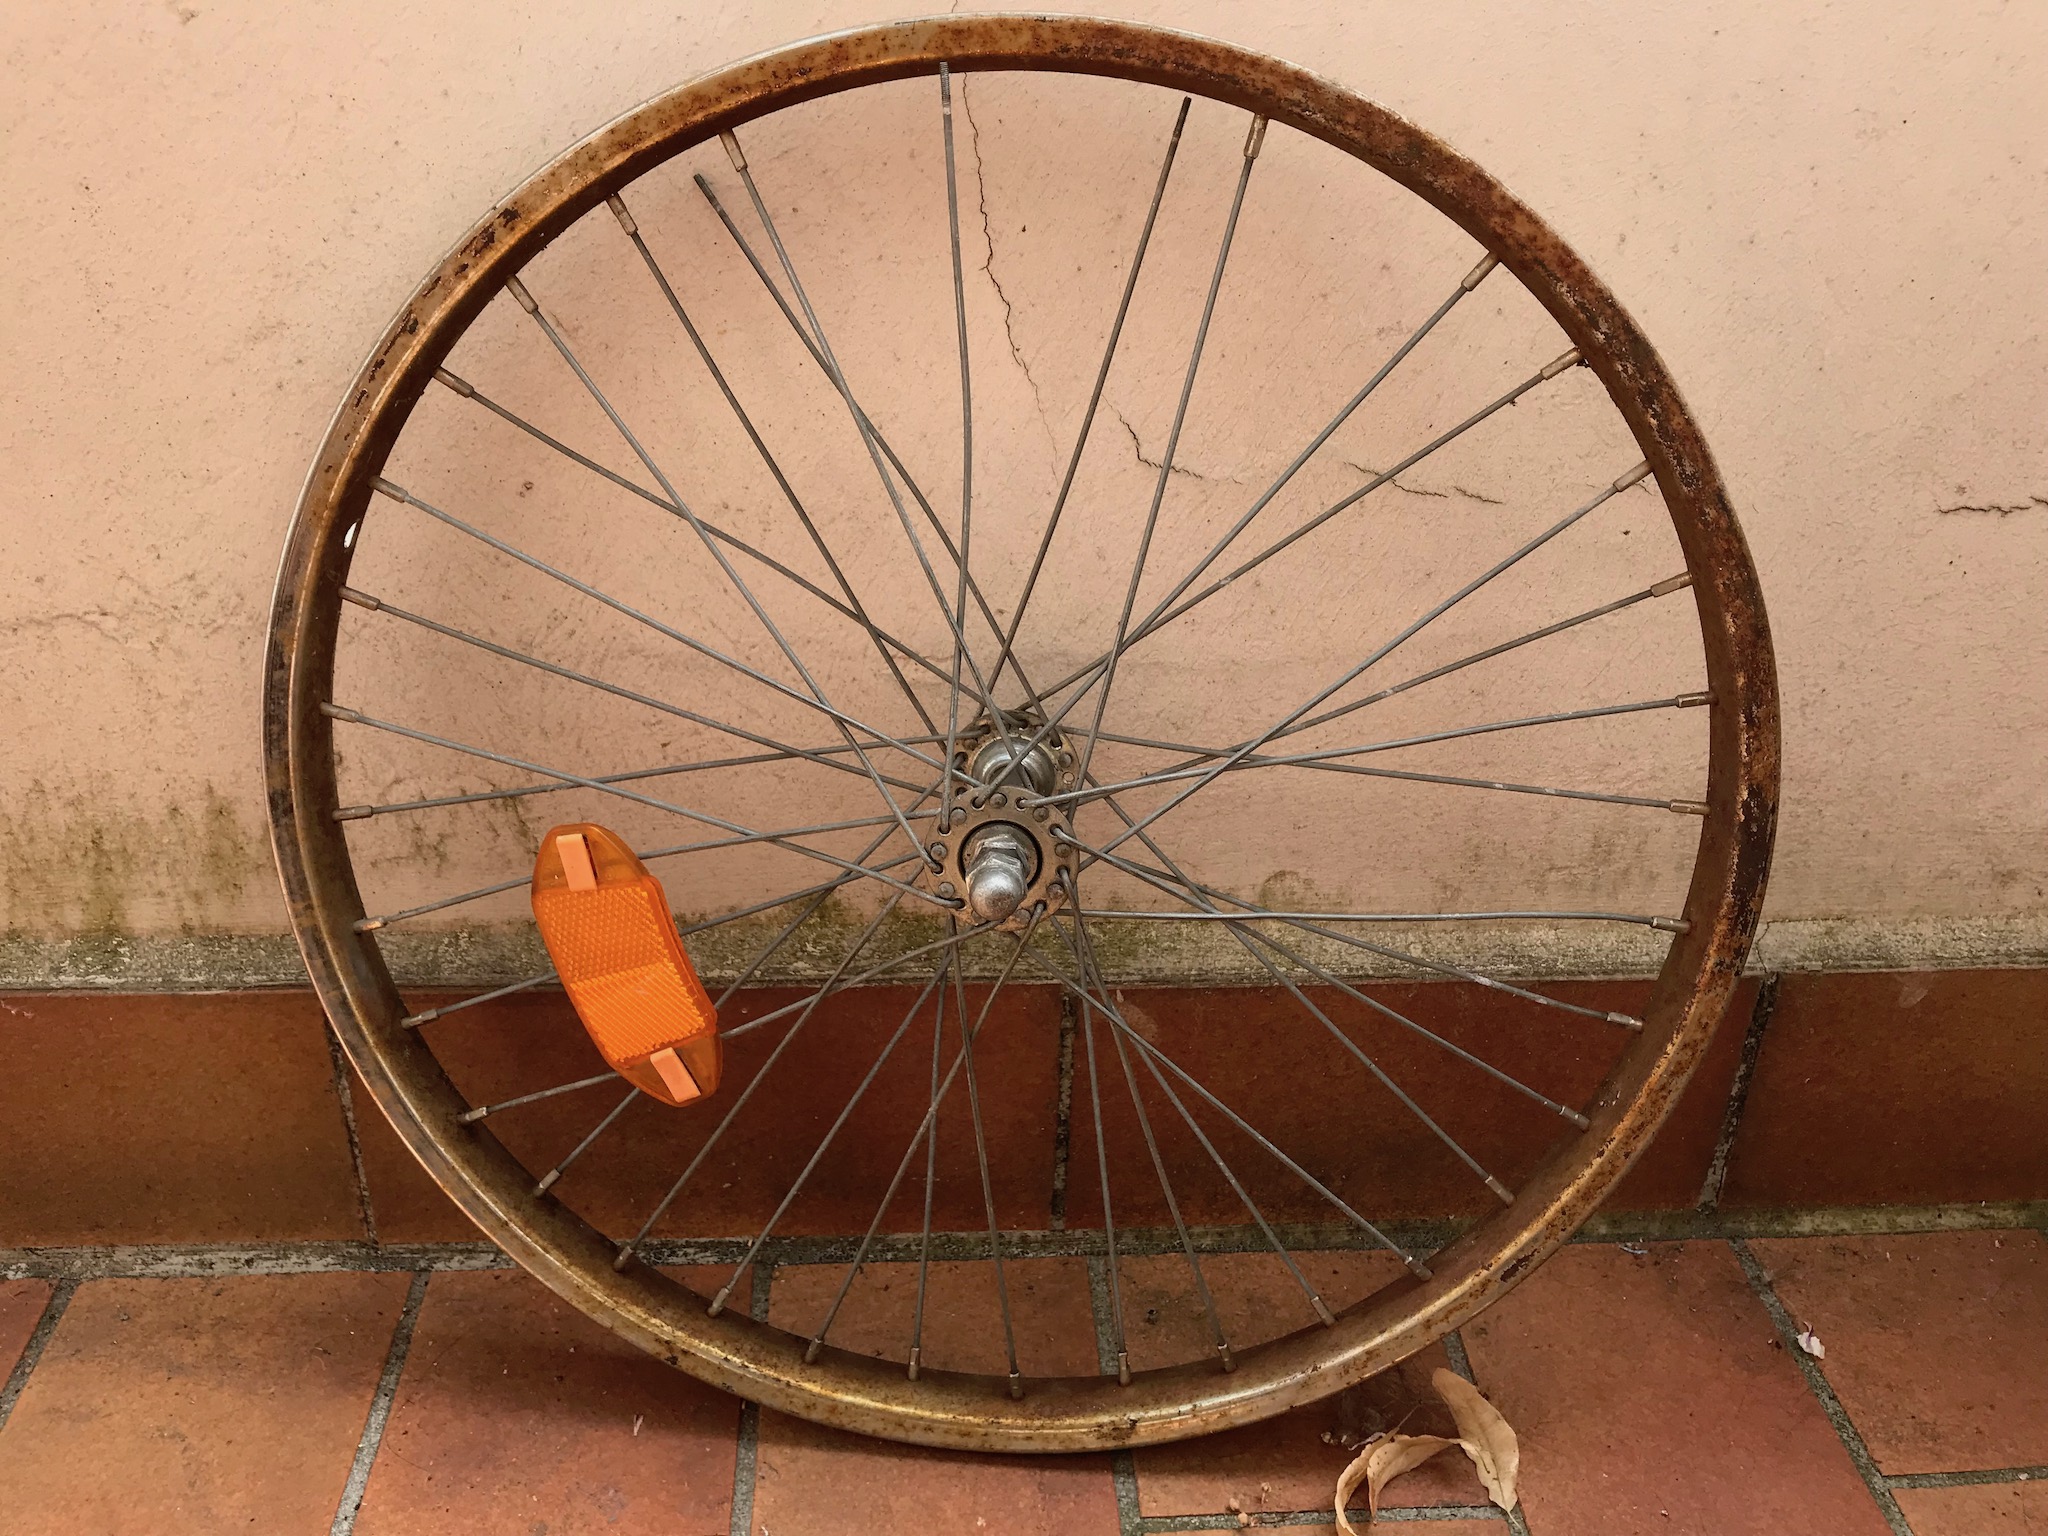
It is very possible that there is still a significant amount of good metal underneath a surface layer of rust. Frequently rust acts as a protectant against more rust forming underneath a metal. This of course varies by metal and application.
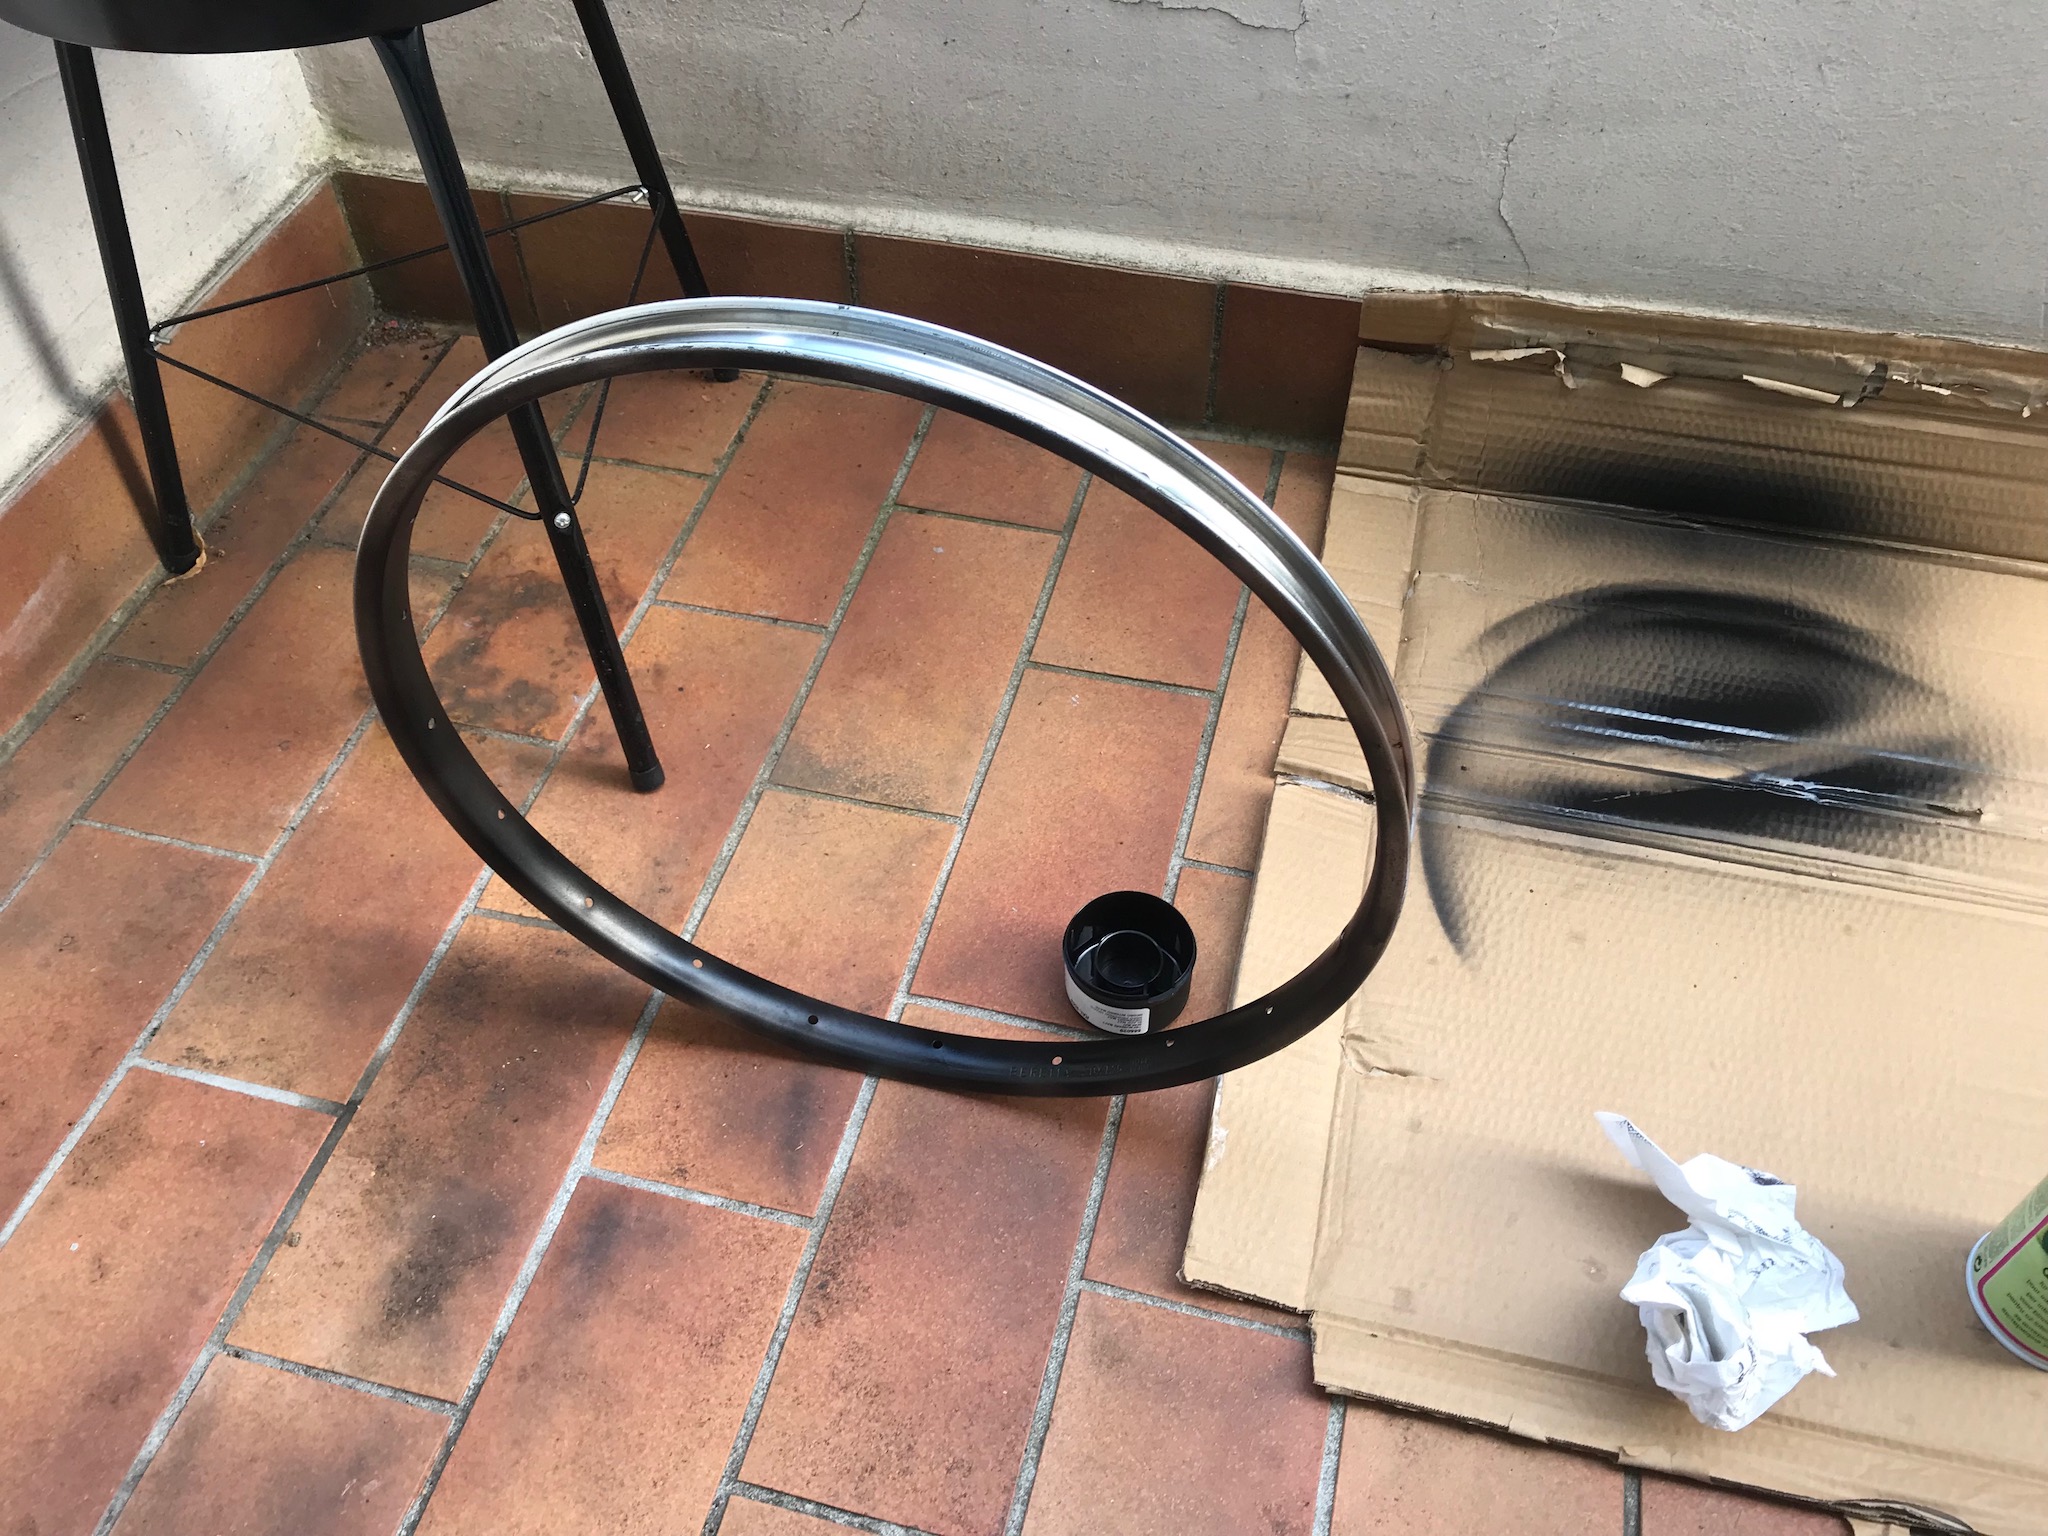
I set the wheel up on the edge of my balcony railing (using it as a type of stand) and got to work with a wire wheel attached to my cordless IKEA drill.
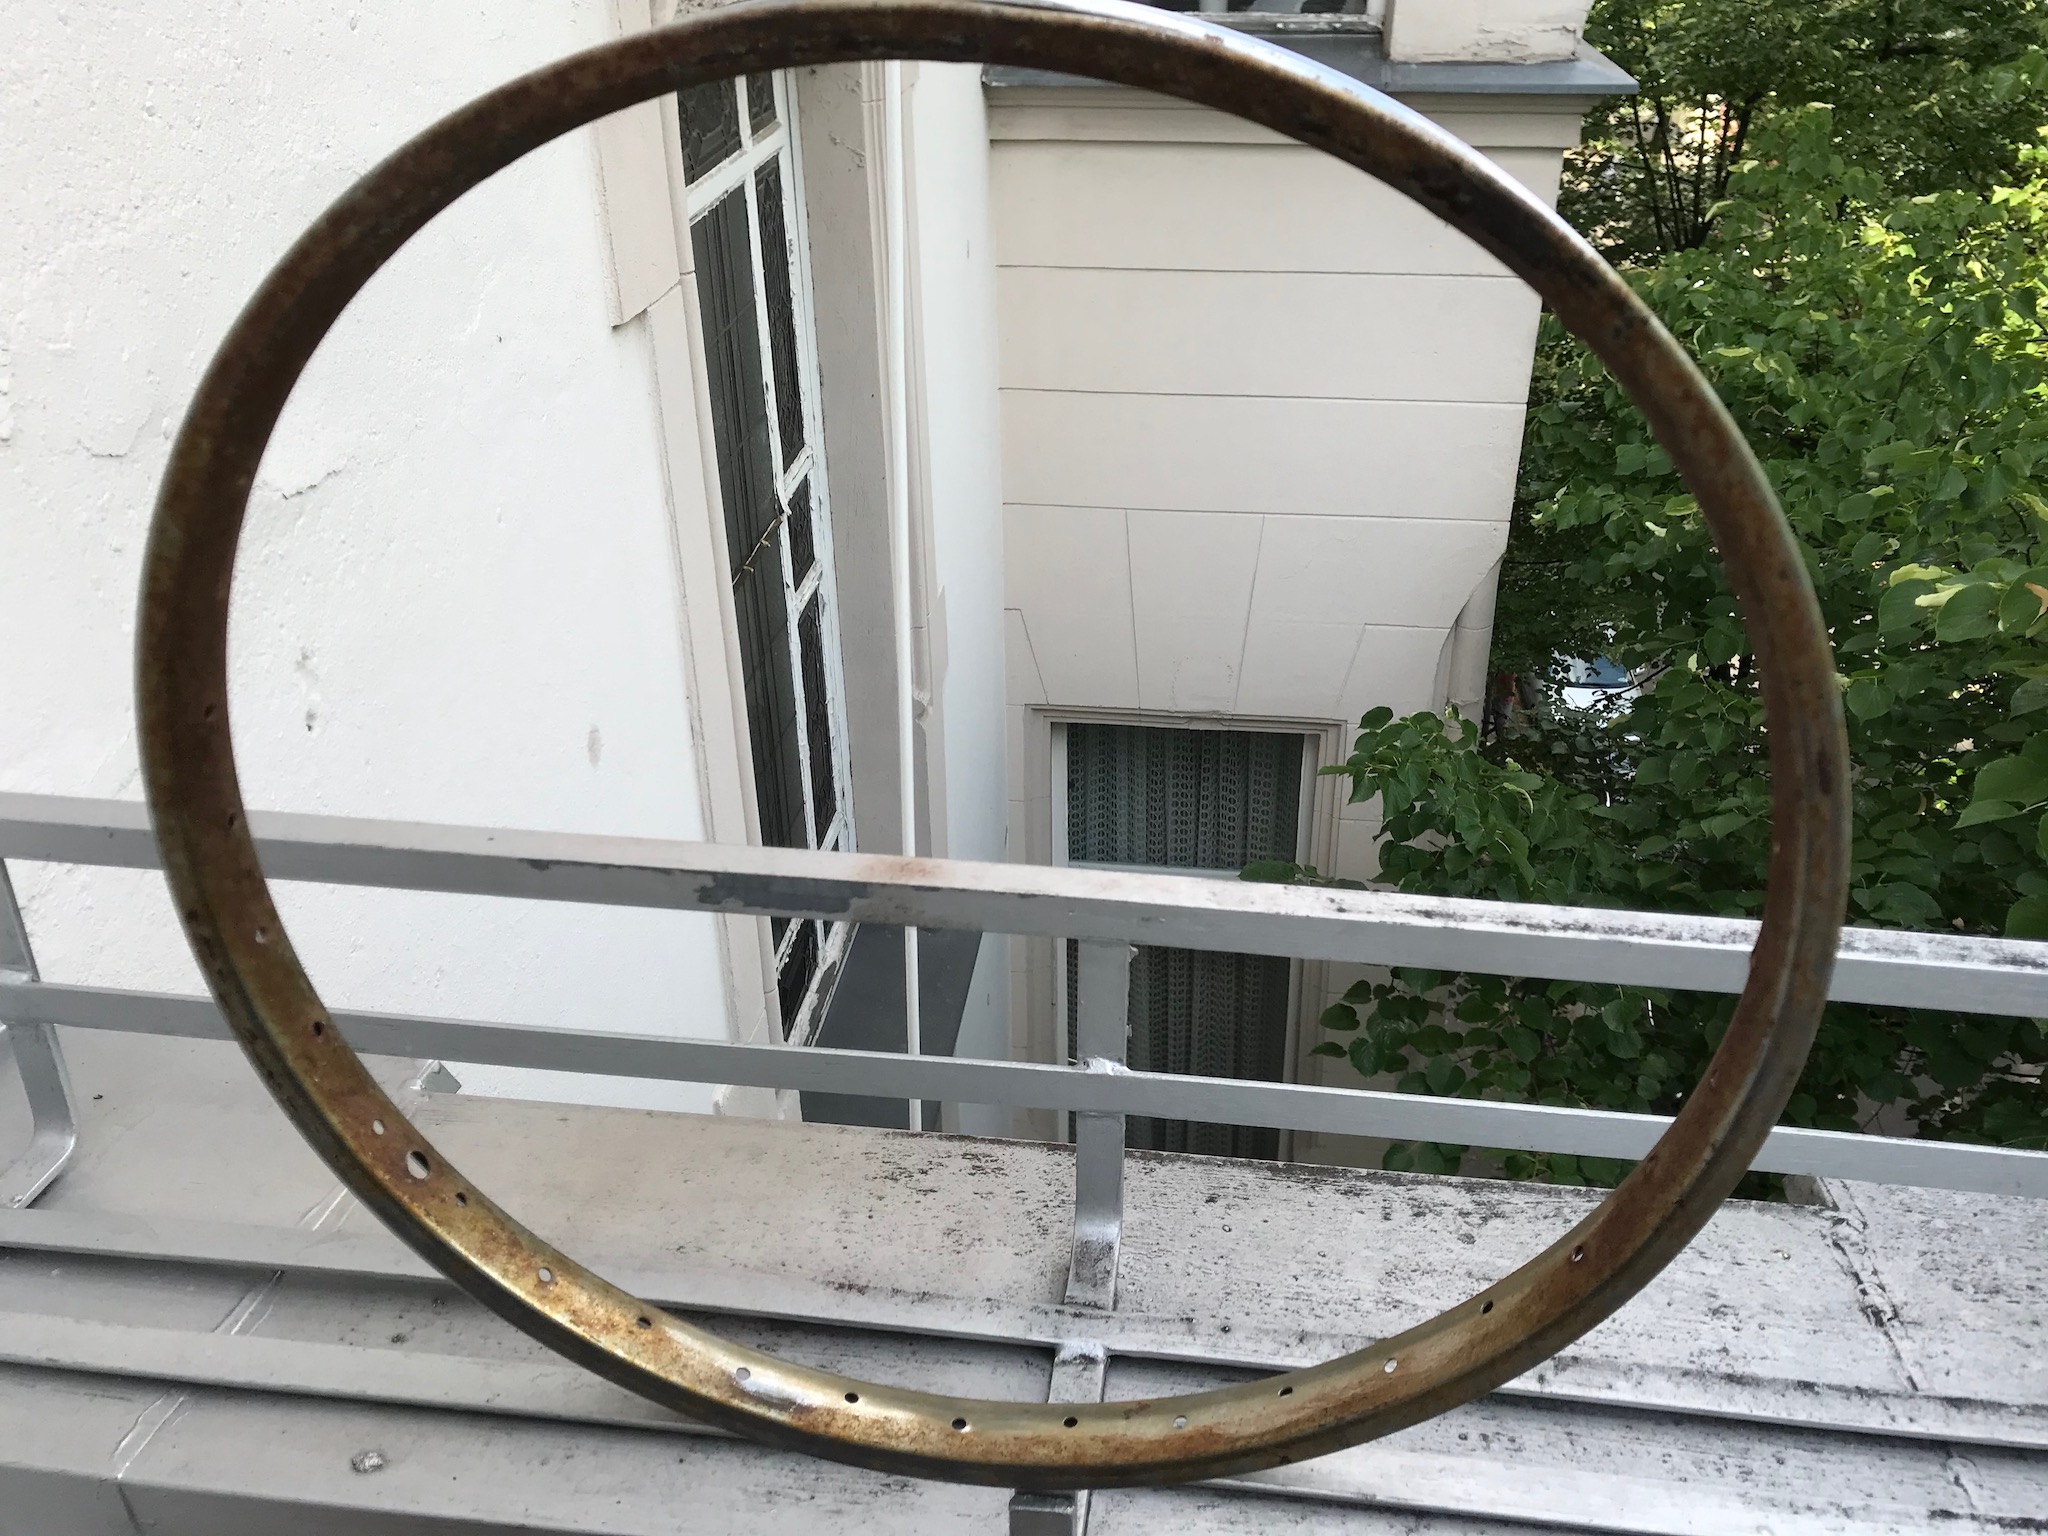
In just a few minutes I had achieved the result seen above. In a single pass of the wire wheel, a huge amount of corrosion was removed (compare the left and right side of the rim in the image below).
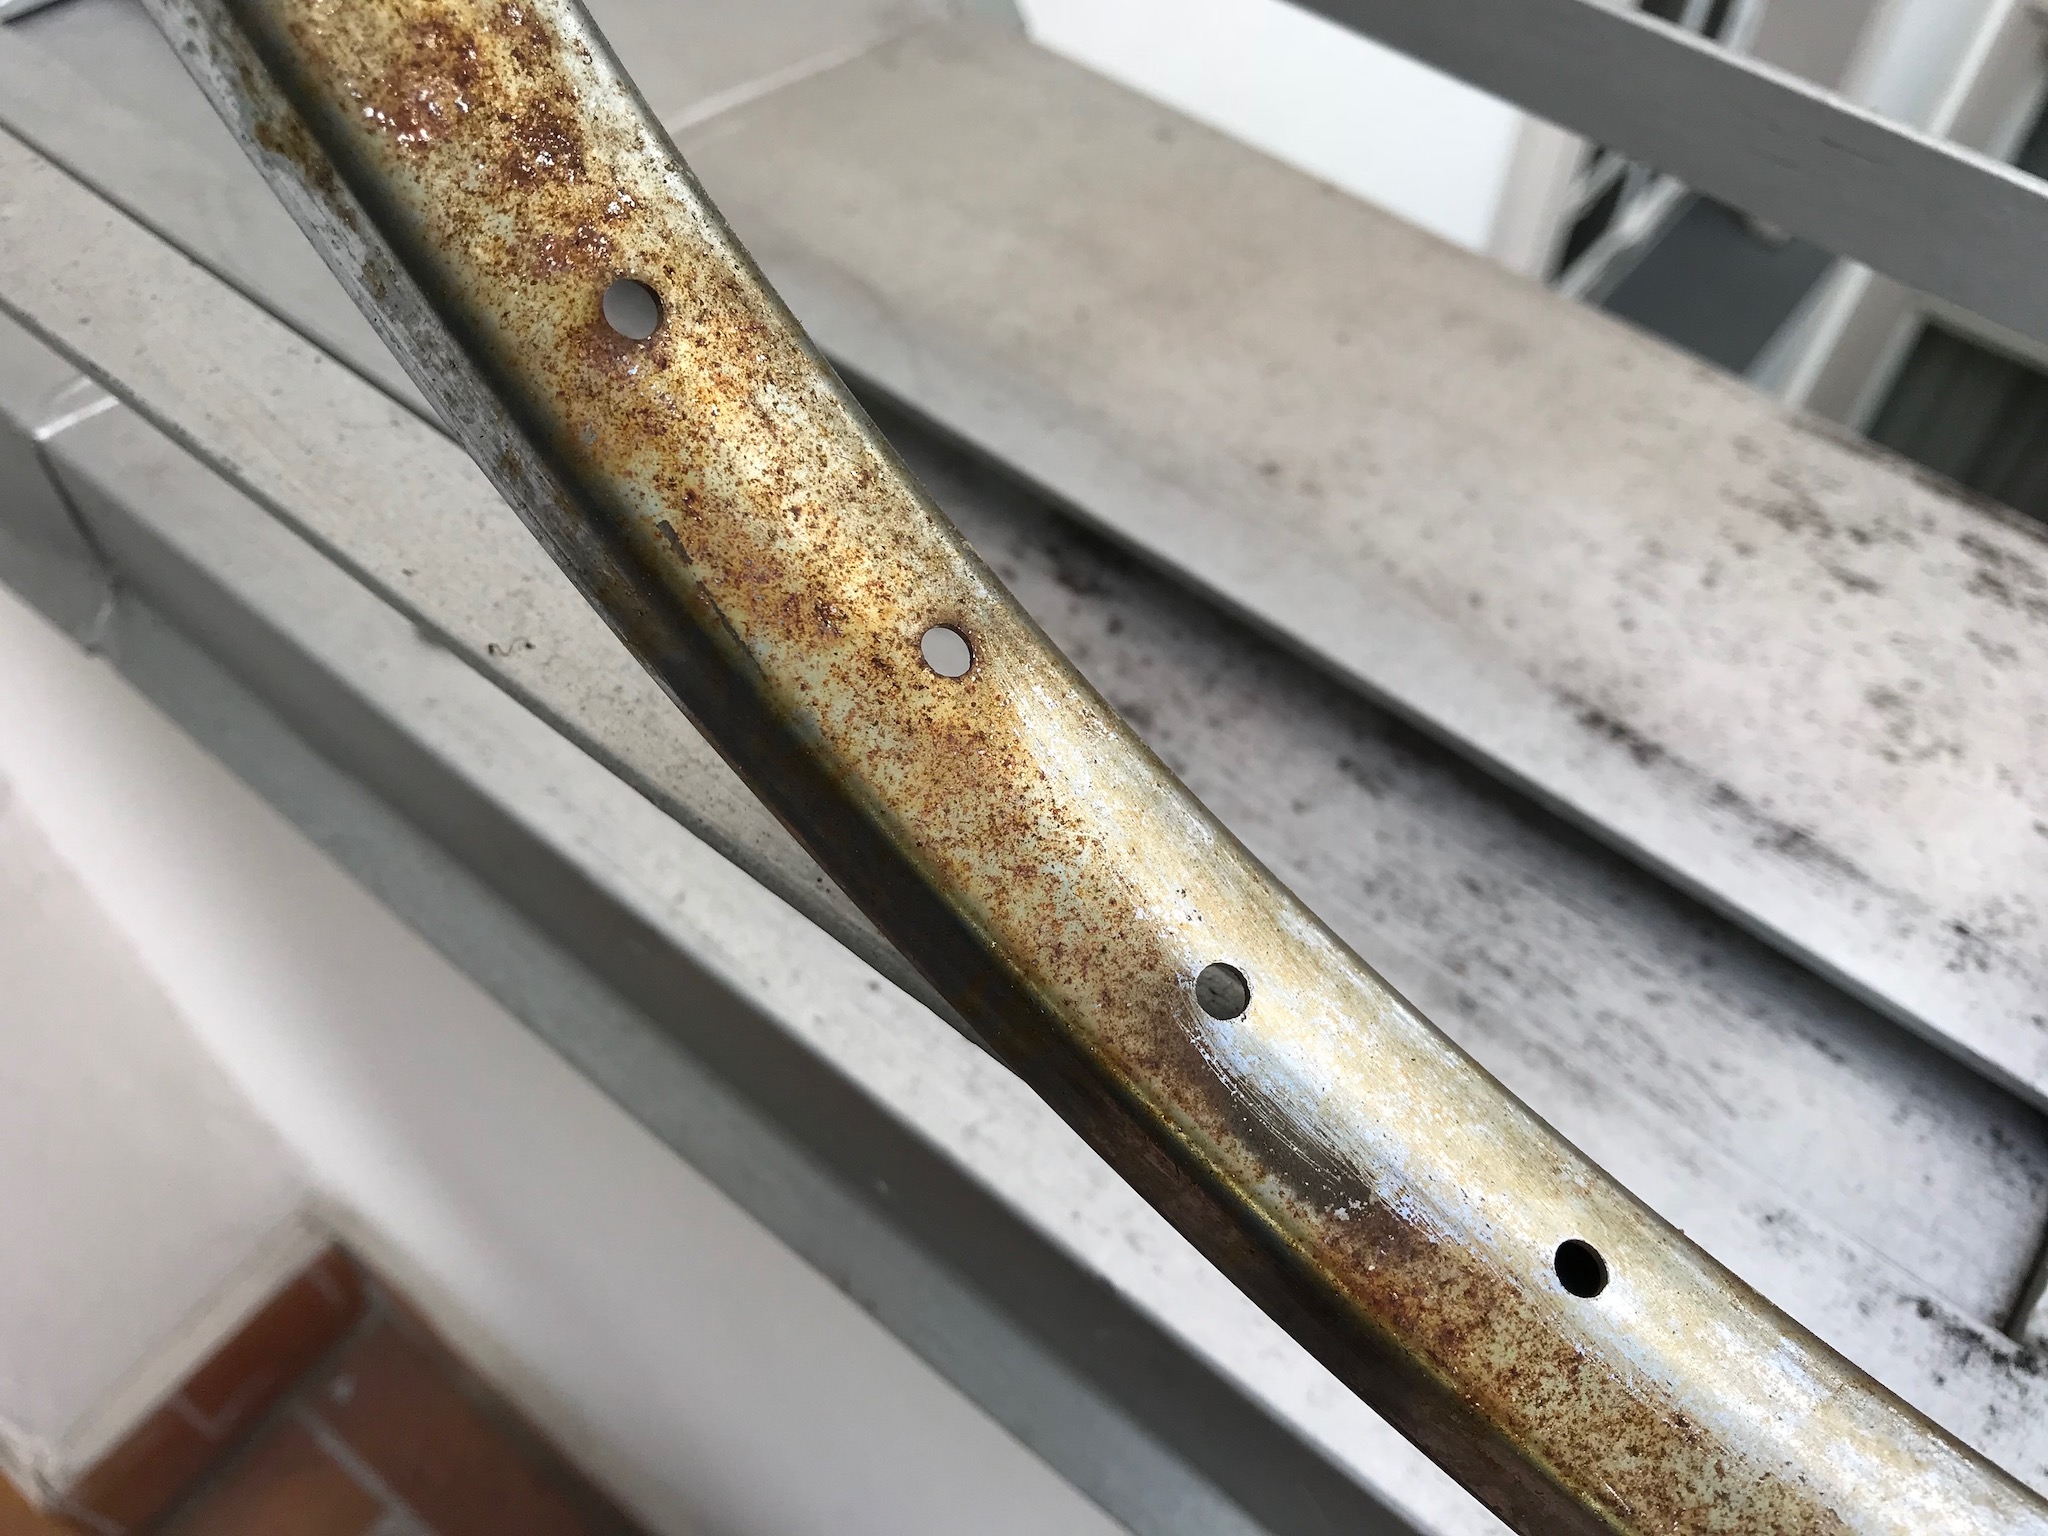
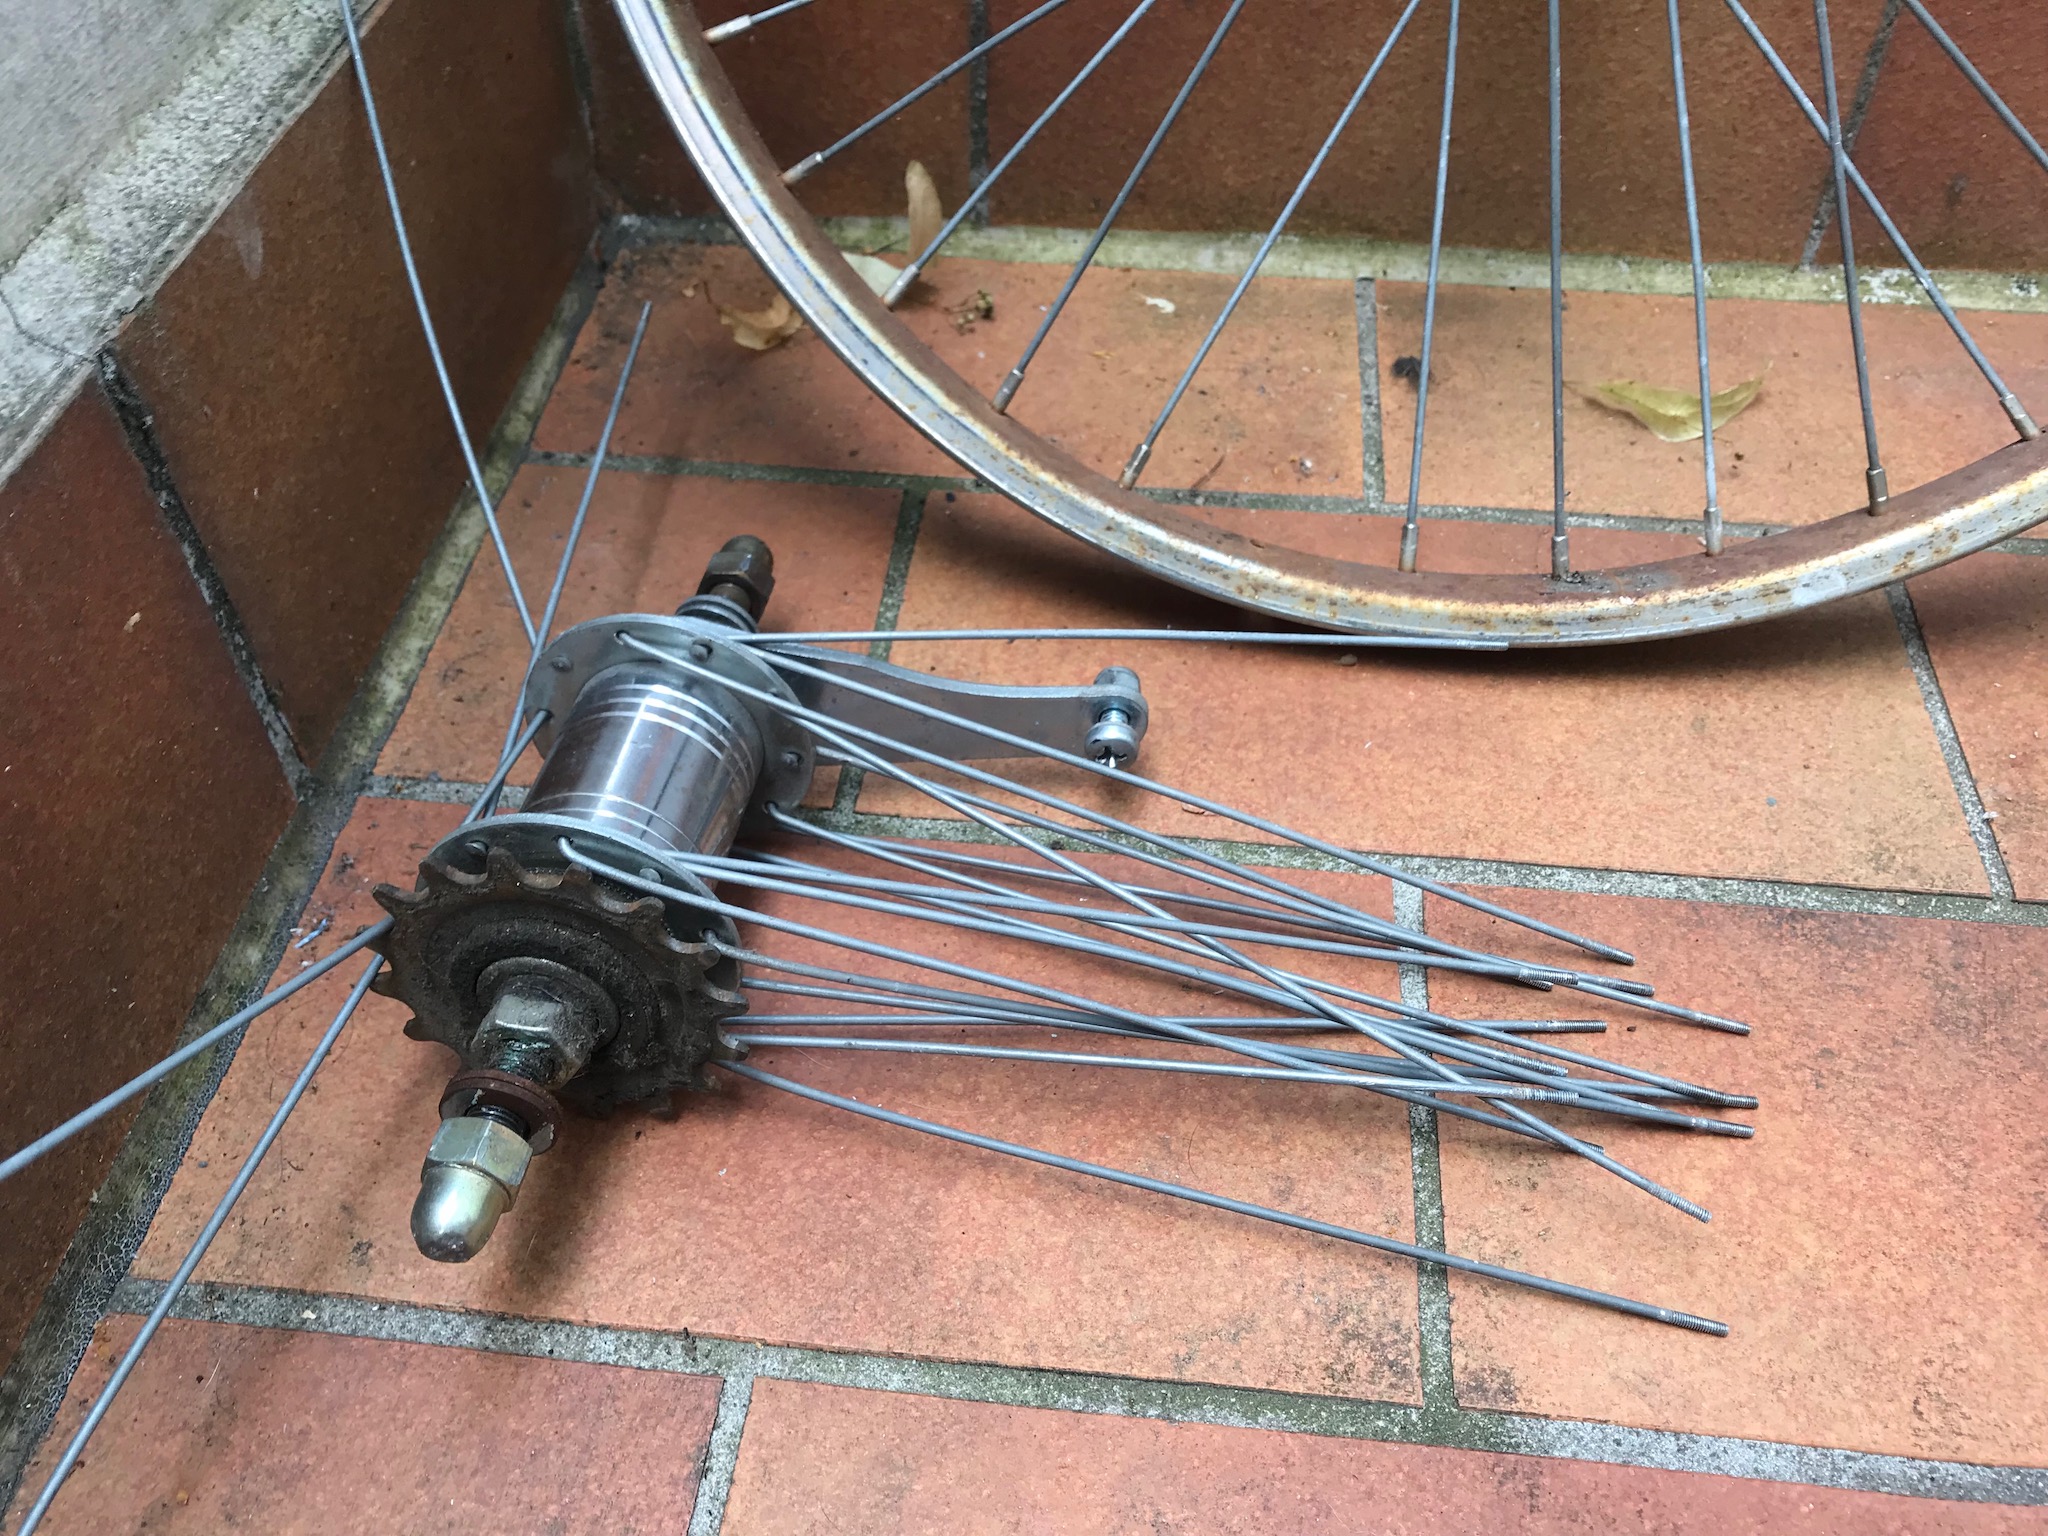
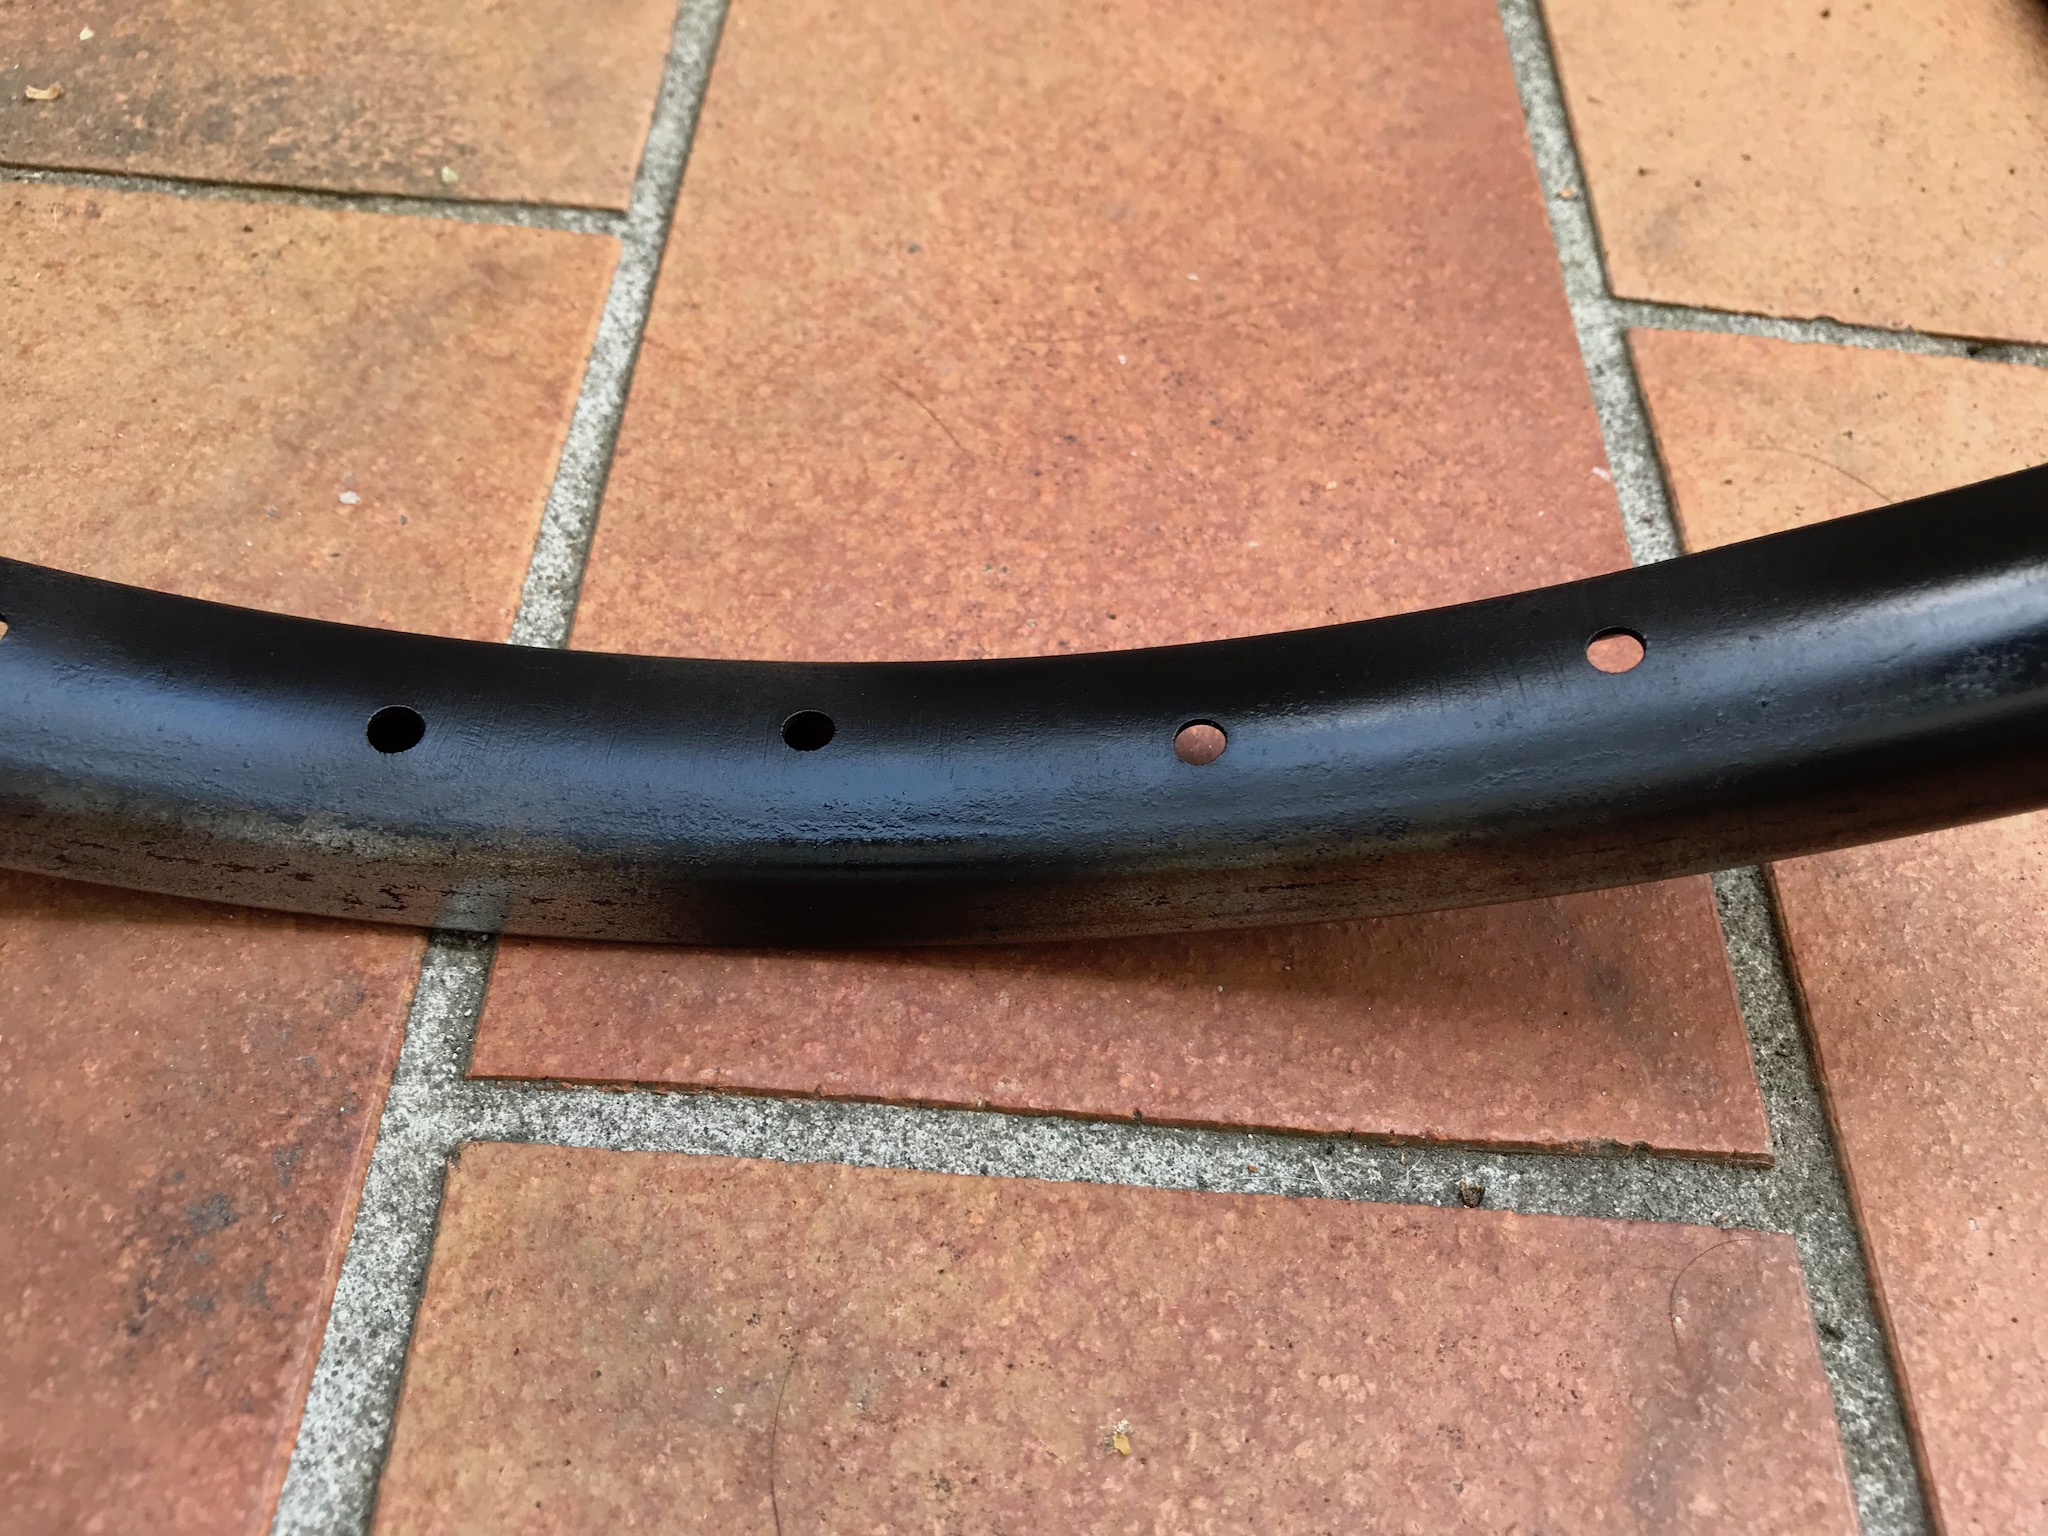
After about half an hour with the wire wheel and some sandpaper, I was able to achieve the following result. It isn't perfect, there is still a lot of surface pitting, but the metal is surprisingly strong. There are no deep voids or cracks or any damage to the wheel. For the application on a small bicycle carrying a weight of no more than 20 kilograms (each wheel bearing less load of course) I believe that this wheel would suffice.
I decided to move on to the painting stage of the process. I started by spraying a very light topcoat and following up with successive coats about every twenty minutes.
I don't have a paint-booth, so I had to settle for a piece of cardboard, it worked pretty well as I noticed no over-spray anywhere on my balcony.
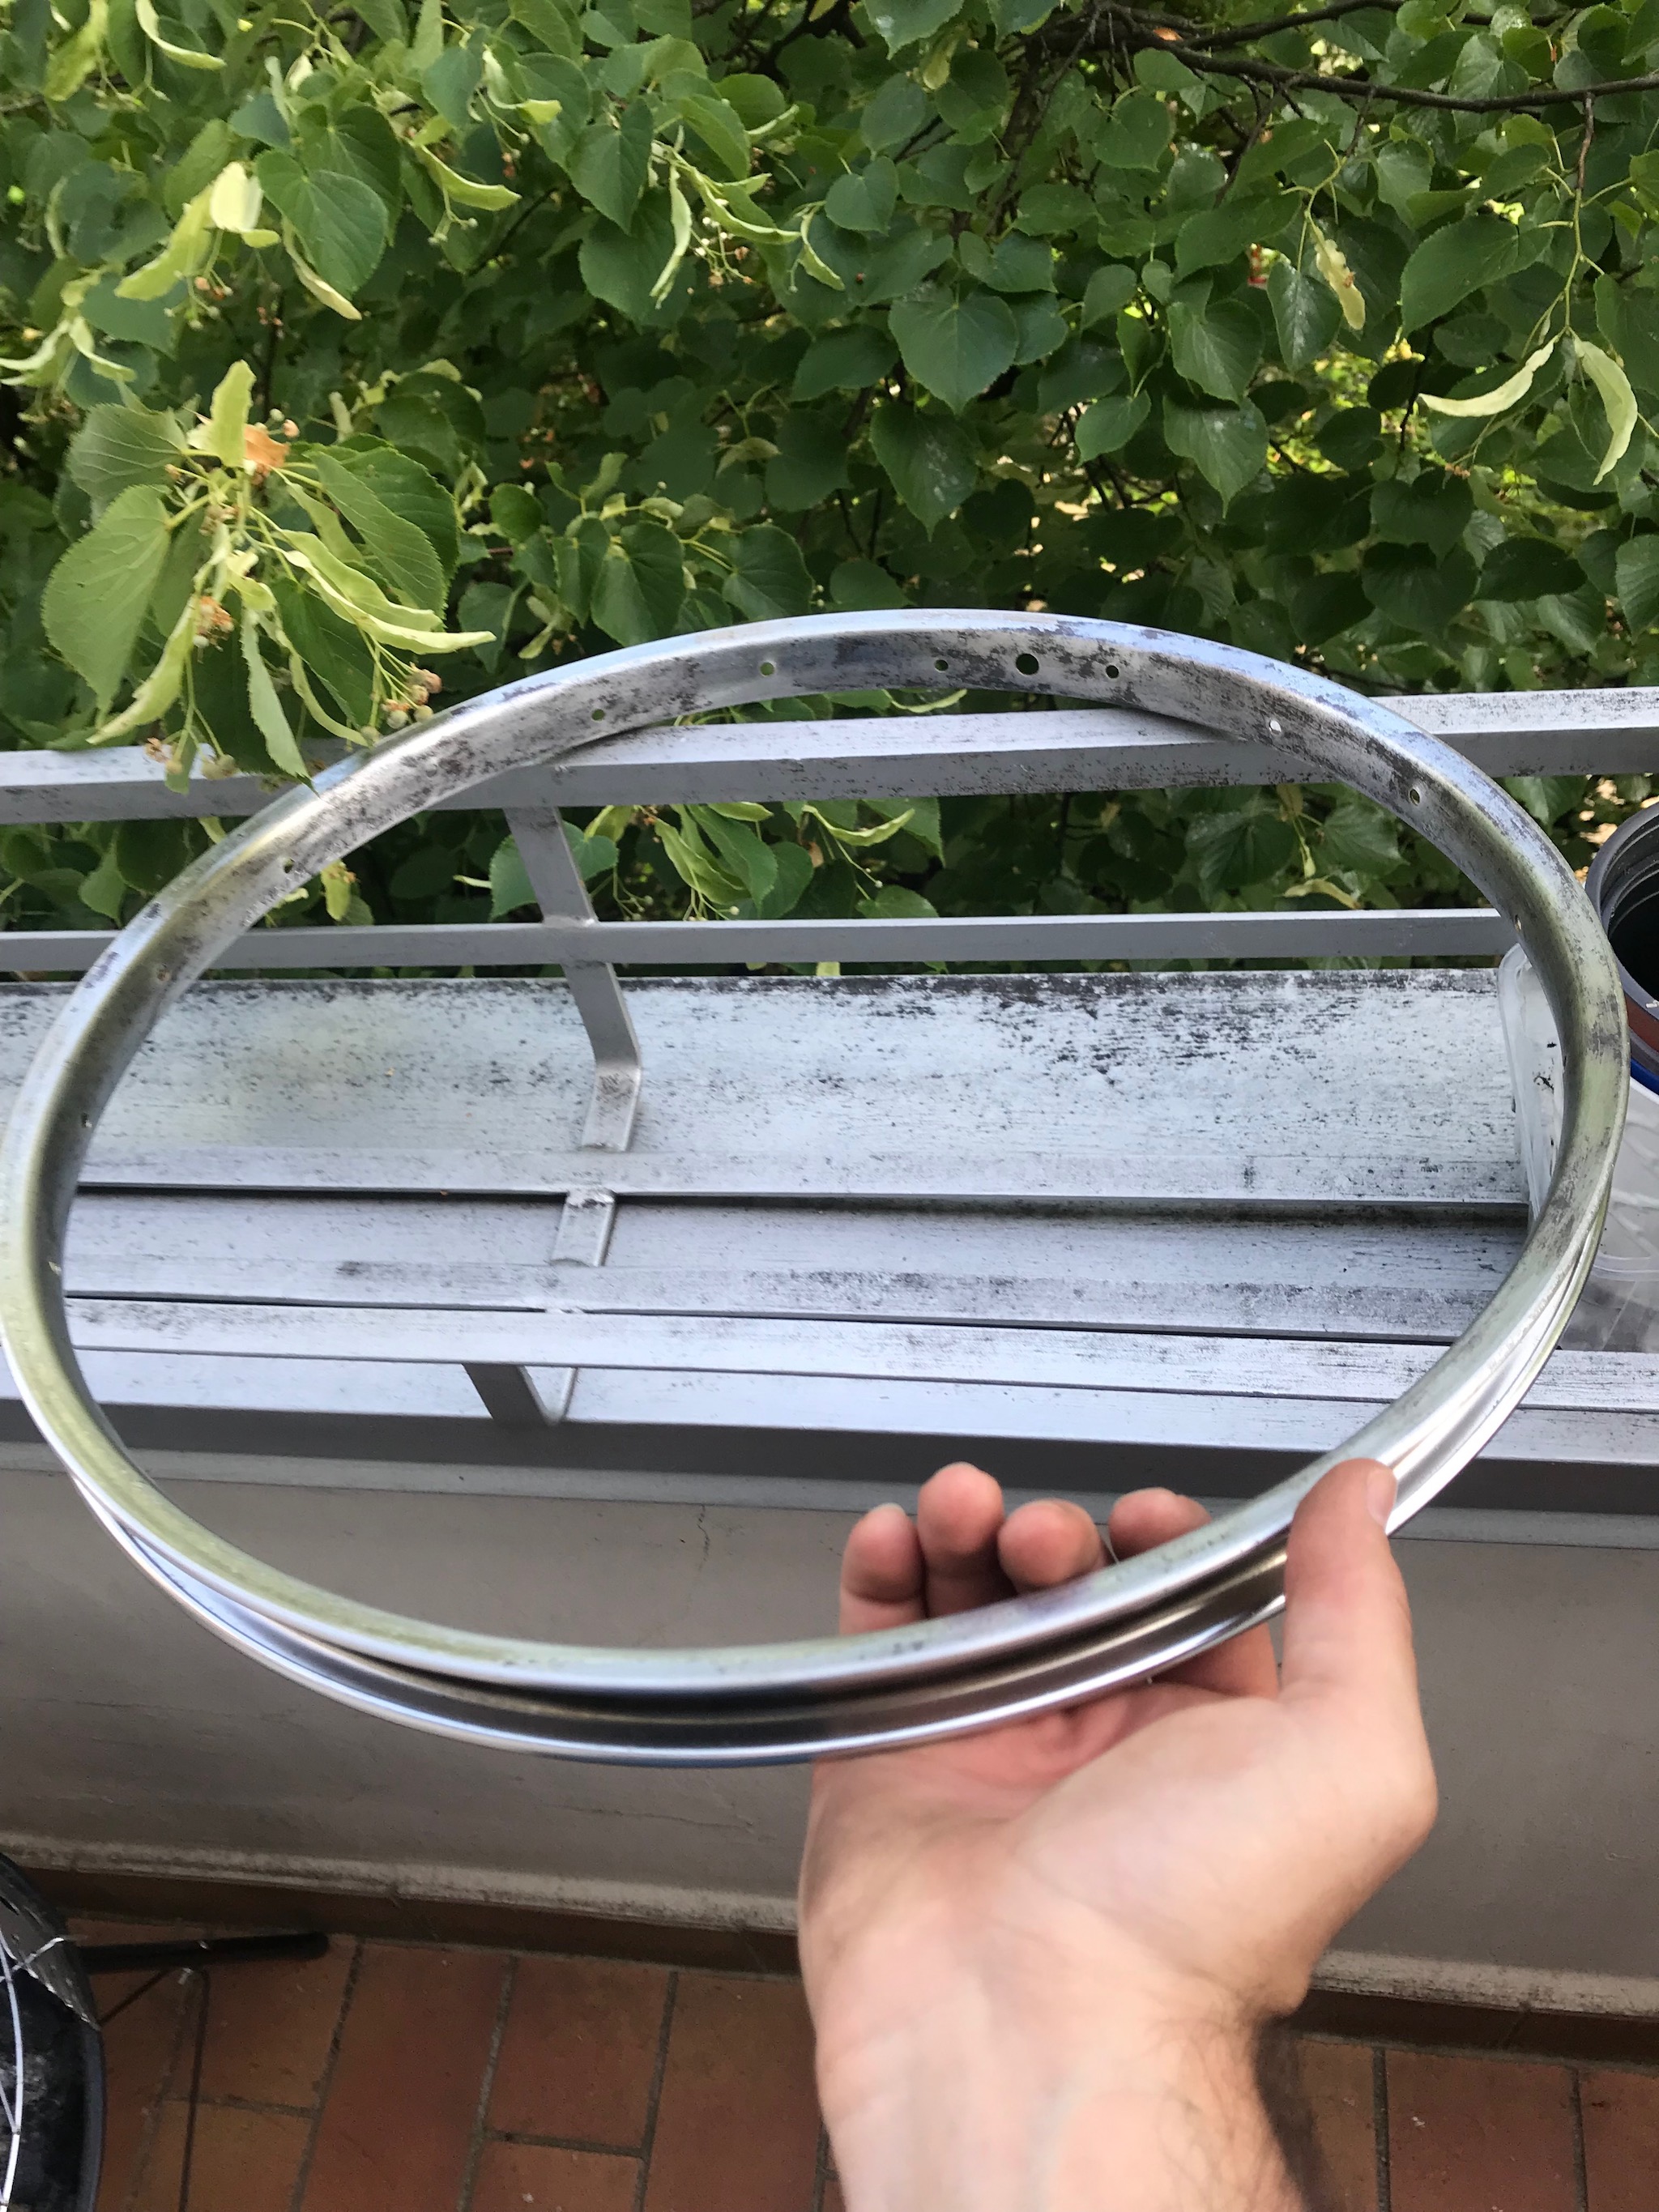
Above you can see a close-up image of the first light skim coat. The metal is still very clearly visible below the paint, but it will have a good adhesion for the subsequent coats to attach to.
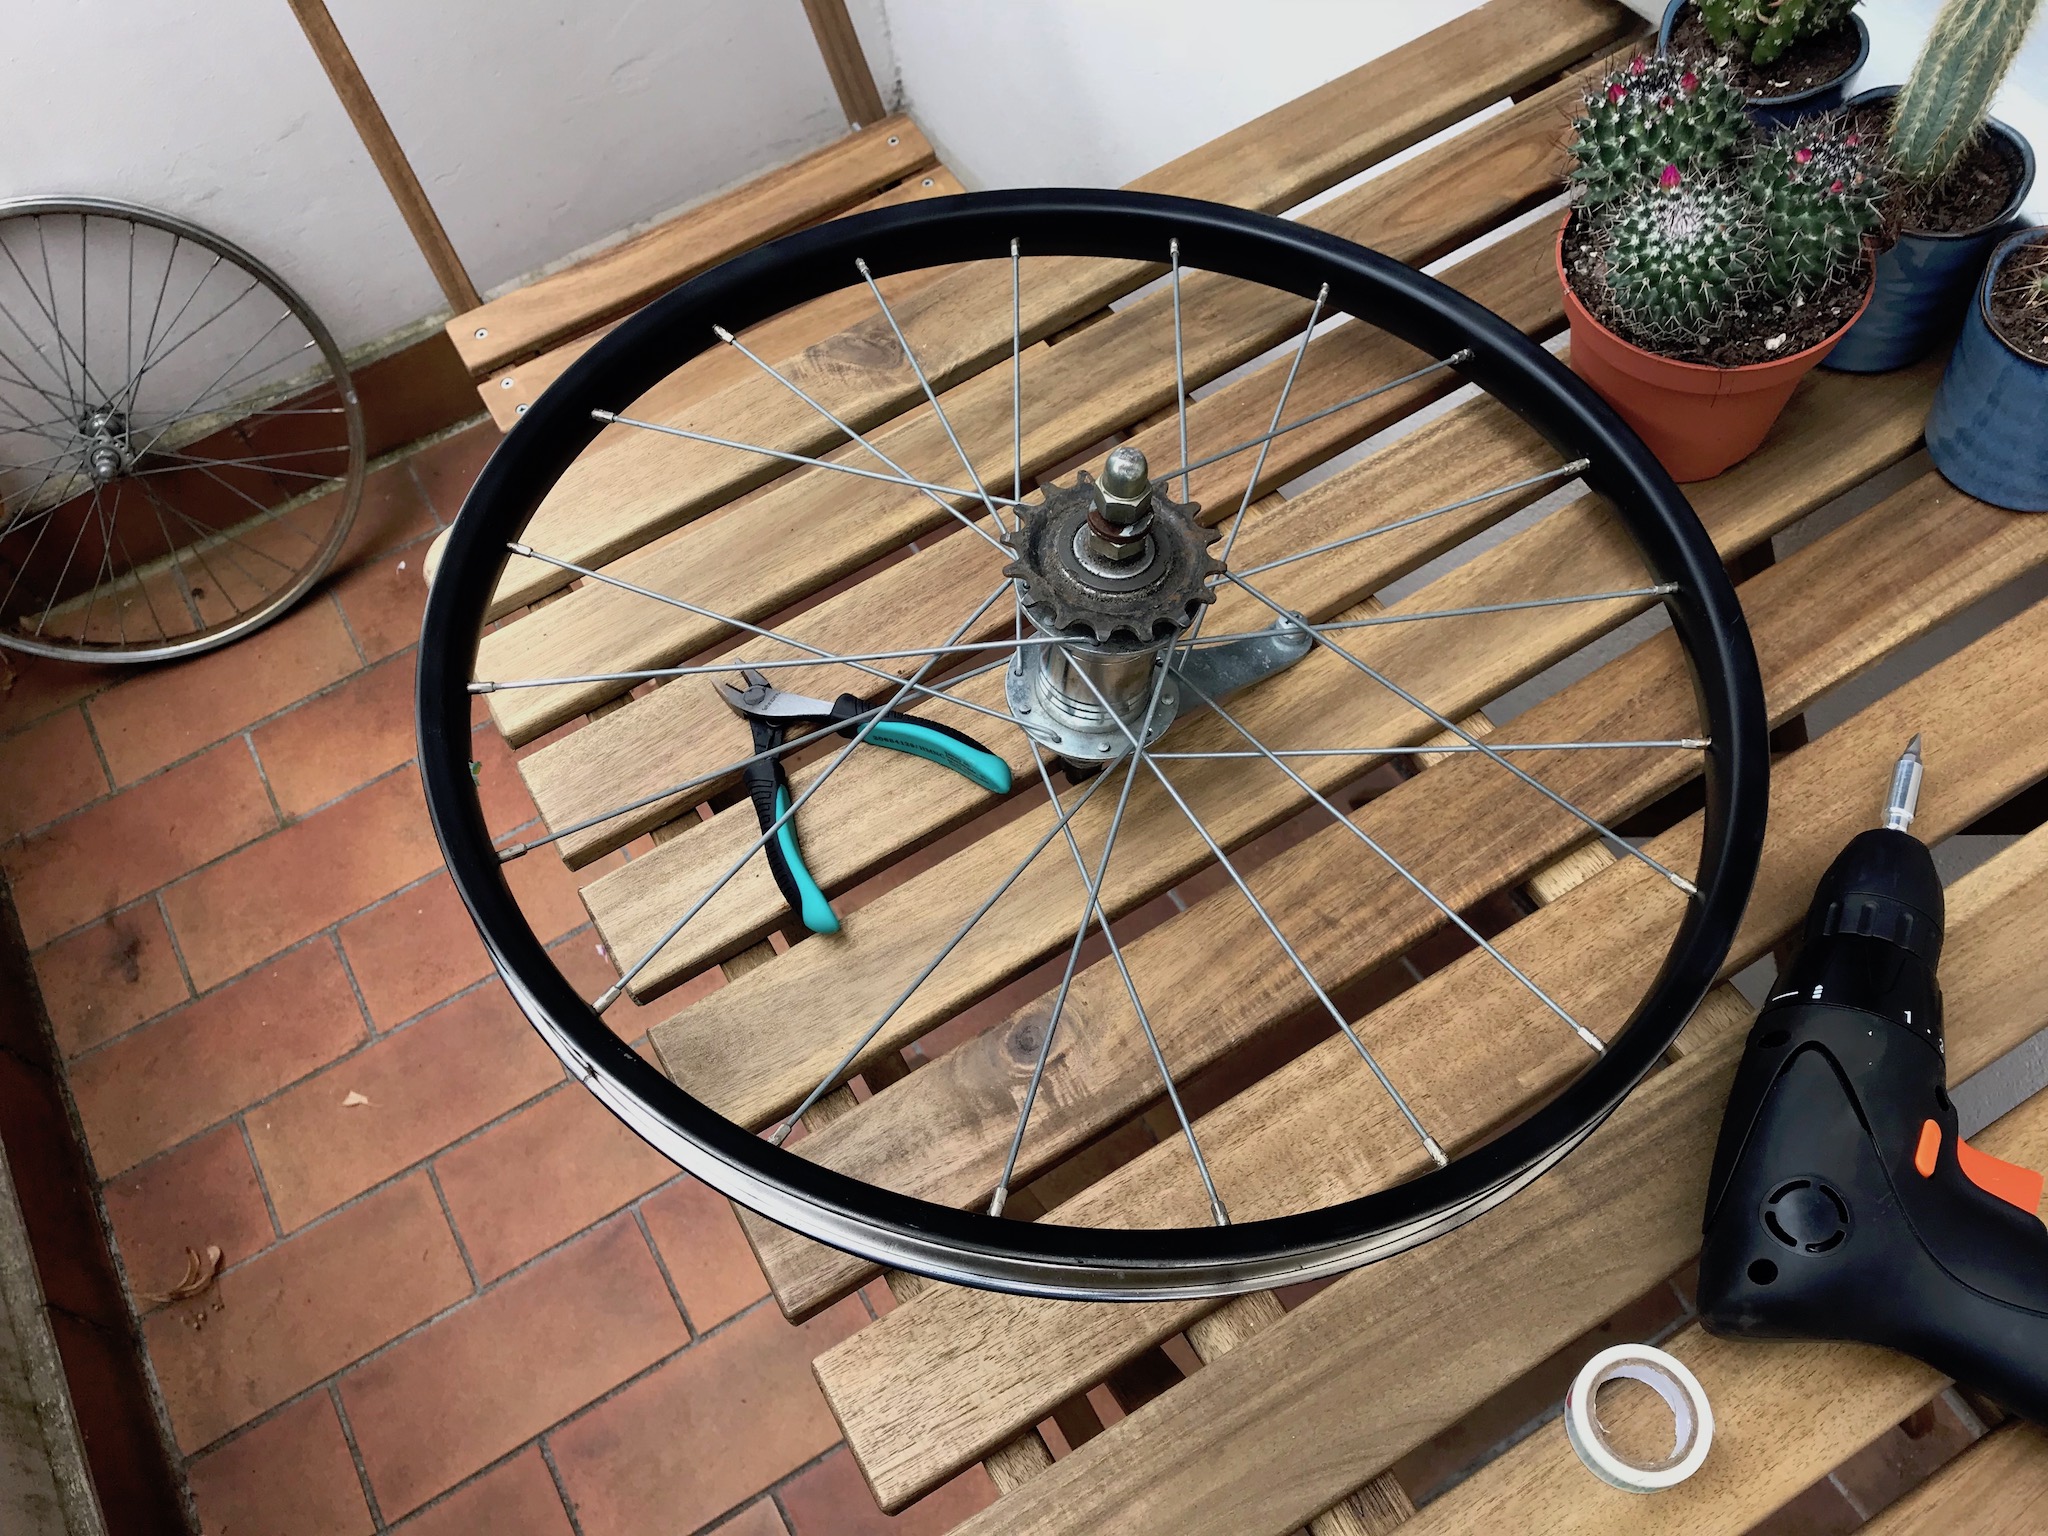
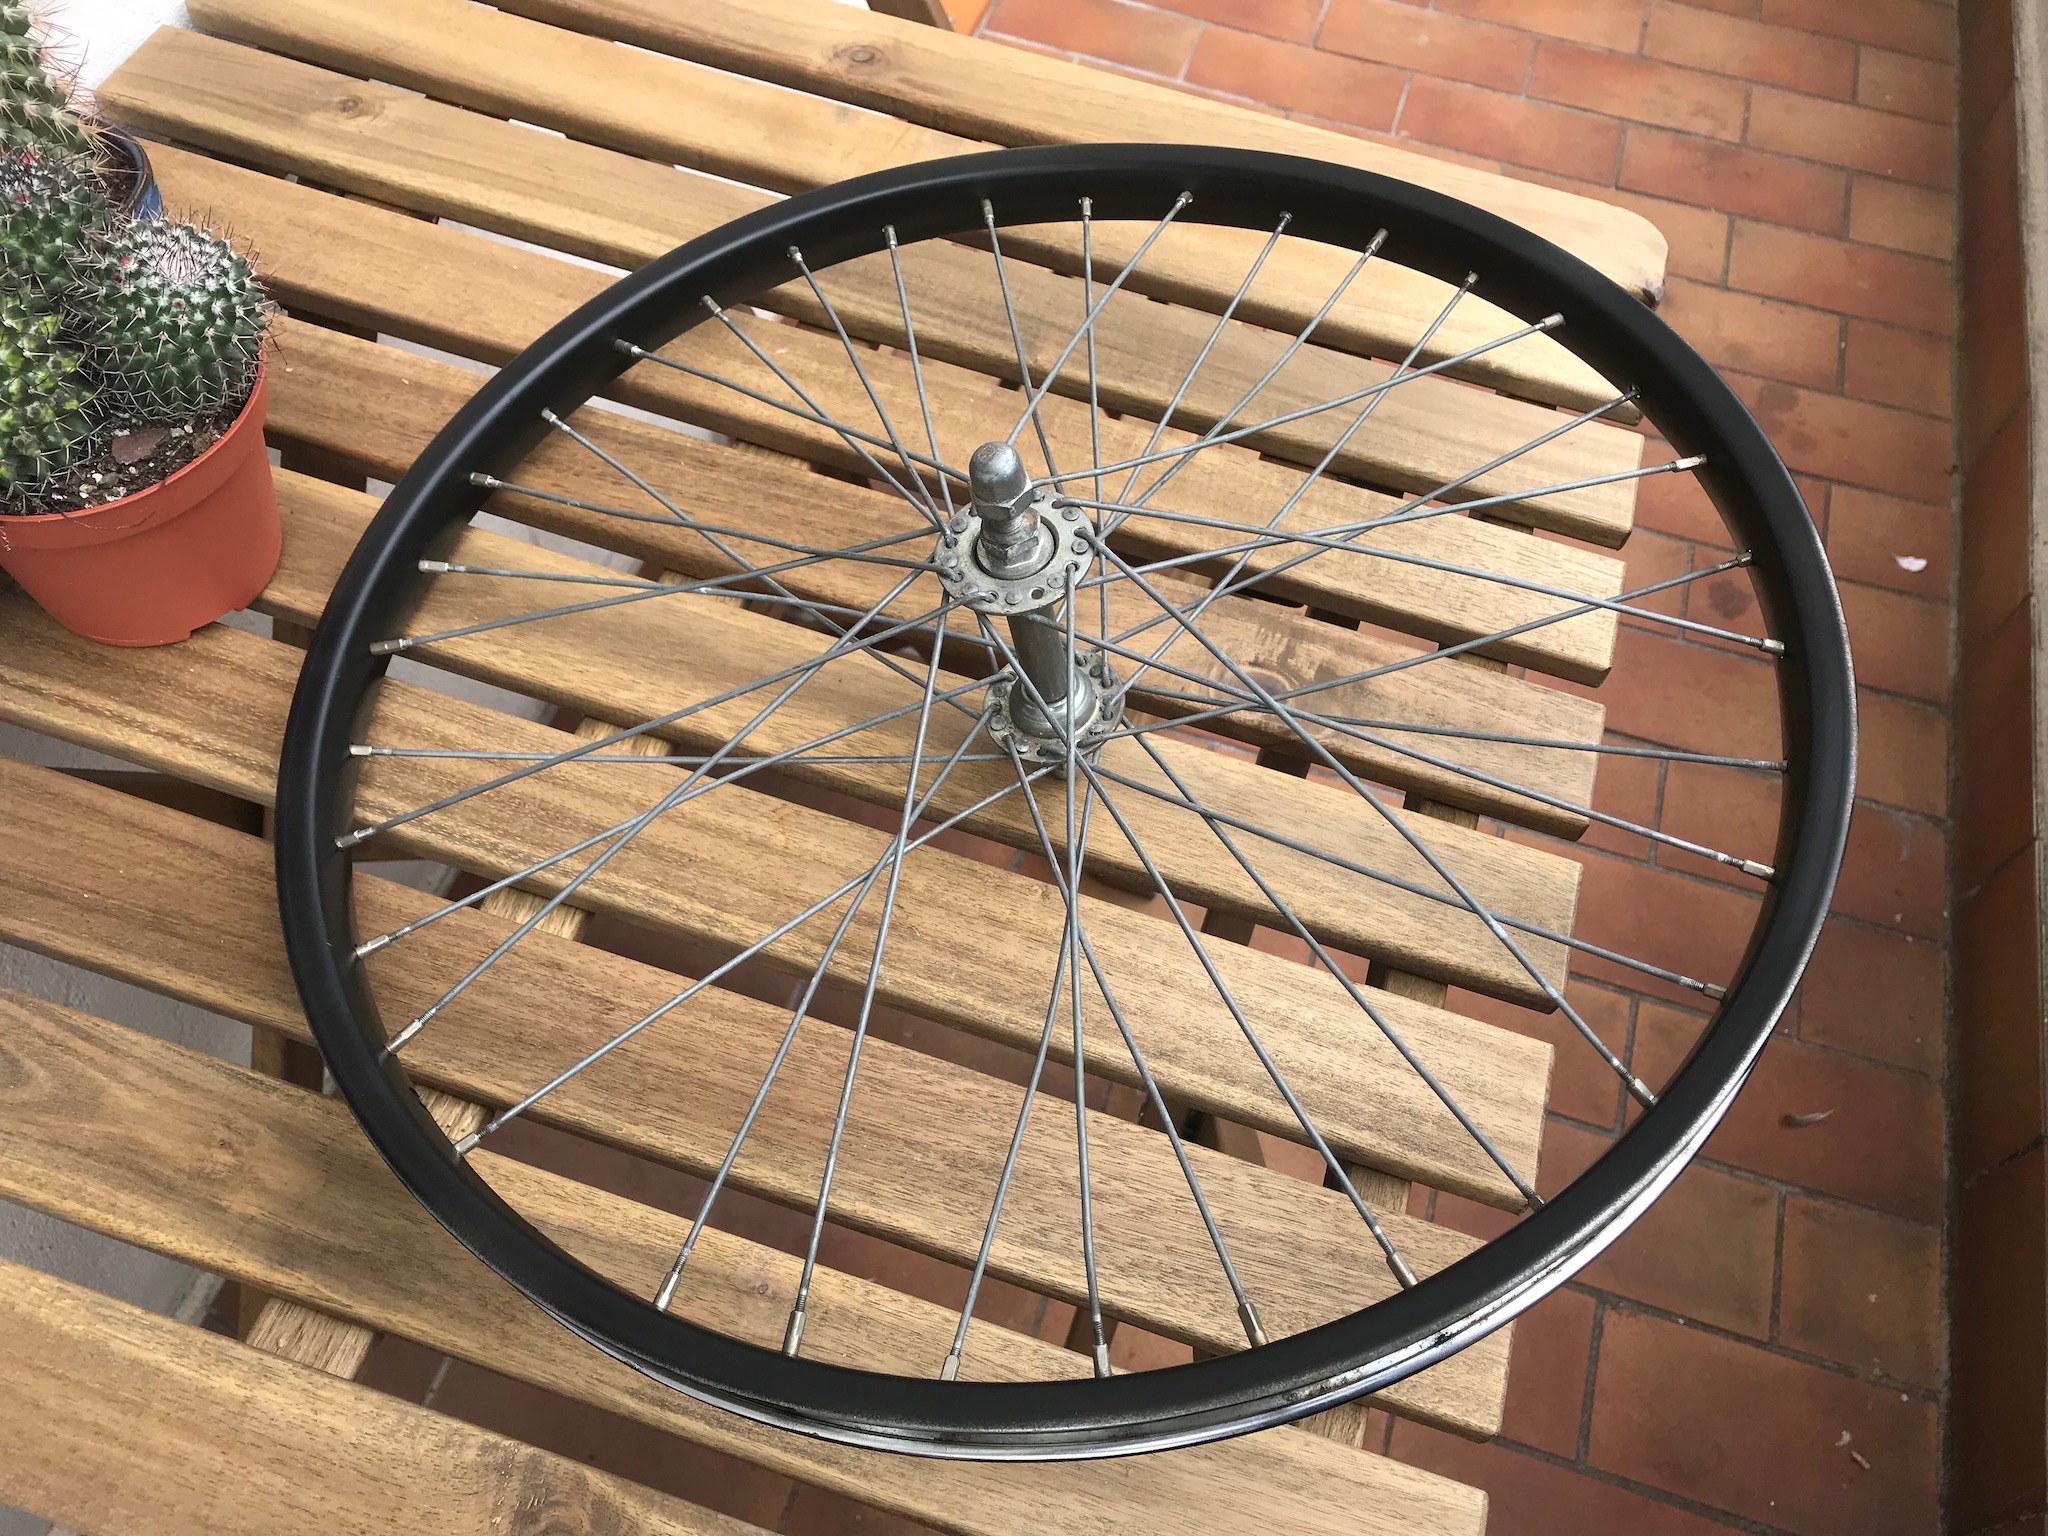
After letting the wheels dry overnight I began re-attaching the spokes in their original patterns to both of the wheels.
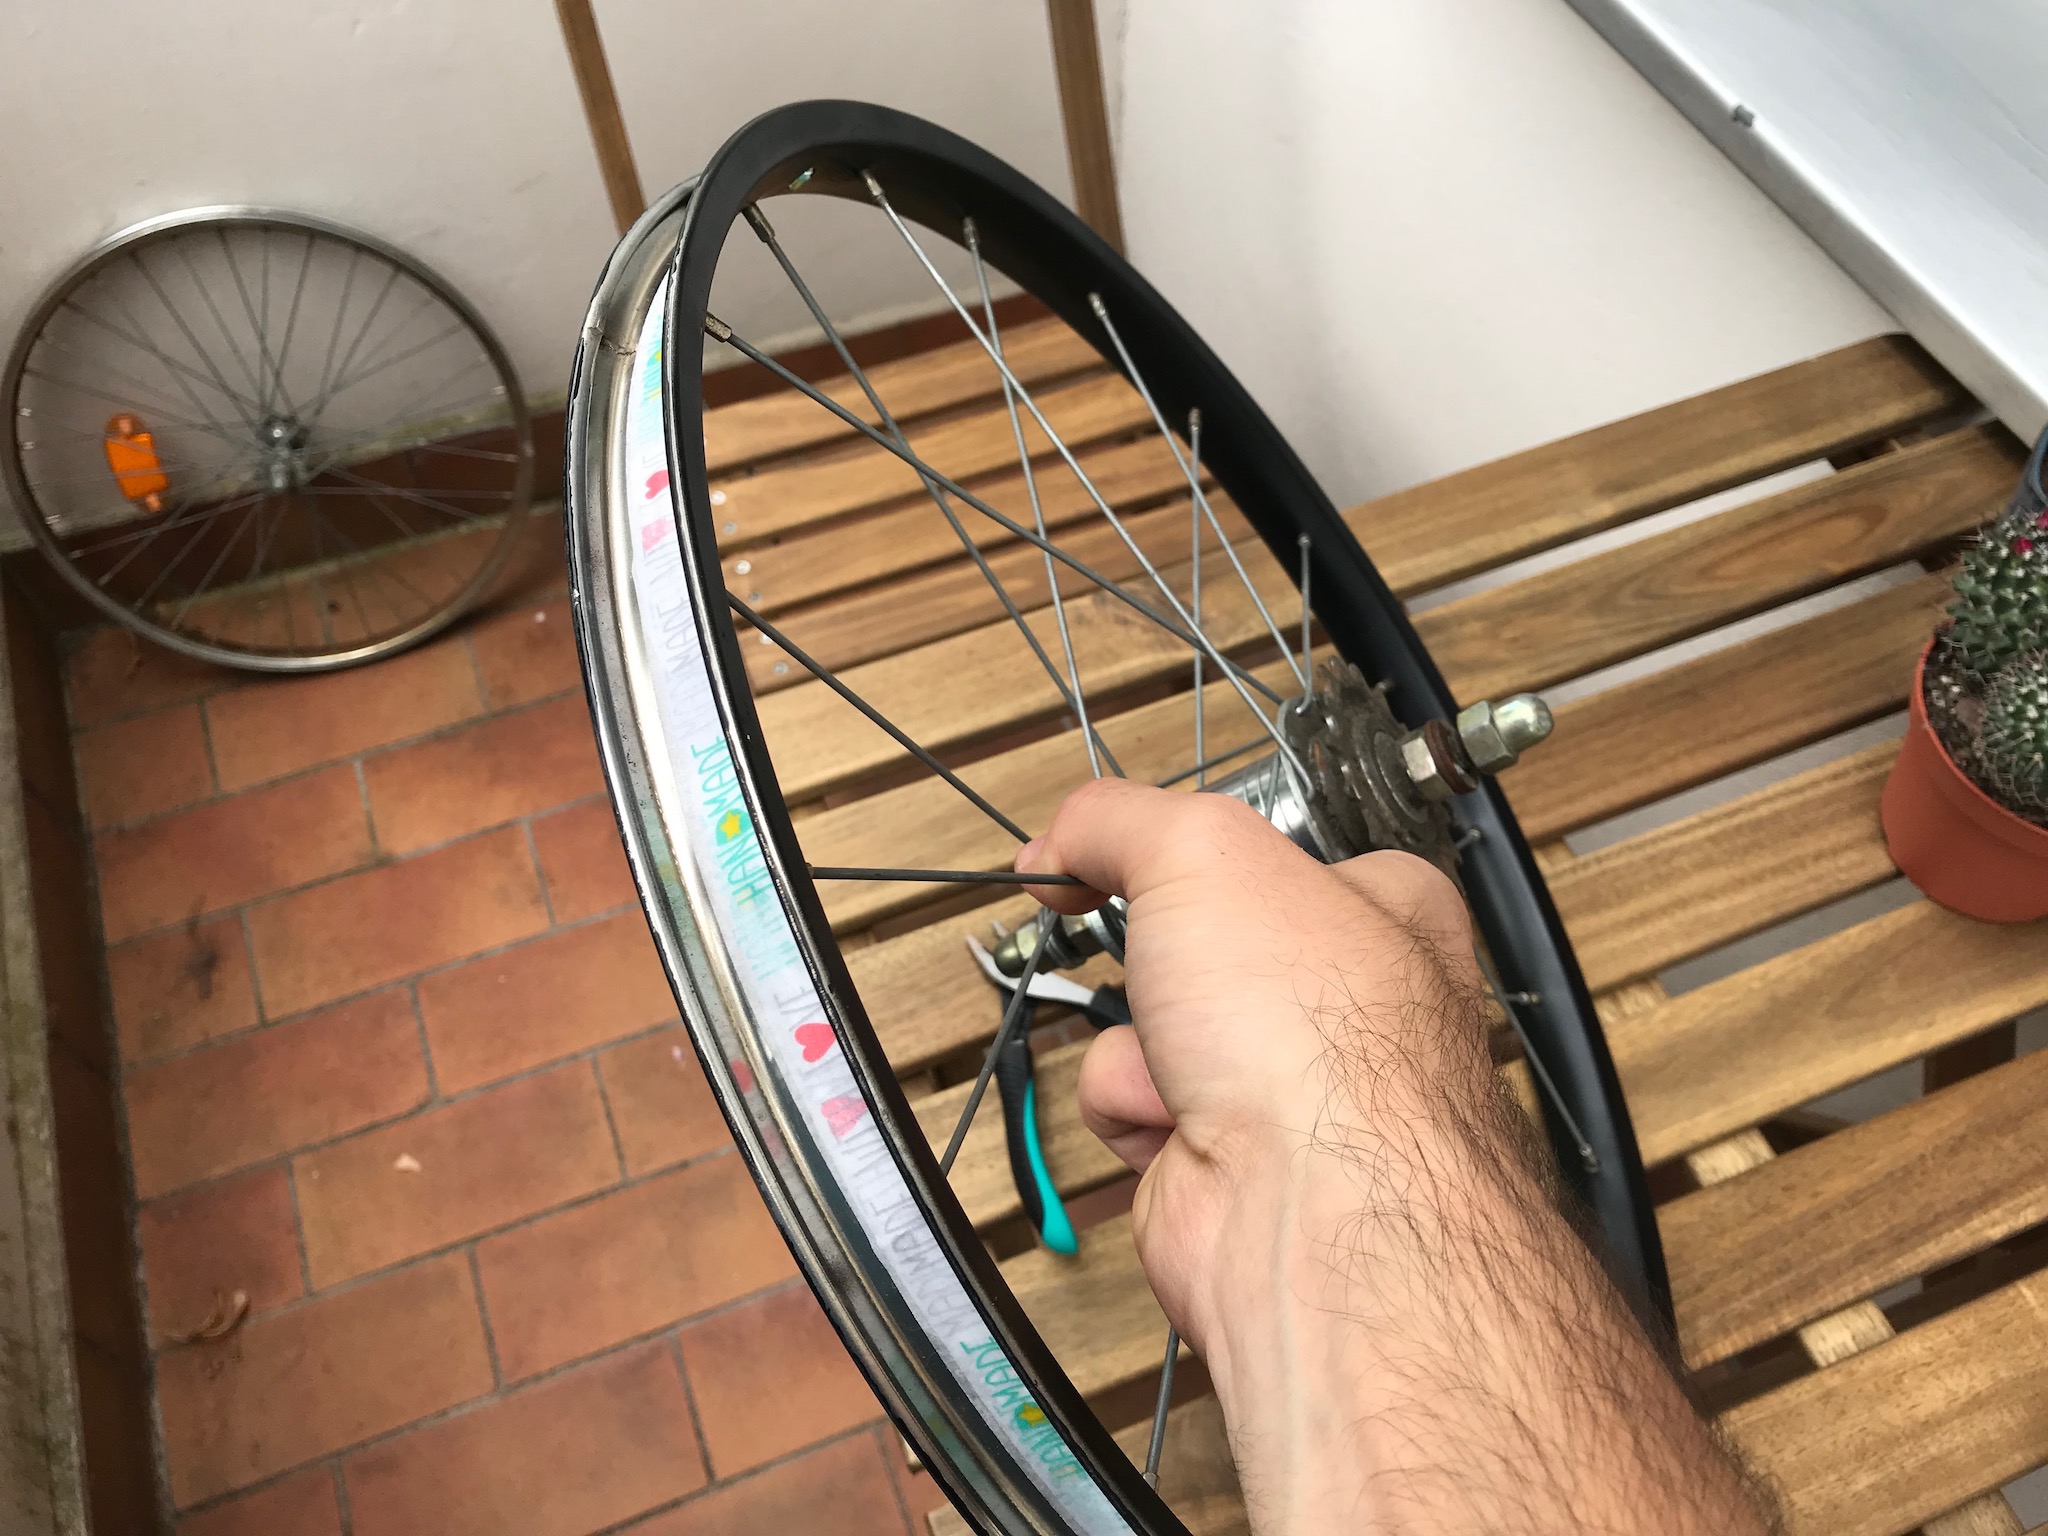
As I am assembling the wheels, I am squeezing and plying the spokes in order to make sure they are seated properly as I tighten them up. You have to be very careful when assembling wheels to avoid damaging them. If you tighten any one of the spokes too soon, or much more than the others, you can crush your wheel, bend it, or twist it in any other way that makes it untrue (leading to a very unpleasant riding experience).

A close up of how the wheel looks after being repainted.
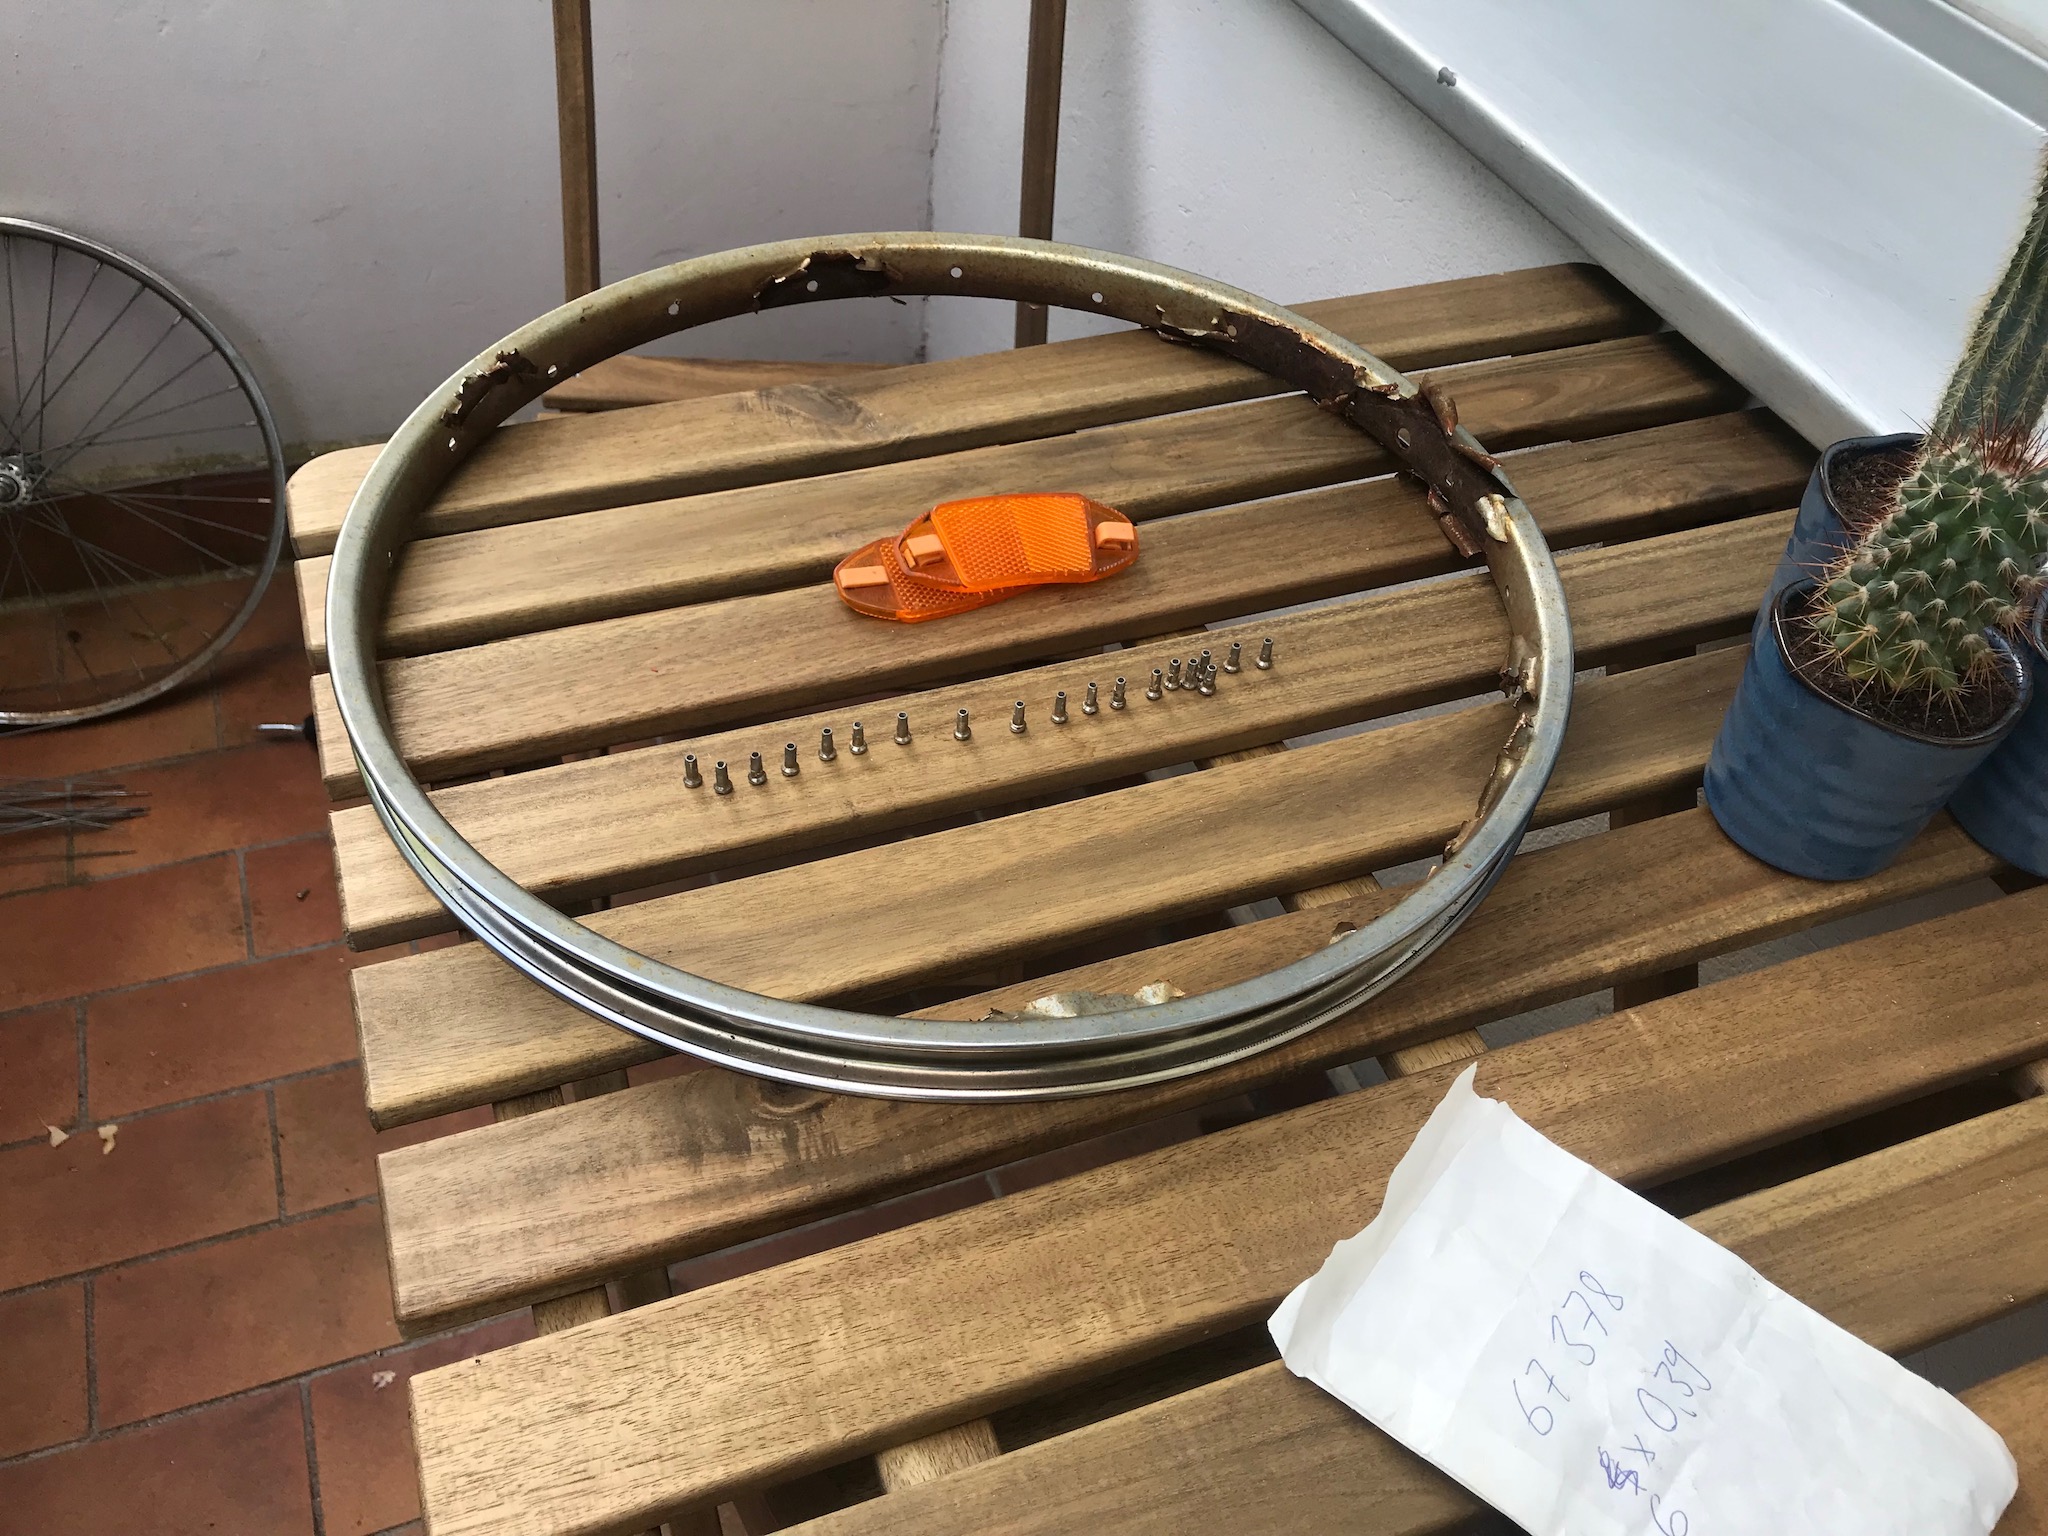
The completed wheel. As you can see, I did not paint the inside of the rims where the inner tube will sit. These were in good overall condition, and I did not want to cause issues with paint flaking inside of the tire.

Finally, the finished product! There is still quite a bit more work to do on this bicycle before I would consider it safe to ride. It uses a coaster brake in the rear, but the front brake caliper is completely missing.
Other considerations are new lights, reflectors, and maybe a little flag to aid in visibility. I hope you enjoyed, and thanks for reading!