Linear to Rotary Mixer Conversion
Back in the days of Disco House when it was still a new Genre, people were mixing with Rotary mixers. These mixers were simplified tools that merged the audio channels between two sources. They had a distinct sound, color, and their rotary control allowed for very smooth and soft transitions between tracks.
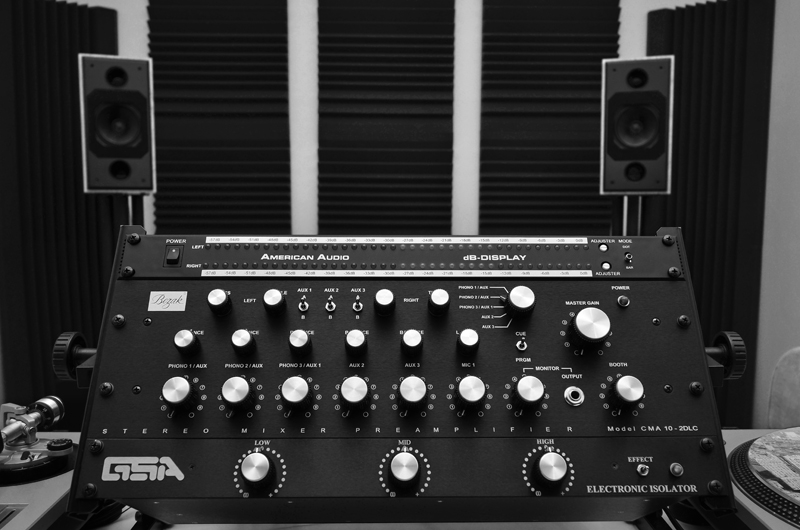
Credit: http://www.inthemix.com.au/forum/showthread.php?p=394977387#post394977387
This style of composition has gone way to the development of Linear fader mixers. These new mixing boards allowed for faster cuts and favored a turntablist style DJ performance. This is great for some genres, but not for smooth music such as Deep House. Since Deep House is the music that I spin, I wanted to bring back some of that vintage, high quality, smooth rotary mixing action with the qualities of a modern digital mixer.
My mixer of choice was my Denon DNX-1500.
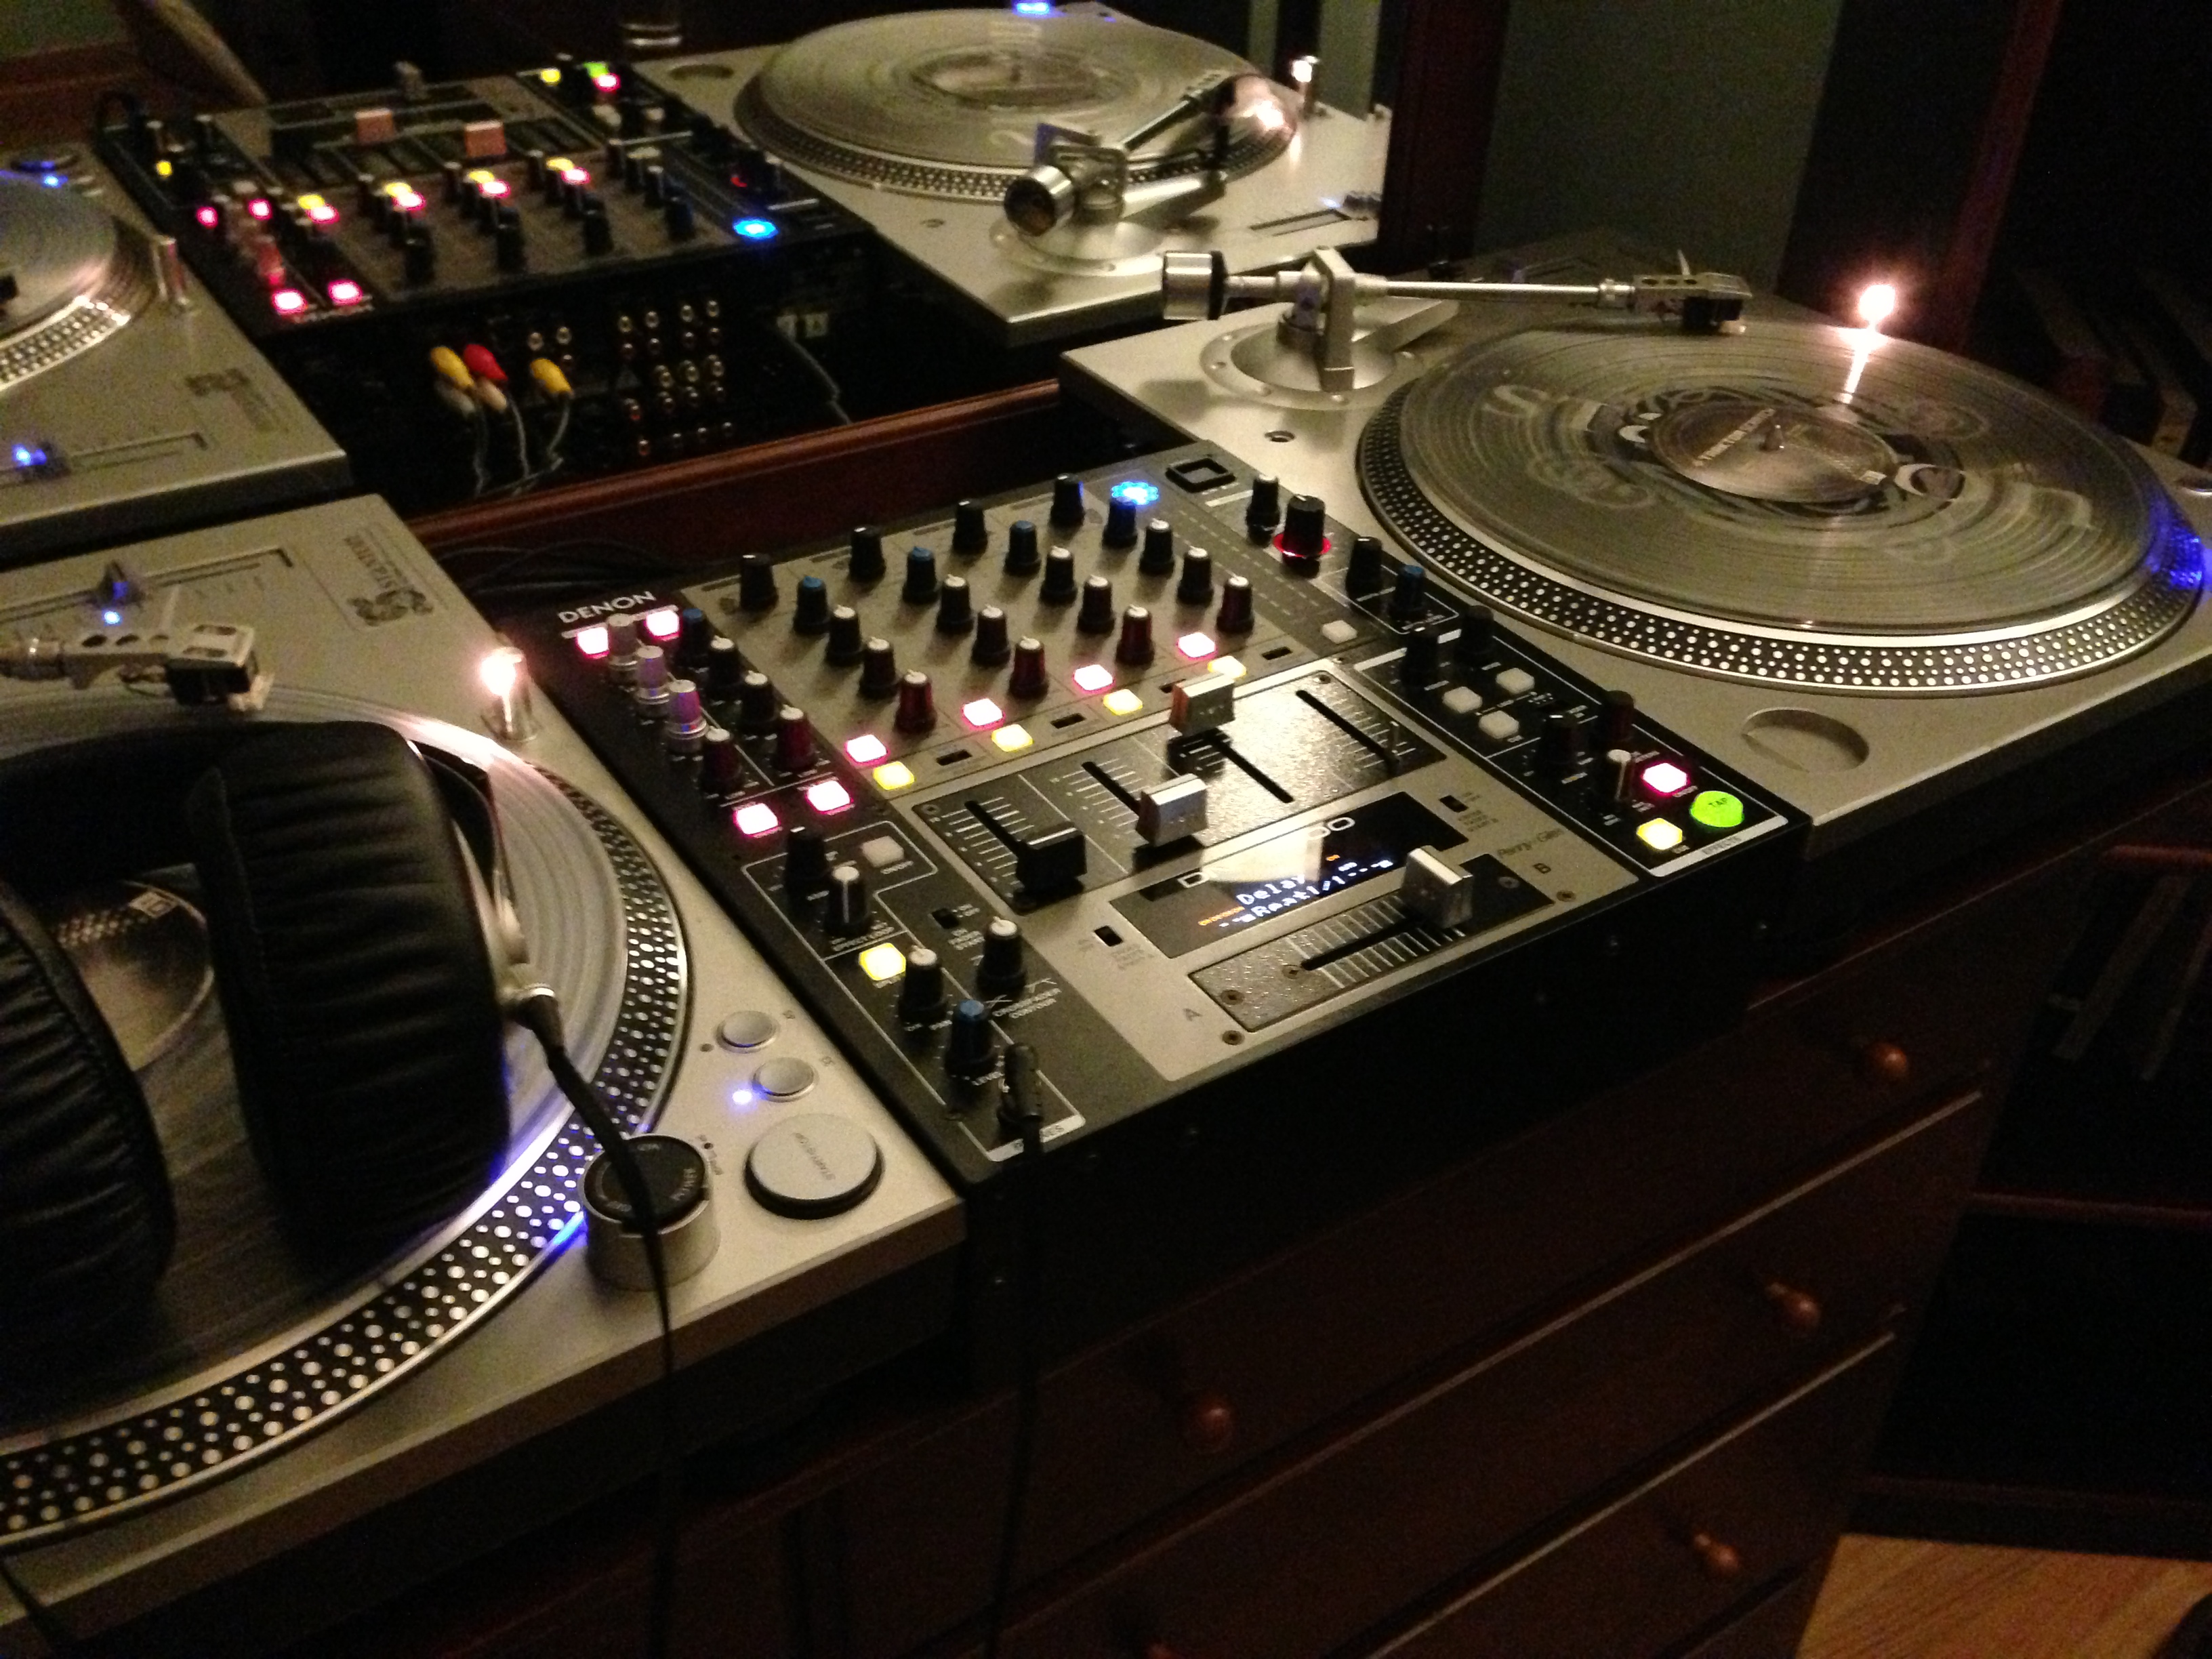
Original Trim with Linear Faders
I began by first taking apart the mixer and measuring the resistance of the Linear Faders. The Linear Faders work in the digital system by sending their resistance to a circuit that then analyzes and sends the appropriate output through the mixer. That is; despite the fact that the Denon is a digital mixer, the control surfaces are analog, the faders are linear potentiometers. By finding a potentiometer that closely matched the specifications of the original potentiometer I was able to replace them:
https://www.sparkfun.com/products/9939
Removing the faceplate of my mixer allowed me access to my faders. Afterwards, I used a multimeter and measured the resistance of the faders during a full open, and full close situation to get their range. This gave me approximately a 10k ohm resistance range.
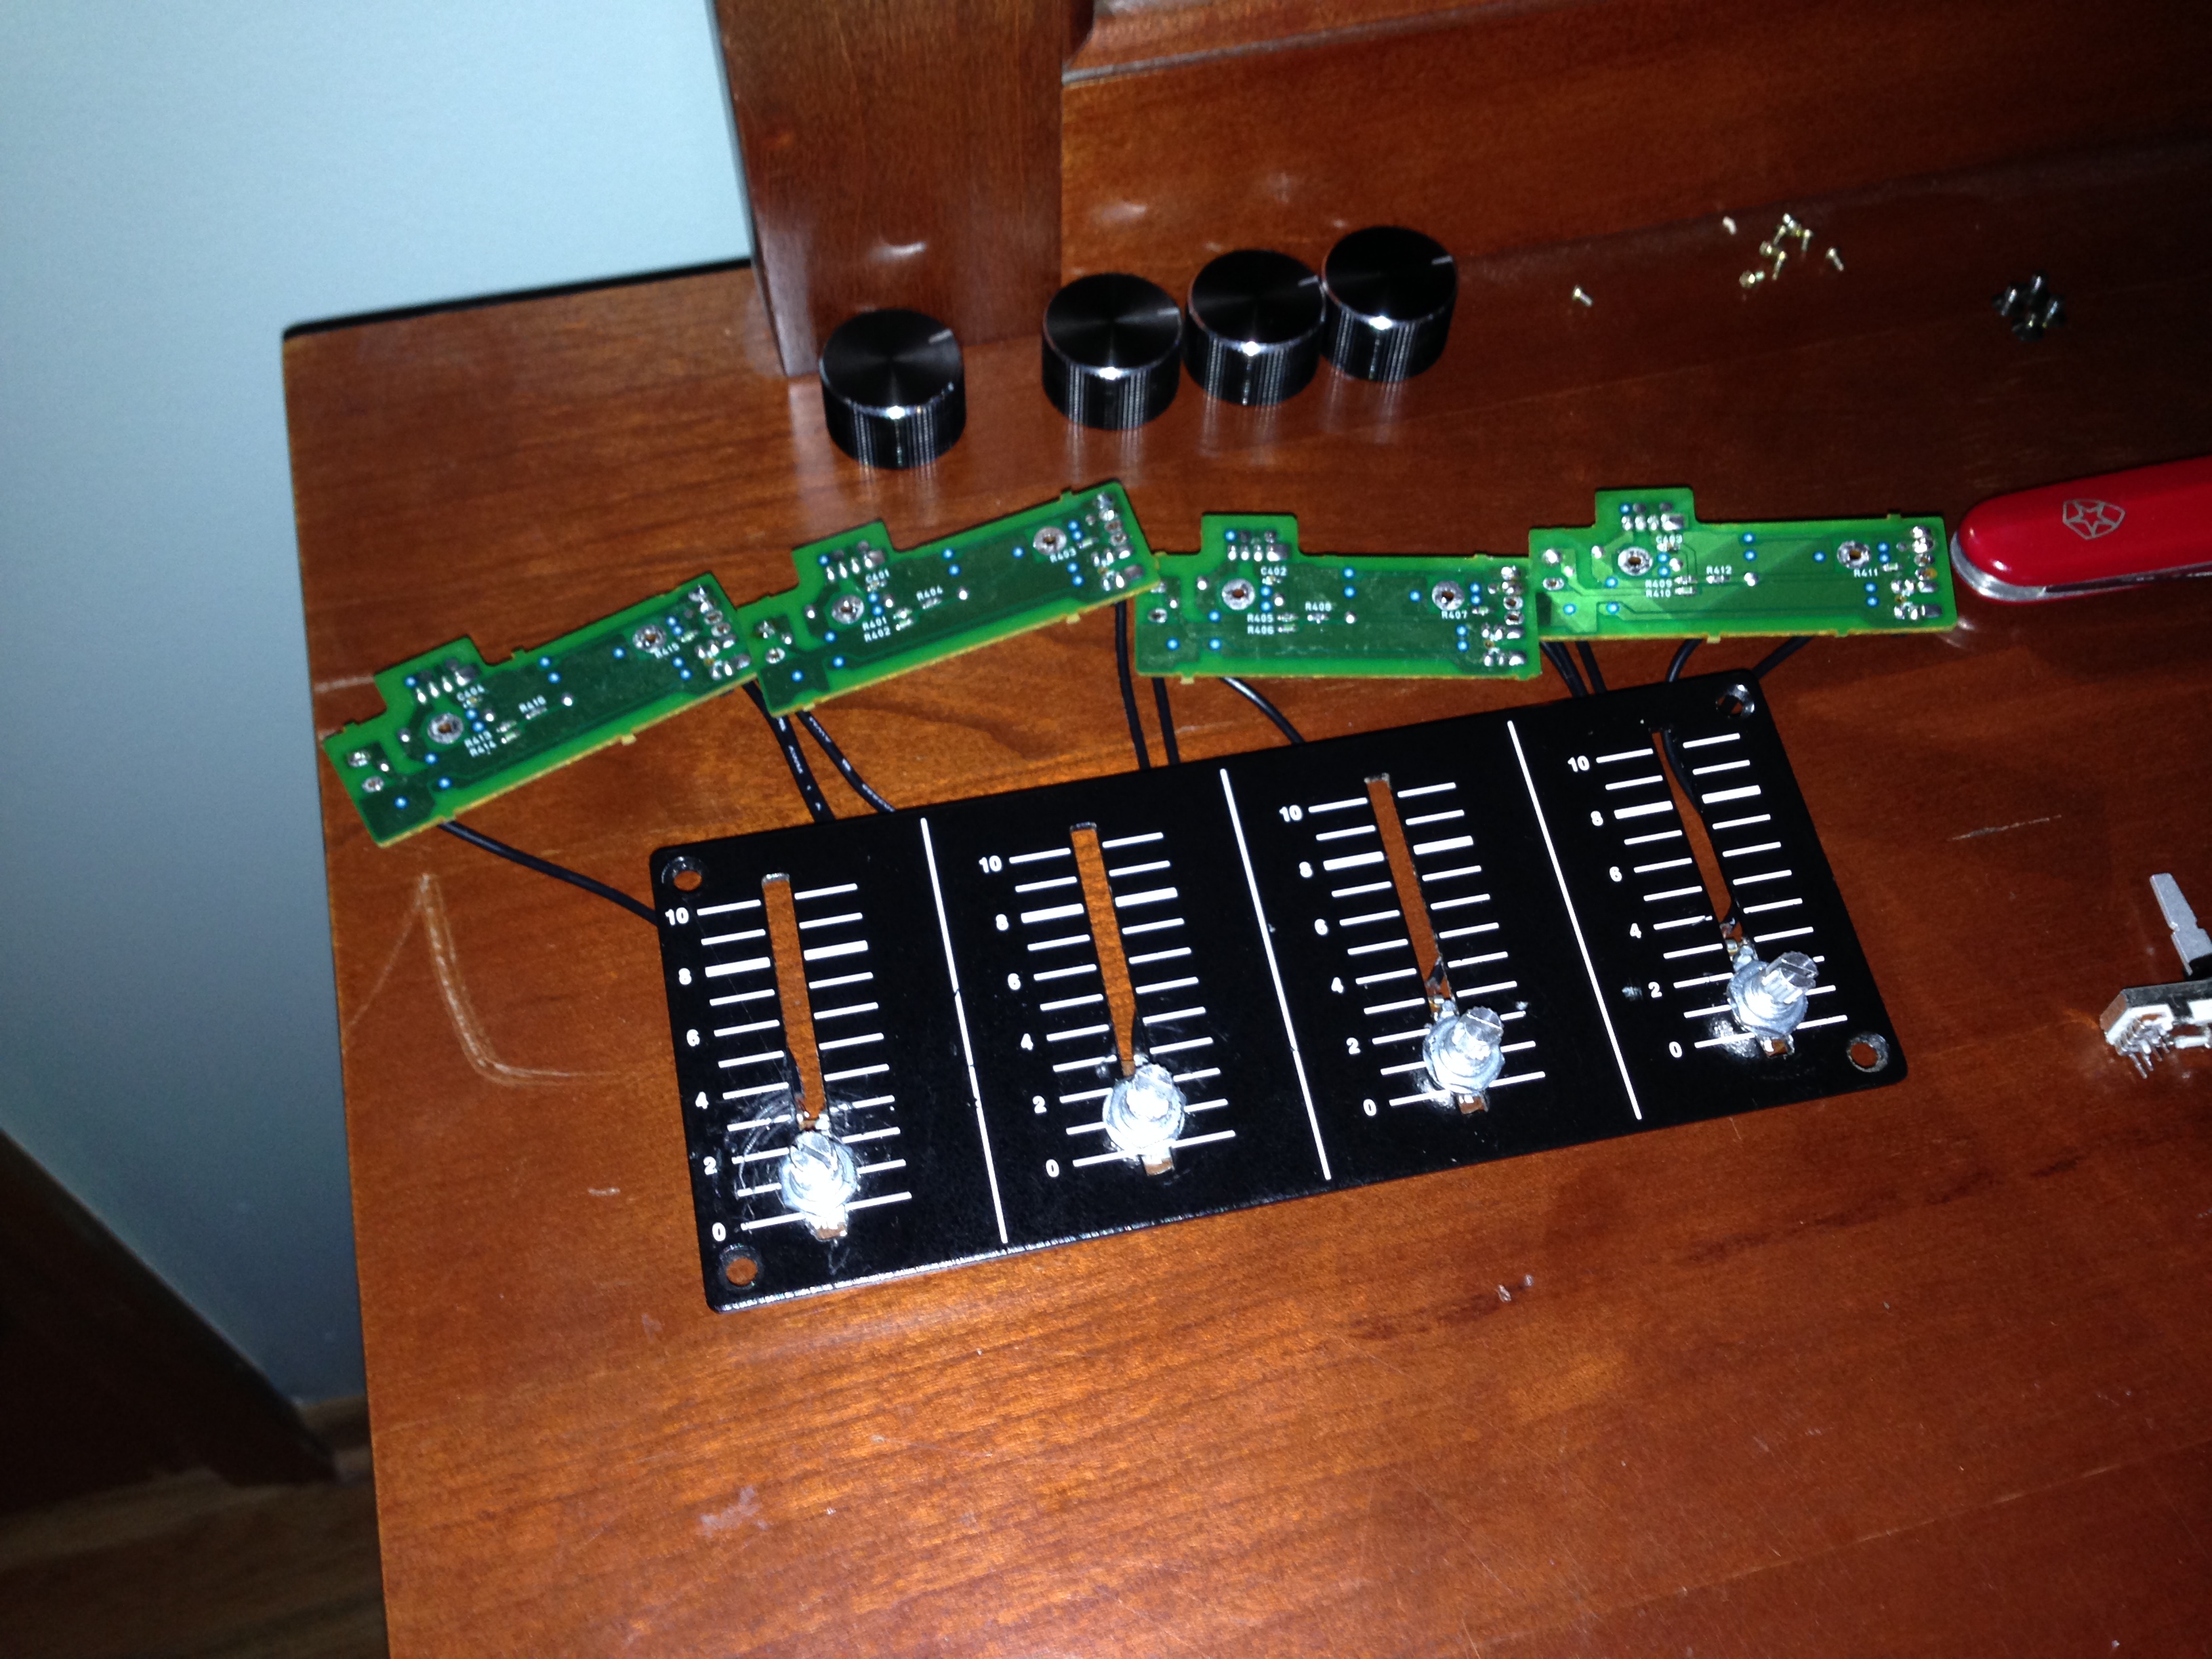
After replacing the rotary potentiometers into the slots of the linear potentiometers I had something like this.
Prototype Phase
I tested them out and my mixer was immediately shutting off upon the increase of volume. I found out that while normally a potentiometer doesn't have direction, that is, it is agnostic of pin 1 and 2, in my special case of being used as control for volume, there is direction, so after switching the pins, I was able to get the system working properly. I tidied up the wires and tried again.

Tided up wires and ready for reinstall
After verifying that the new wire order on the chips worked, I went ahead and cleaned up the connections. Resoldered everything and made sure it was all tight before creating a cover to block the light where the old faders slid and insulating the boards against contact from any metal inside the mixer.
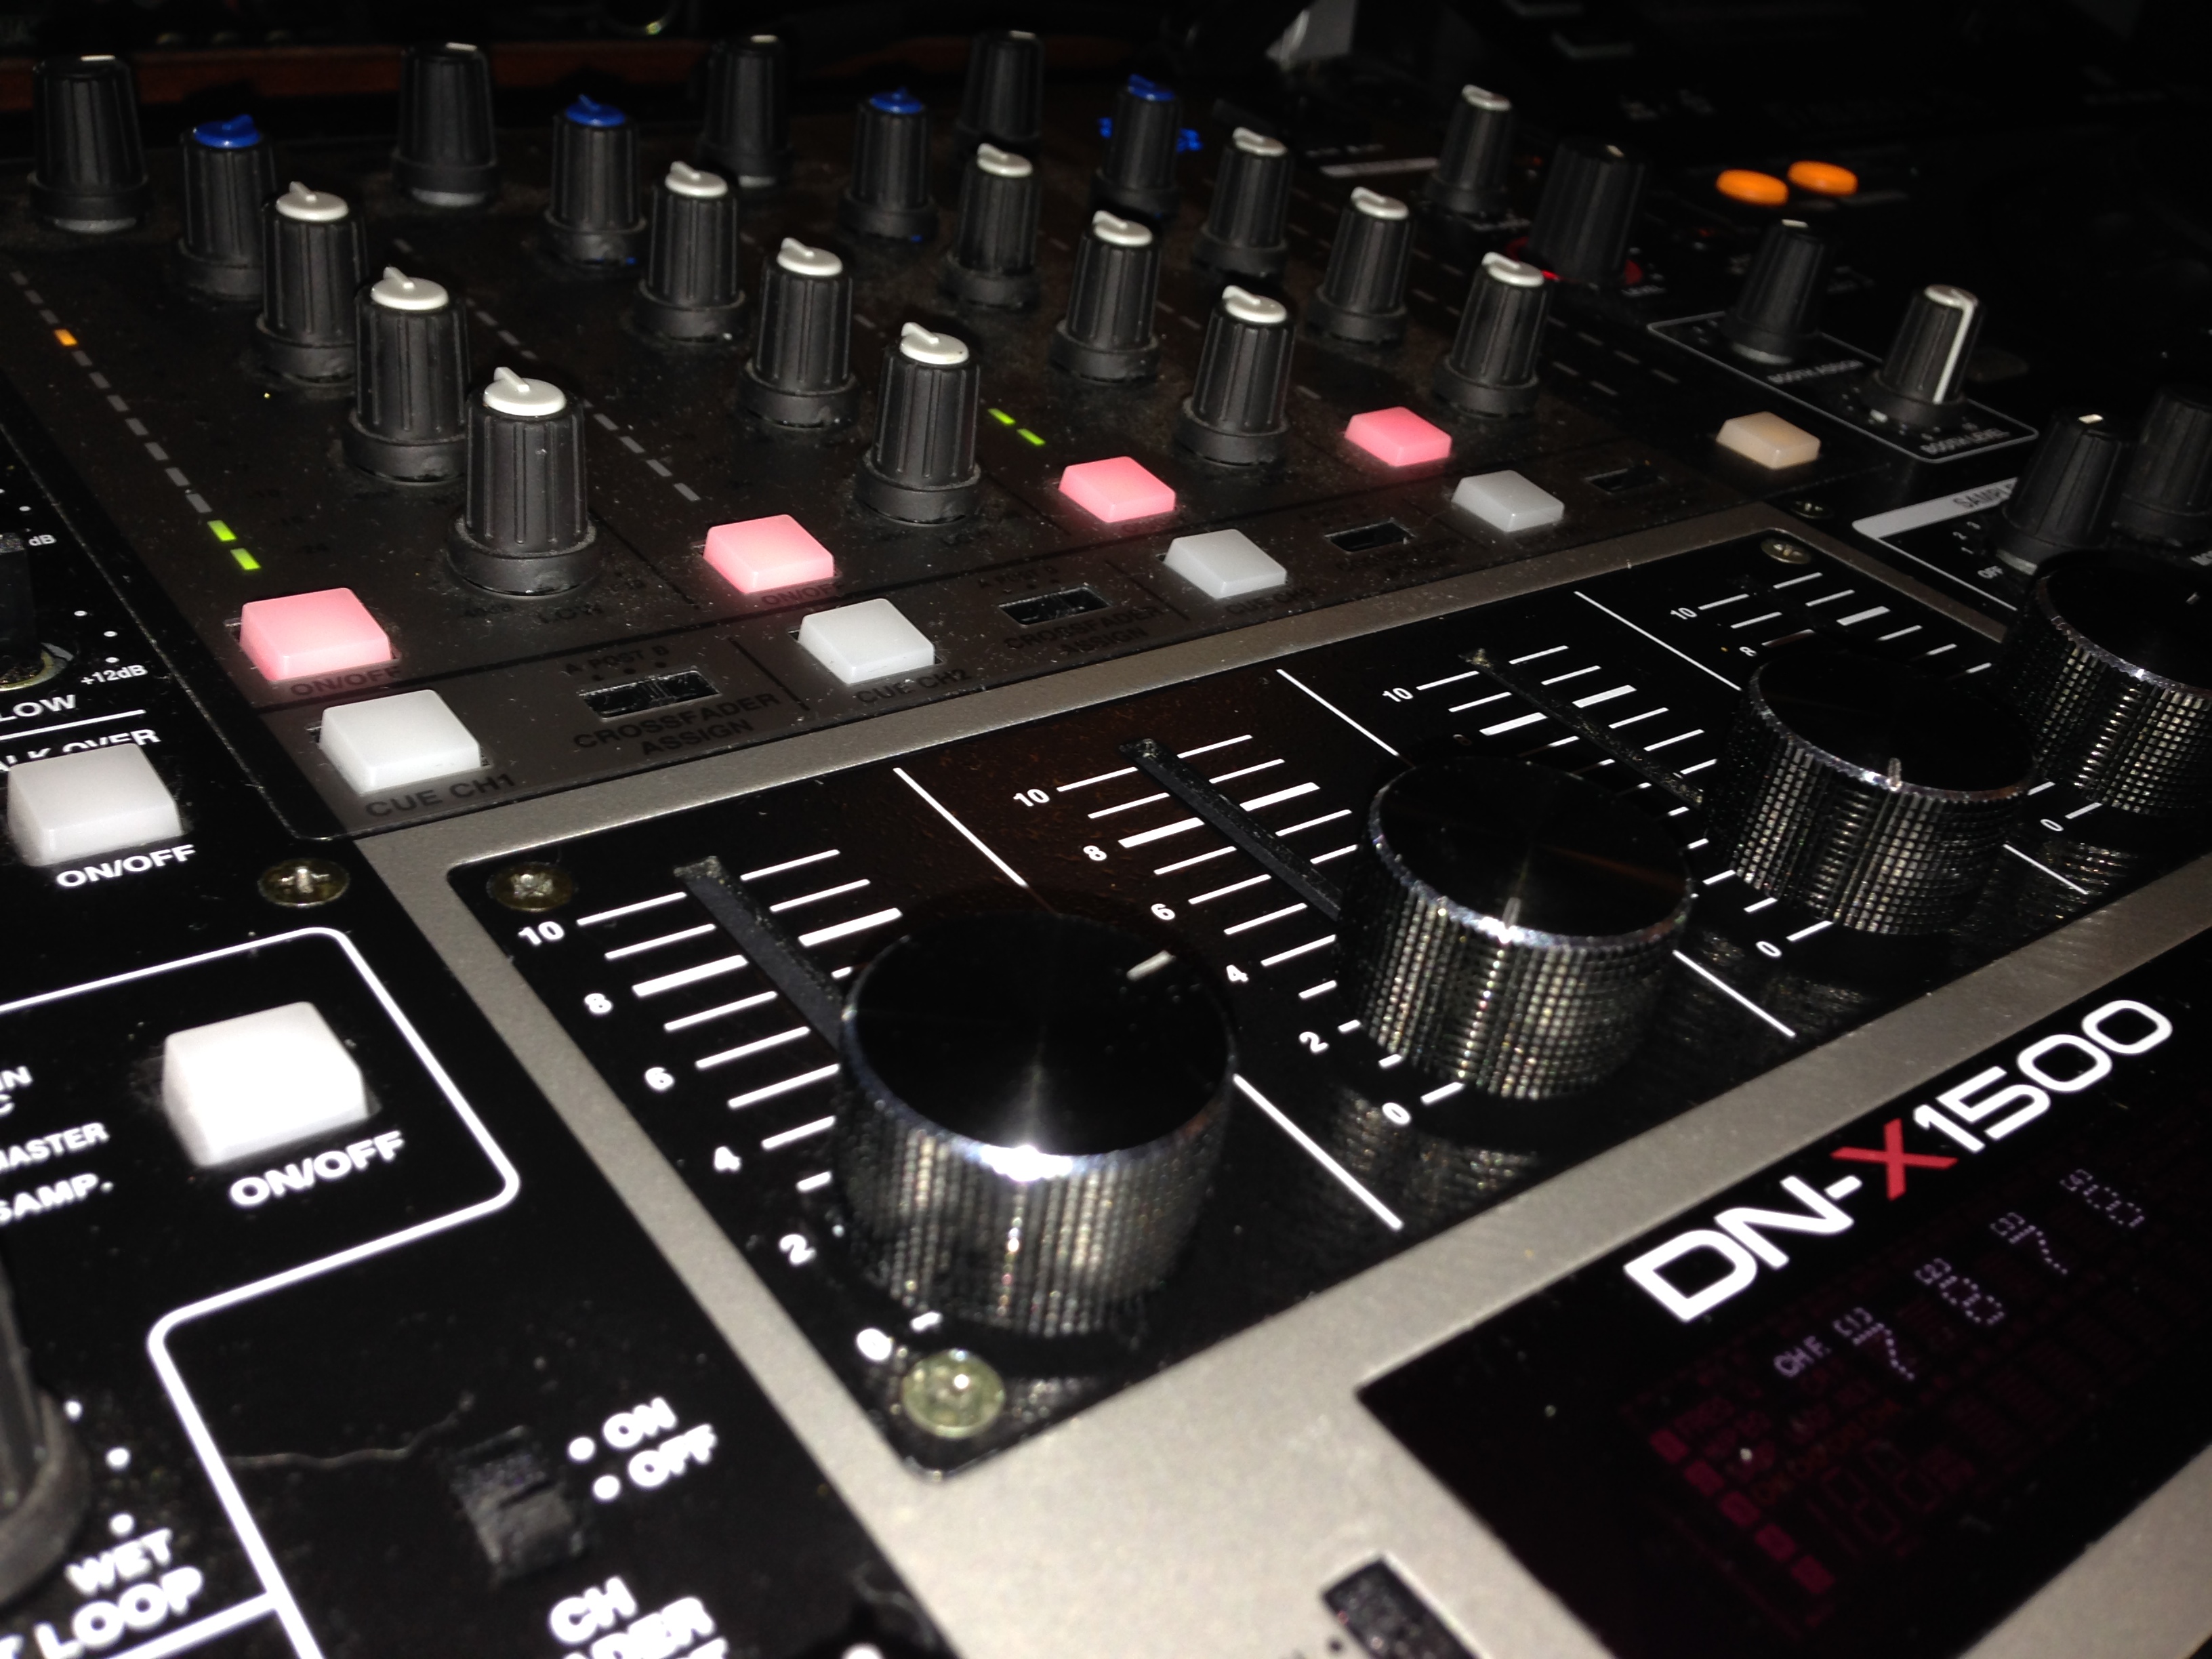
The final project looks like this!
Final Thoughts: In the future when doing this modification to a new or different mixer of mine, I would like to print my own miniaturized PCBs such that they can fit nicer into the mixer and that the potentiometers can be soldered directly to the board without the use of leads. I also would like to take more pictures next time, as I didn't document nearly as many things as I could have.
If you're looking to do this to your own mixer, the process is roughly the same.
- Pull out the linear faders
- Measure the resistance of the linear faders from open to close using a multimeter
- Find an appropriate rotary potentiometer with similar specifications
- Install the rotary potentiometer and match the leads as they were in the linear potentiometer setup
- Enjoy your new smooth rotary mixer!