GNU Screen! Intro & Tutorial
GNU Screen is a program that allows you to have virtual terminal spaces or desktops. Imagine that GNU Screen is a terminal version of OSX Spaces.
The blurb on the GNU Screen home page is accurate, but difficult to understand:
Screen is a full-screen window manager that multiplexes a physical terminal between several processes, typically interactive shells. Each virtual terminal provides the functions of the DEC VT100 terminal and, in addition, several control functions from the ANSI X3.64 (ISO 6429) and ISO 2022 standards (e.g., insert/delete line and support for multiple character sets). There is a scrollback history buffer for each virtual terminal and a copy-and-paste mechanism that allows the user to move text regions between windows.
Let's demystify what GNU Screen is, and how you would use it by running through a potential use case (there are many, many more)
- You need to run several programs simultaneously
- These programs cannot be sent to the background
- You have to switch between these programs to interact with them within one terminal session (e.g. ssh session)
So what would you do? You can use GNU Screen! More likely than not, GNU Screen ships with your *Nix Machine. To test if it is already installed simply type:
screen
If you are presented with a message as such:
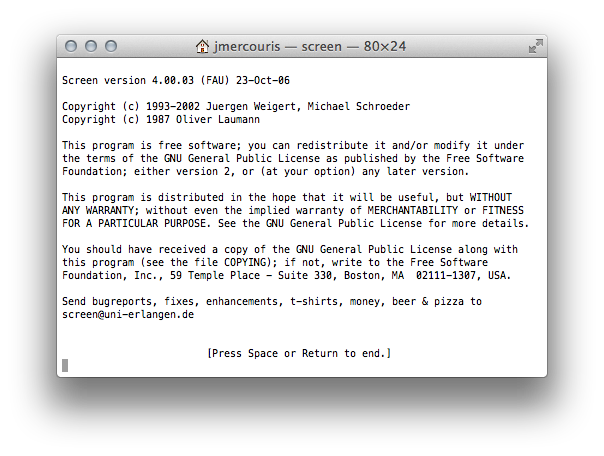
then, you have GNU Screen installed, congratulations, if not you can find it at:
http://ftp.gnu.org/gnu/screen/
Or, on Ubuntu you can install it with:
sudo apt-get install screen
Now, here's how you use it! Think of Screens as virtual desktops or OSX spaces.
The first command we'll learn is how to make a new named screen.
screen -S screenname
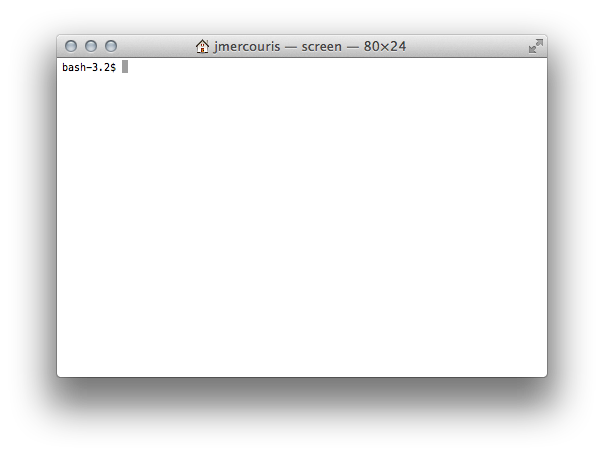
Will produce a new screen with a particular screenname, let's go ahead and do it. Immediately we'll be presented with a new blank terminal. Or in this case, a new virtual terminal screen.
If we run:
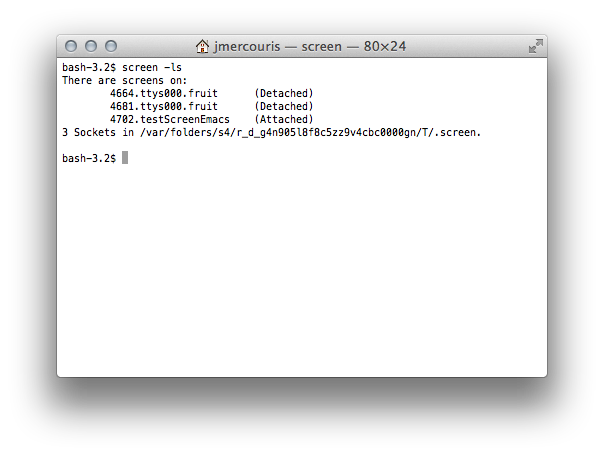
screen -ls
We'll be presented with a list of running screens, which should include our new running screen, in my case testScreenEmacs.
Now, if we want to "detach" from our screen session, that is, change our virtual display, akin to changing "spaces" on OSX, we will type the following key combination:
ctrl + a
we'll then release all keys on the keyboard and press:
d
This will "detach" our running session, let's go ahead and do that. After detaching, entering the command:
screen -ls
will show us the new state of our terminal:
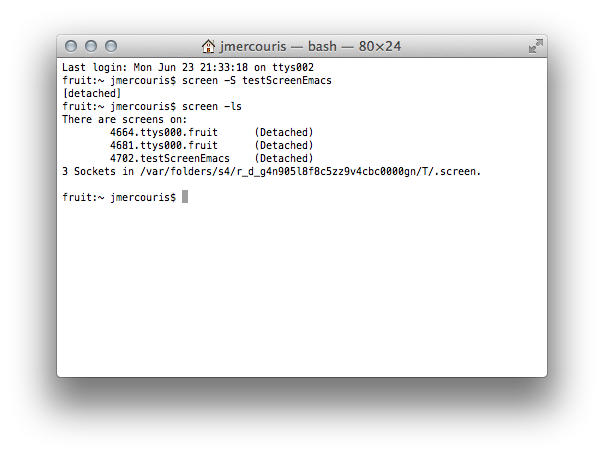
We are now detached from our previous session, and are attached to the standard terminal. To go back into our virtual screen, we type:
screen -r testScreenEmacs
Finally, let us kill our test screen environment. The recommended way to do so is to enter the screen using
screen -r screenname
then entering the following key combination:
ctrl + a
we'll then release all keys on the keyboard and type:
:quit
followed by the return key (enter).
In short, GNU Screen is a powerful tool for maintaining multiple "virtual" screens. Here's an aggregate quick reference:
screen -ls   list screen sessions
screen -S name create screen called name
screen -r name connects to the screen name
Here is a reference of commands to use within Gnu Screen itself: Much
like the Emacs commands C-n and C-p, Gnu Screen
followers similar mnemonics.
Ctrl+A N -> go to the next screen
Ctrl+A P -> go to the previous screen
Ctrl+A C -> Create new screen
Ctrl+A D -> Detach screen
You can always find more on the help screen C-a ?. Best of
luck!