Bicycle Lighting
The Original Bike: Commuter & Mini Tourer
In December of 2014, I purchased a bicycle with the intention of riding it on my daily commute. In addition to using it for commuting, I planned on using it for short distance touring among popular trails in Berlin. Examples of this include the Berlin Mauerweg (http://mauerweg.com); a guided trip tracing the historic location of the Berlin wall.
The trips I envisioned were on the scale of 60-100 kilometers in length. For this length of trip, it is often necessary to carry provisions for tires, water, and food; one of the requirements therefore is for a pannier rack. A pannier rack is necessary if you wish to carry any considerable load on your bicycle without getting exhausted.
When I first purchased the bicycle it looked like the following:
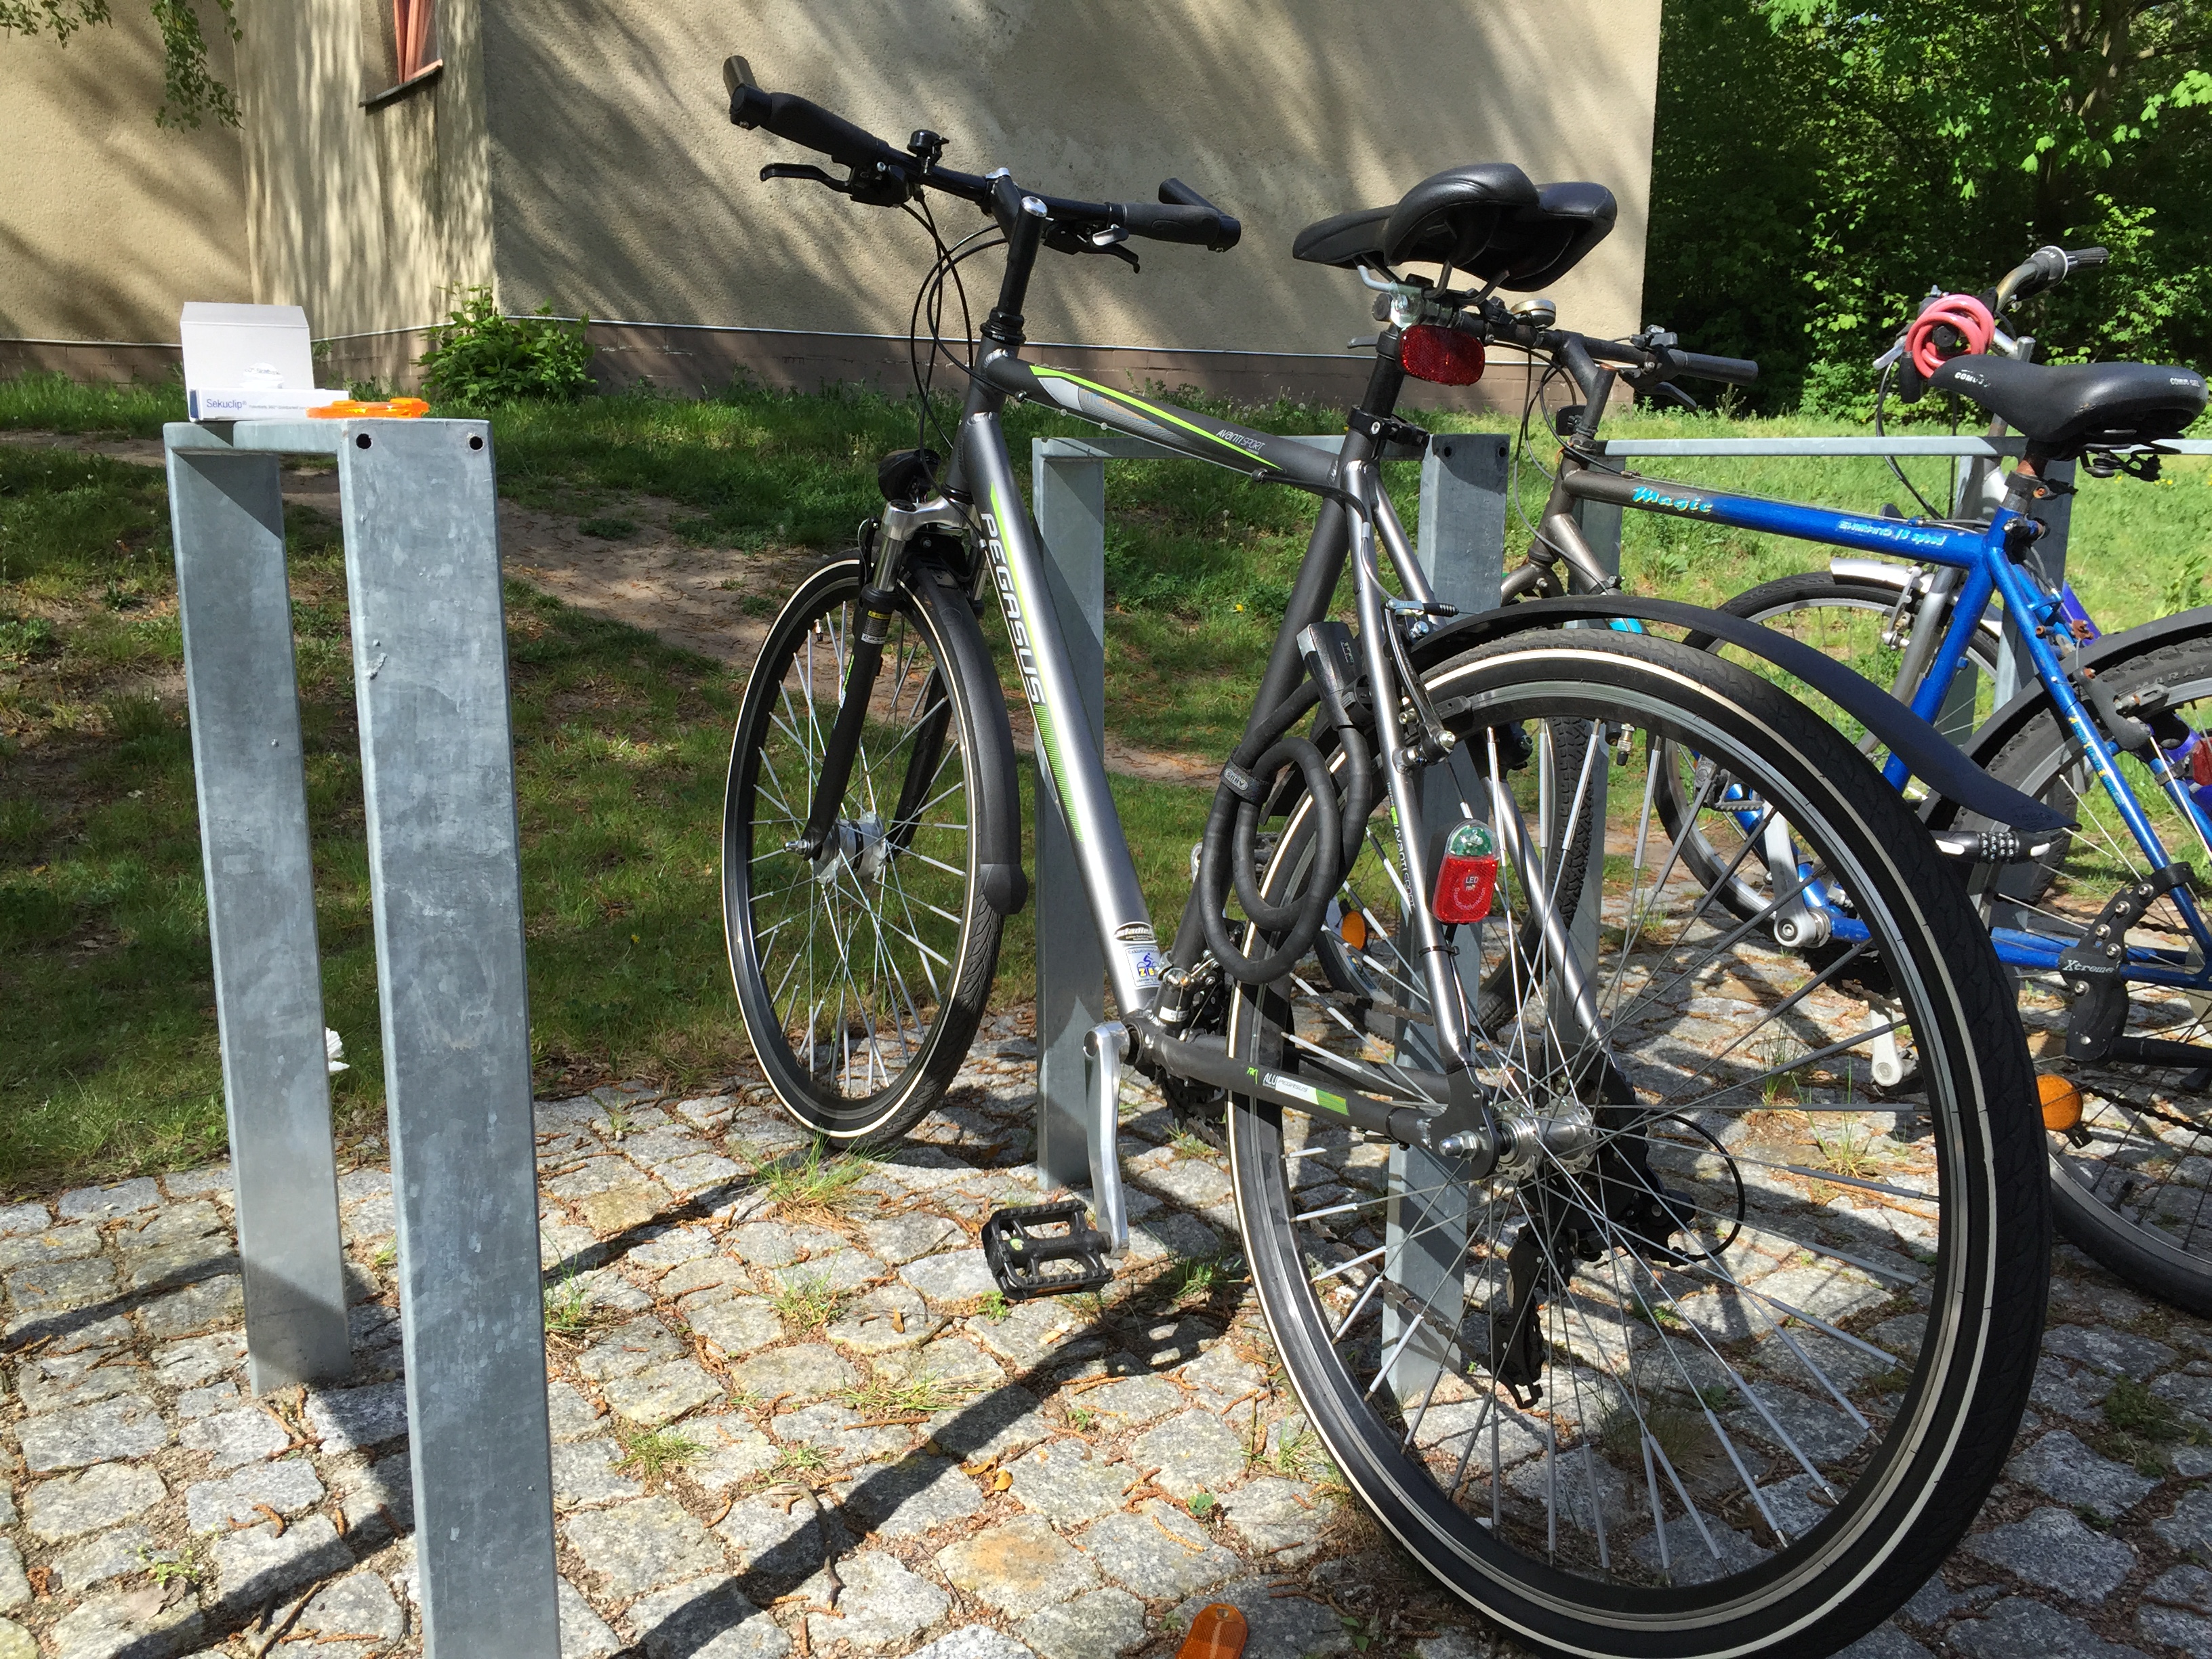
It had front and rear lights, splash guards, brakes, and a front/rear derailleur. It was optimally setup for commuting over a nice mixture of hard and soft surfaces with a focus on paved roads.
Customization and Modification: Pannier Rack
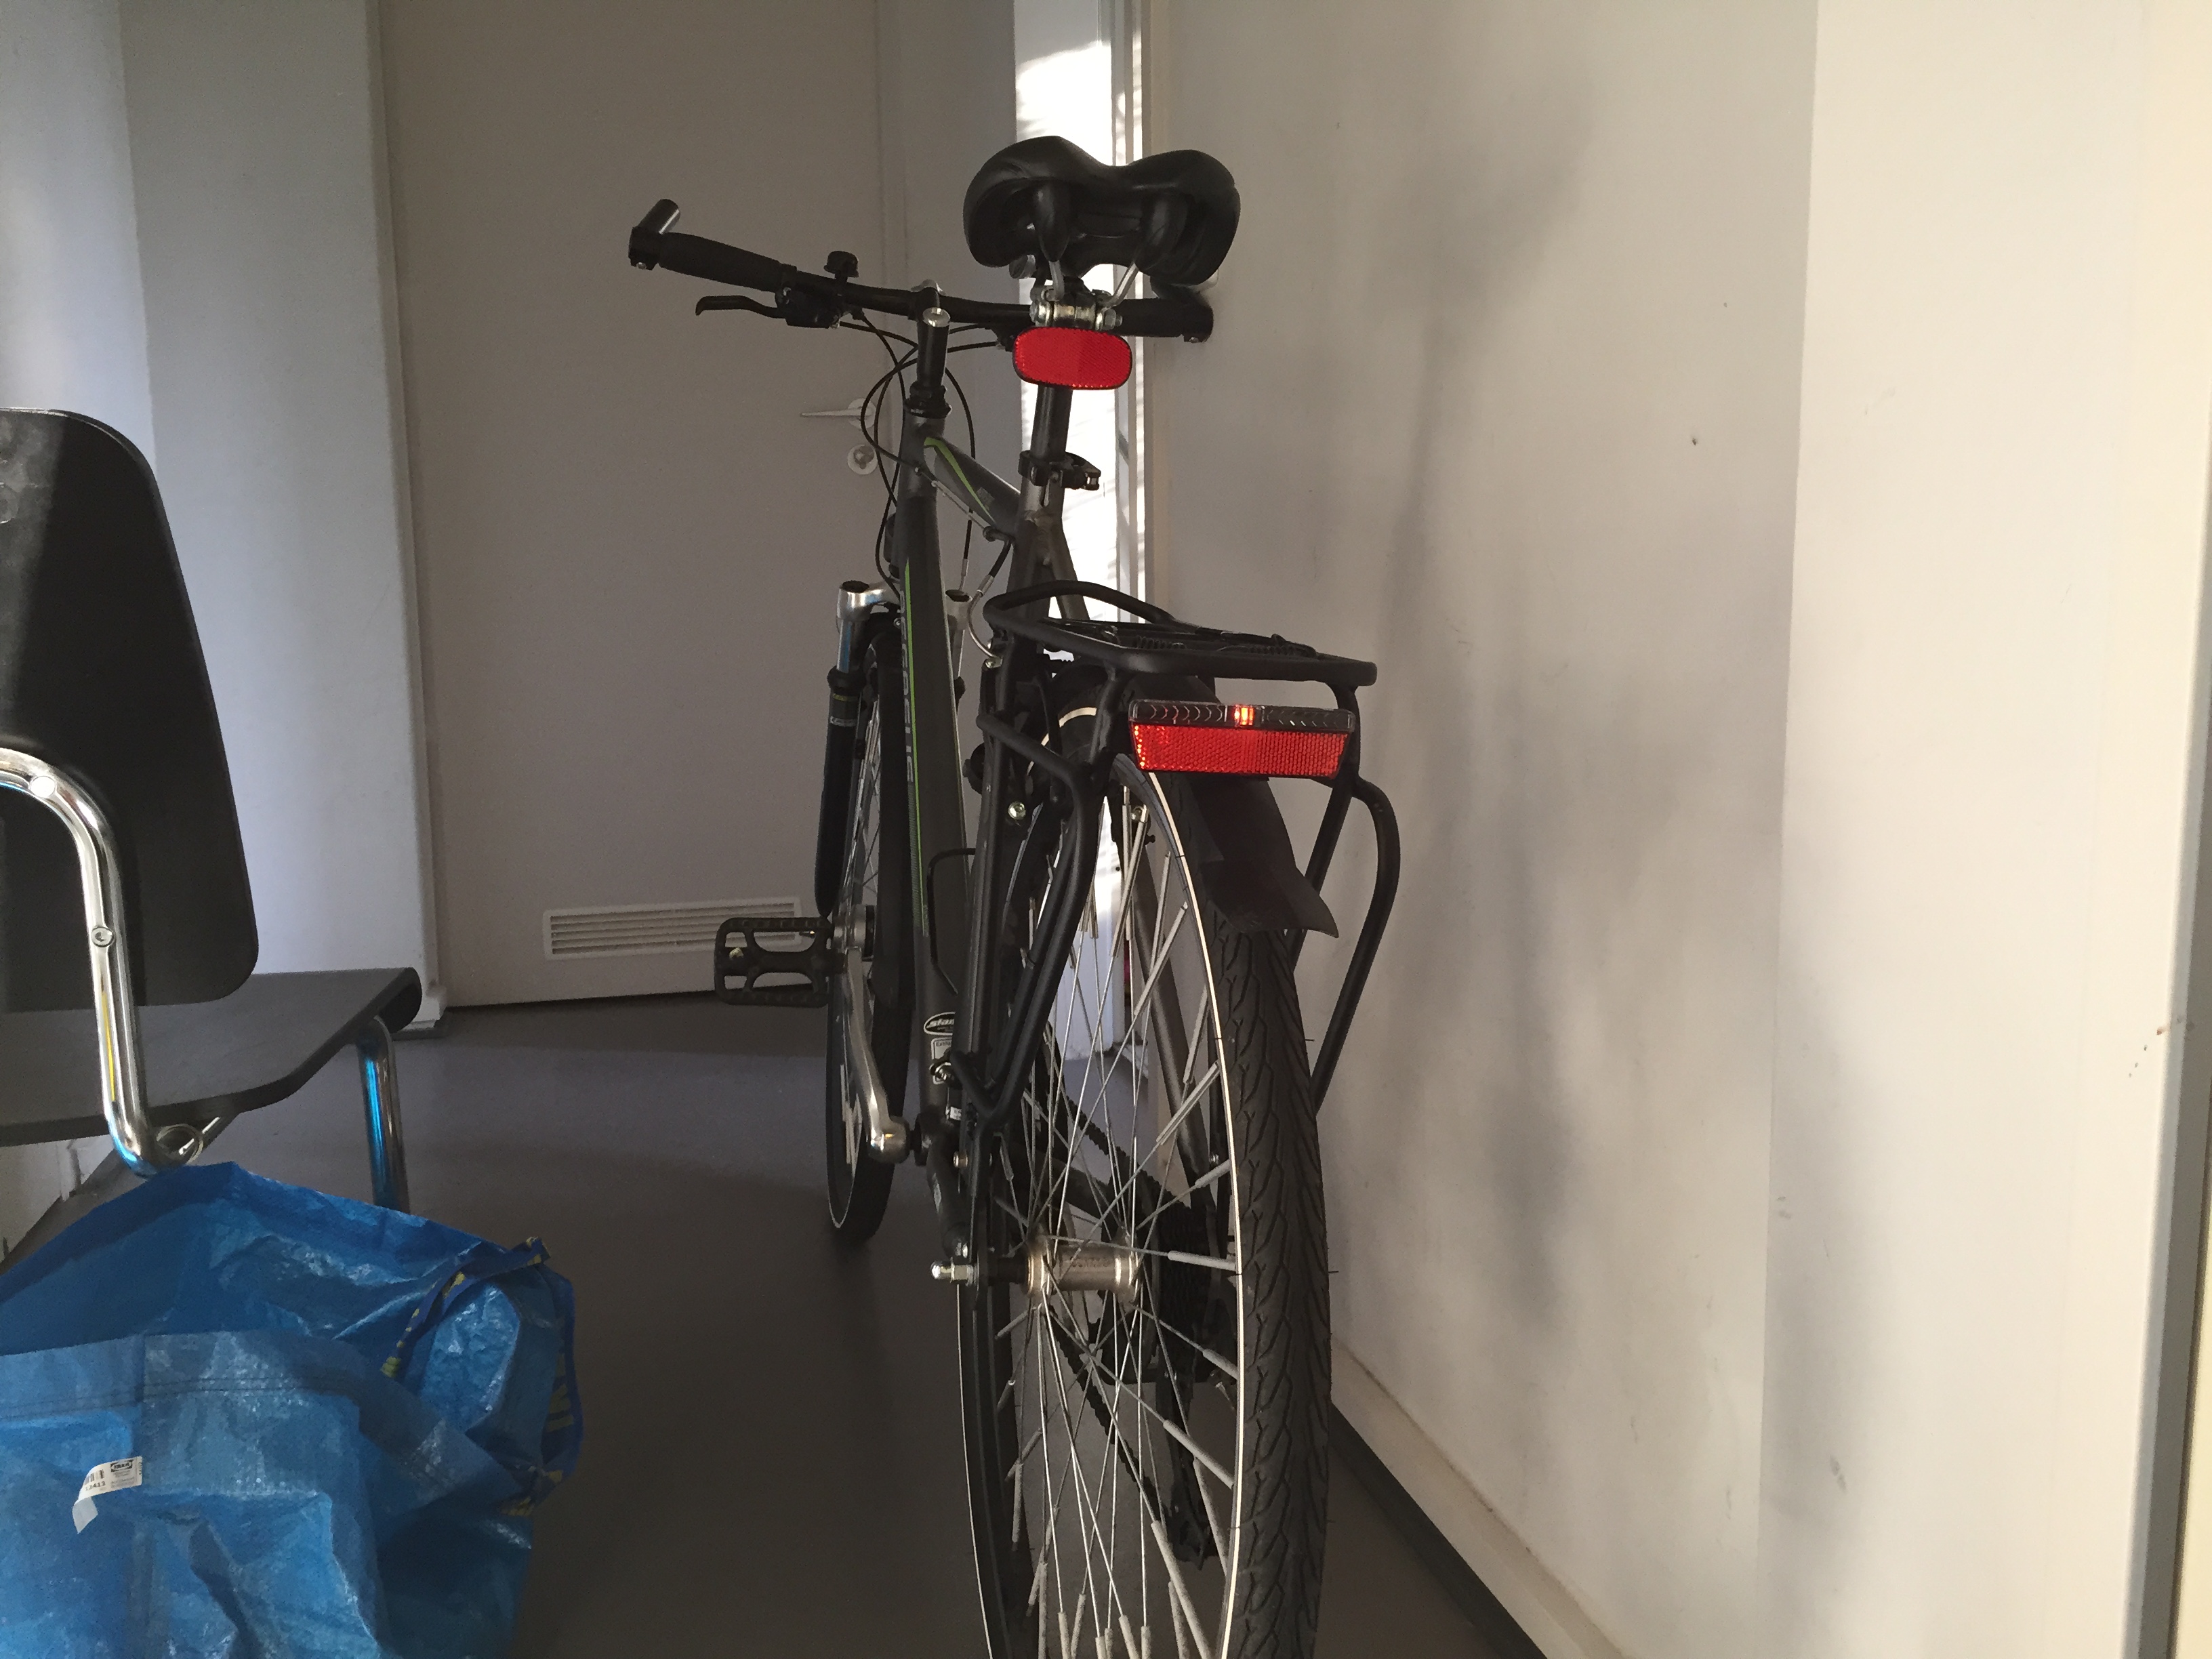
After finding a pannier rack that suited my needs, I installed it, and the bike looked like this:
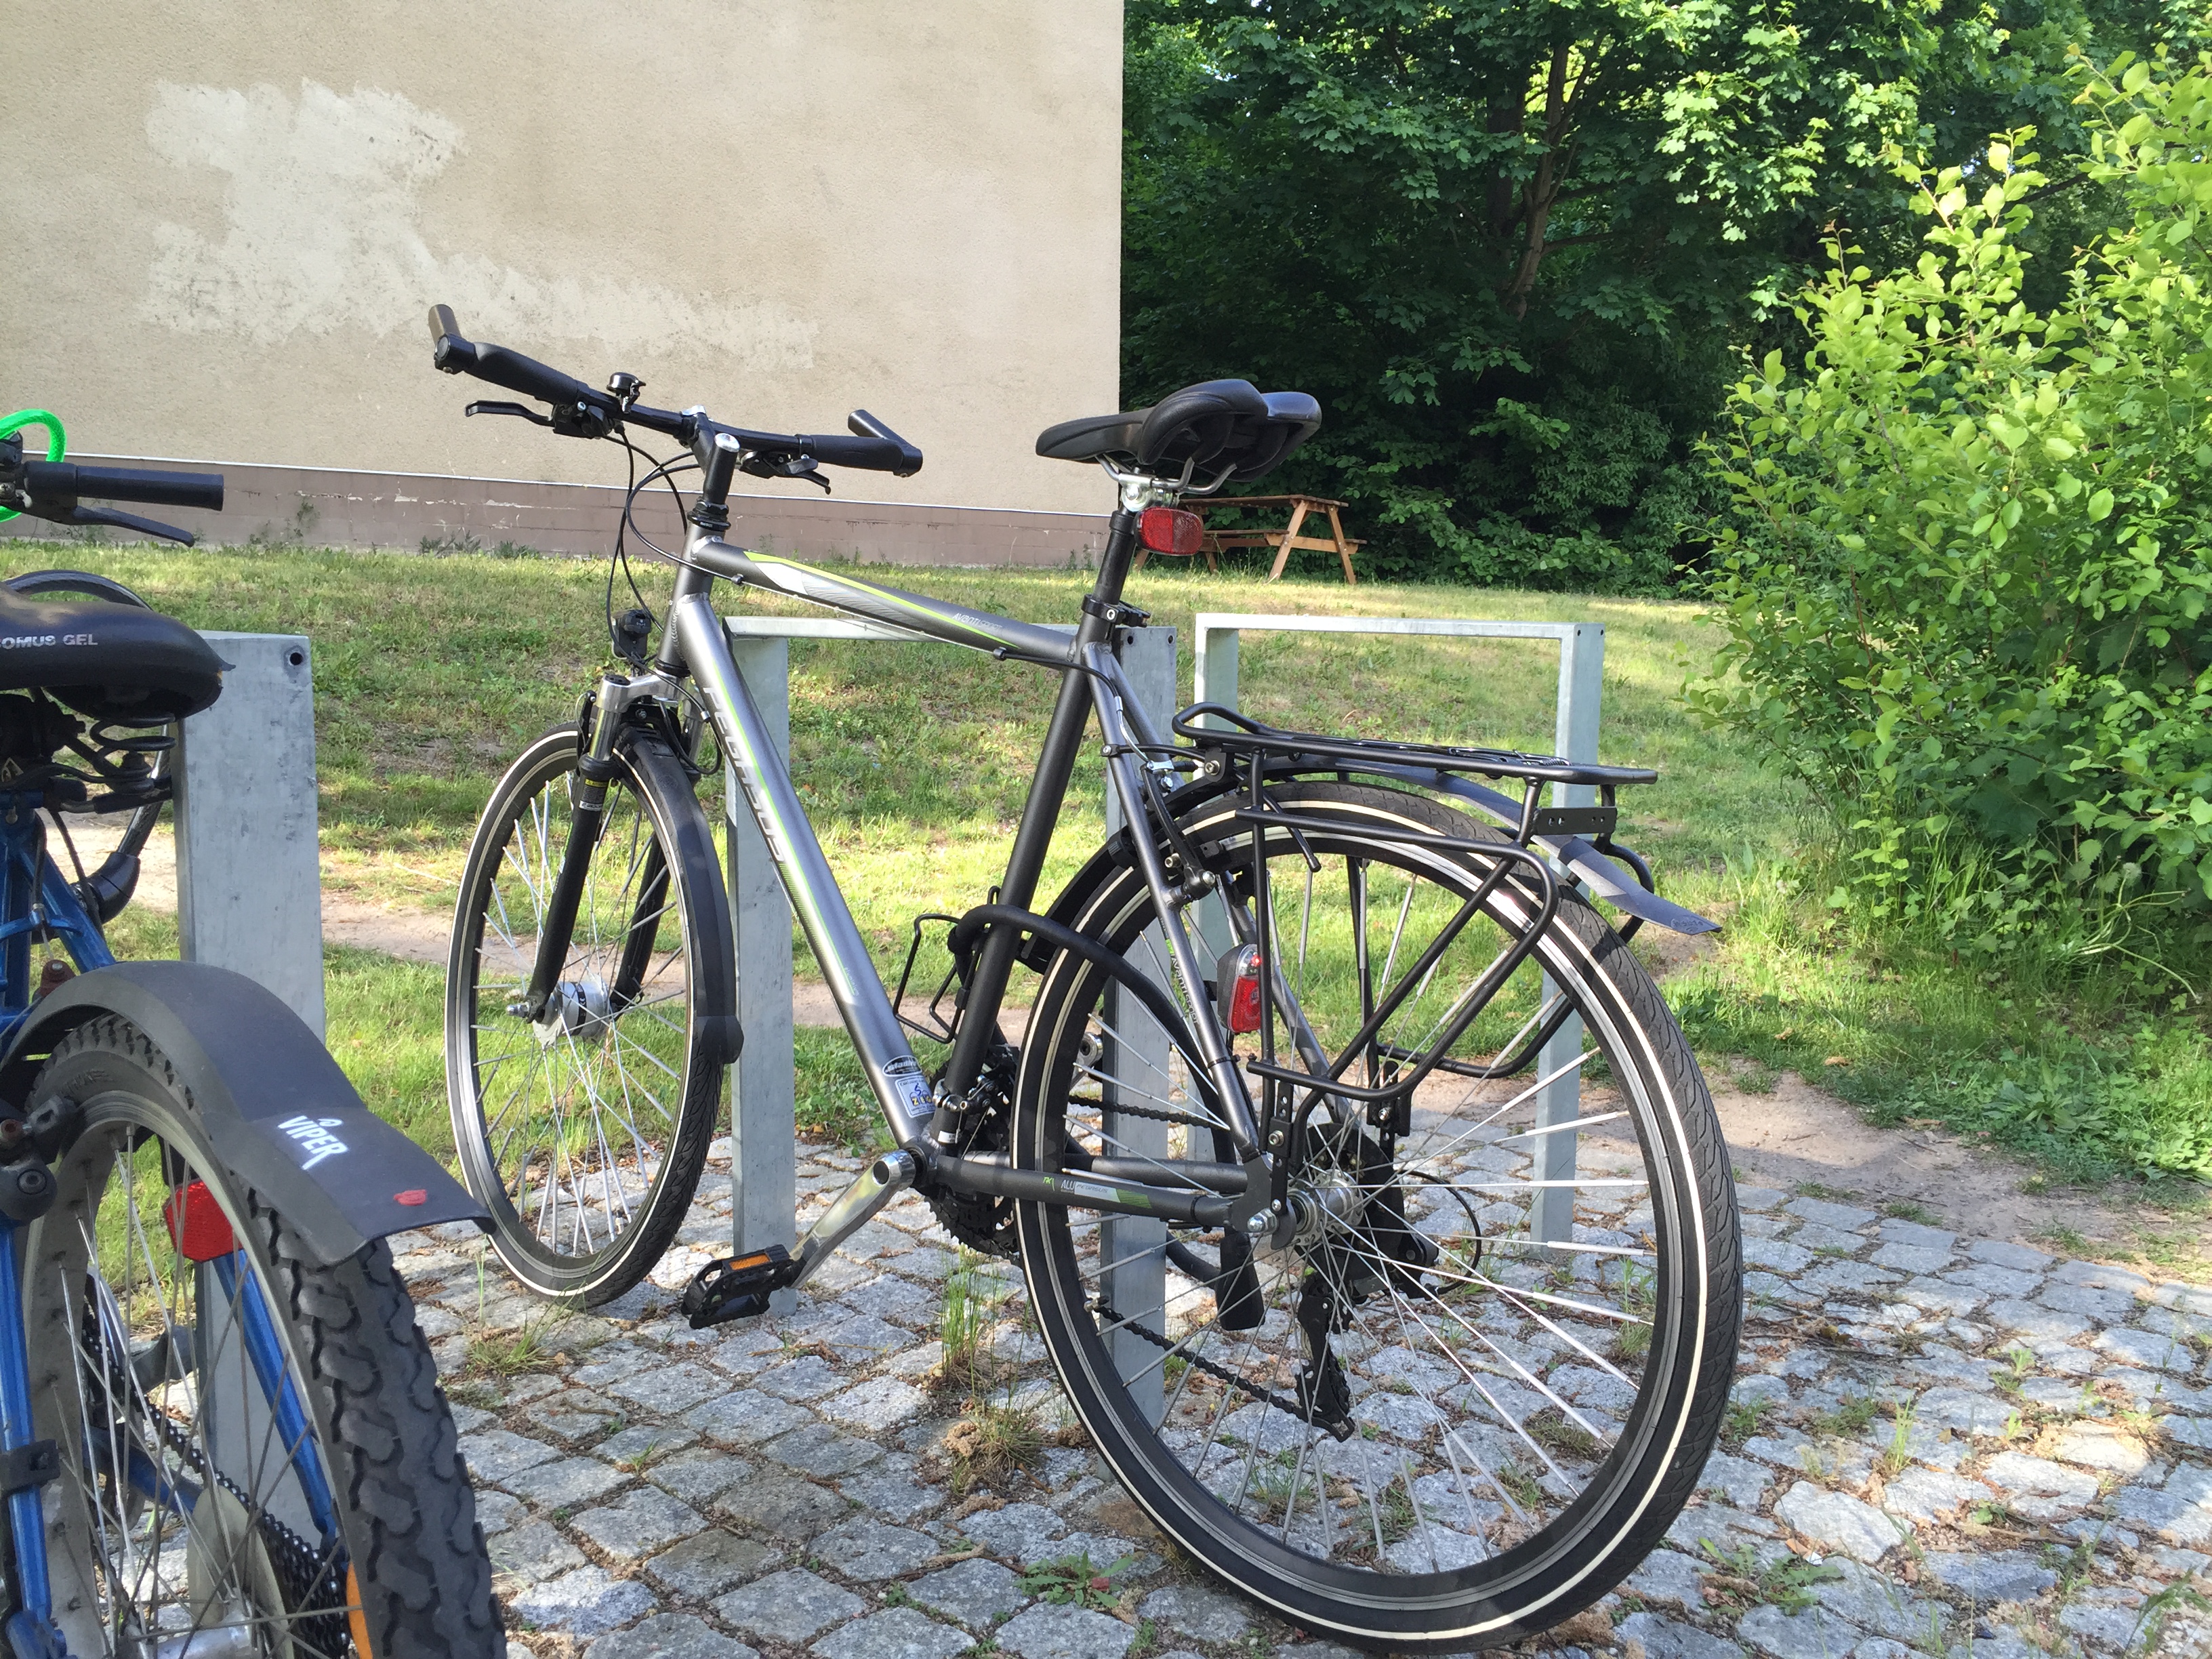
As is evident from the above photo, the location of the rear light now presented a serious problem. The light would probably not be visible to drivers as easily, and would interfere with the placement of luggage on the rack.
Fortunately I had anticipated this problem and purchased a pannier rack with a mount on the rear for a light. If you look closely in the above photo, you will notice a flat section at the very end of of the pannier rack with holes drilled in for mounting lights/reflectors.
The Plan & Materials
I went to the local bike store, and picked up a brighter nicer light to replace my old light. At the same time I also went to the local hardware store and picked up several mounting materials: new wire to reach the new light location, zip ties for a tidy install, and electrical junctions to separate the wiring integrated on the pannier / bike frame.
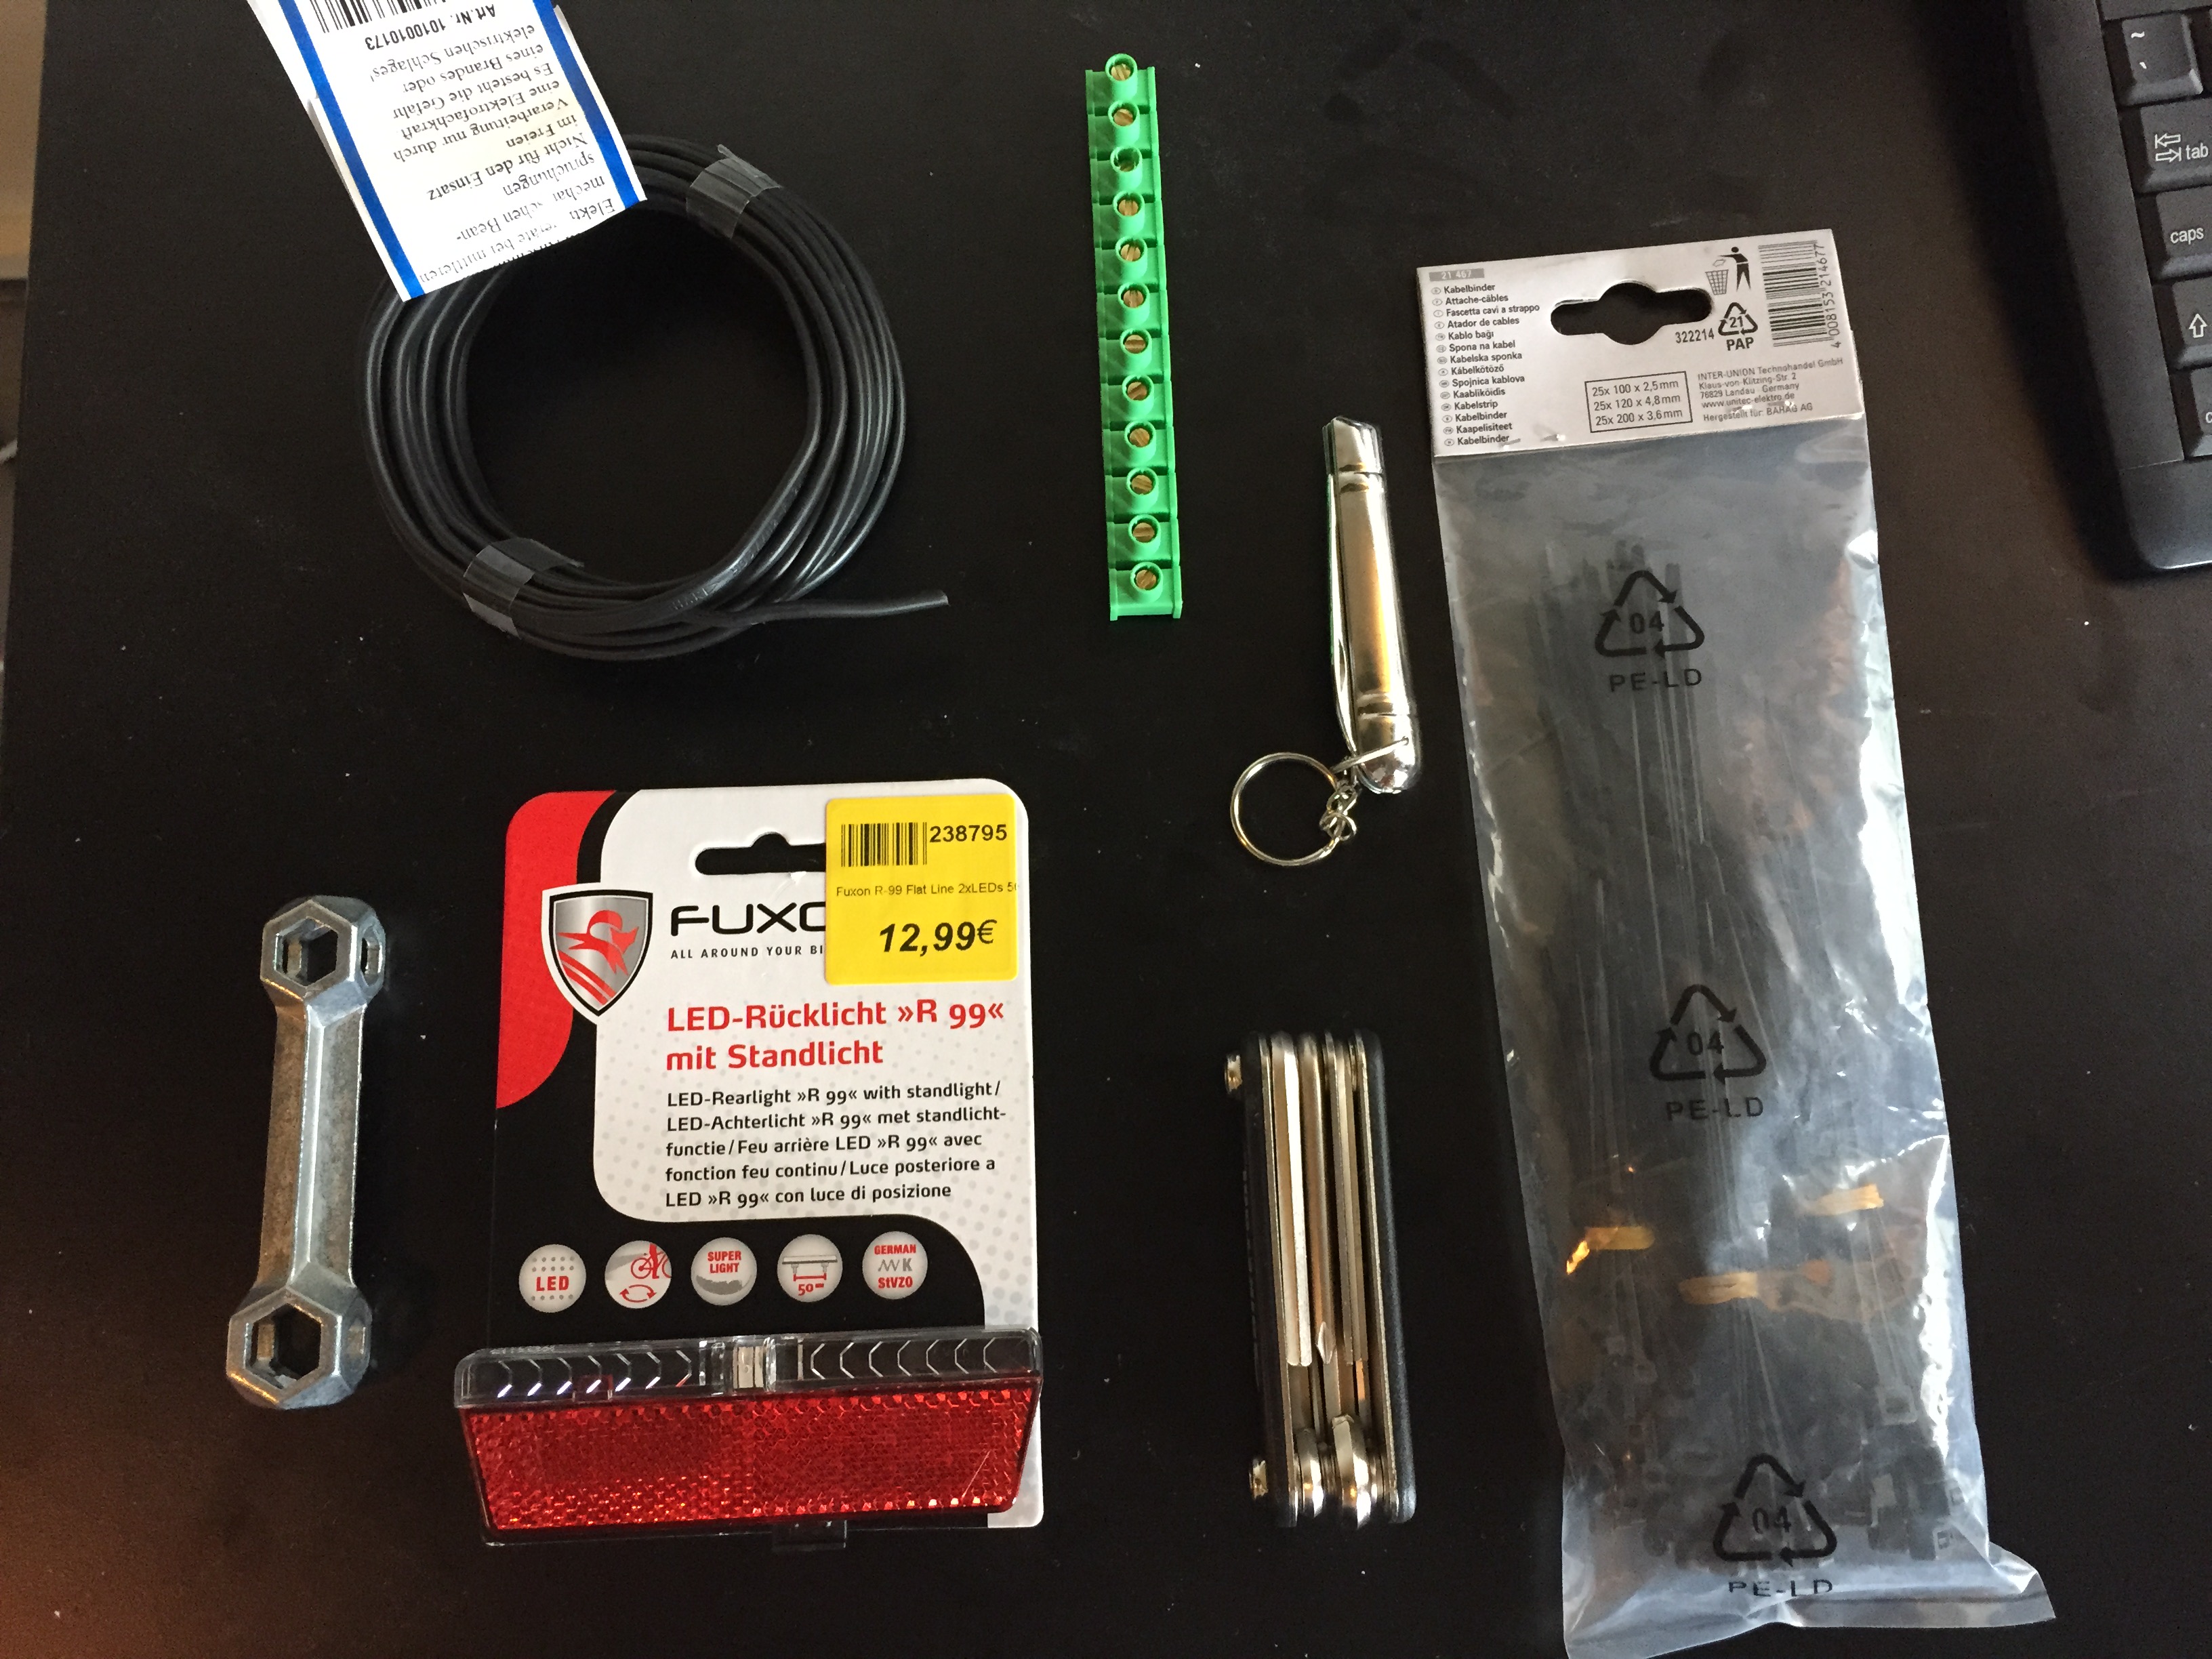
I would also be using only a few tools for this entire process; my multi faced socket wrench, a knife, and my multi hex / flat / phillips tool.
Work Begins
The first step involved flipping over the bike to make it easier to work on.
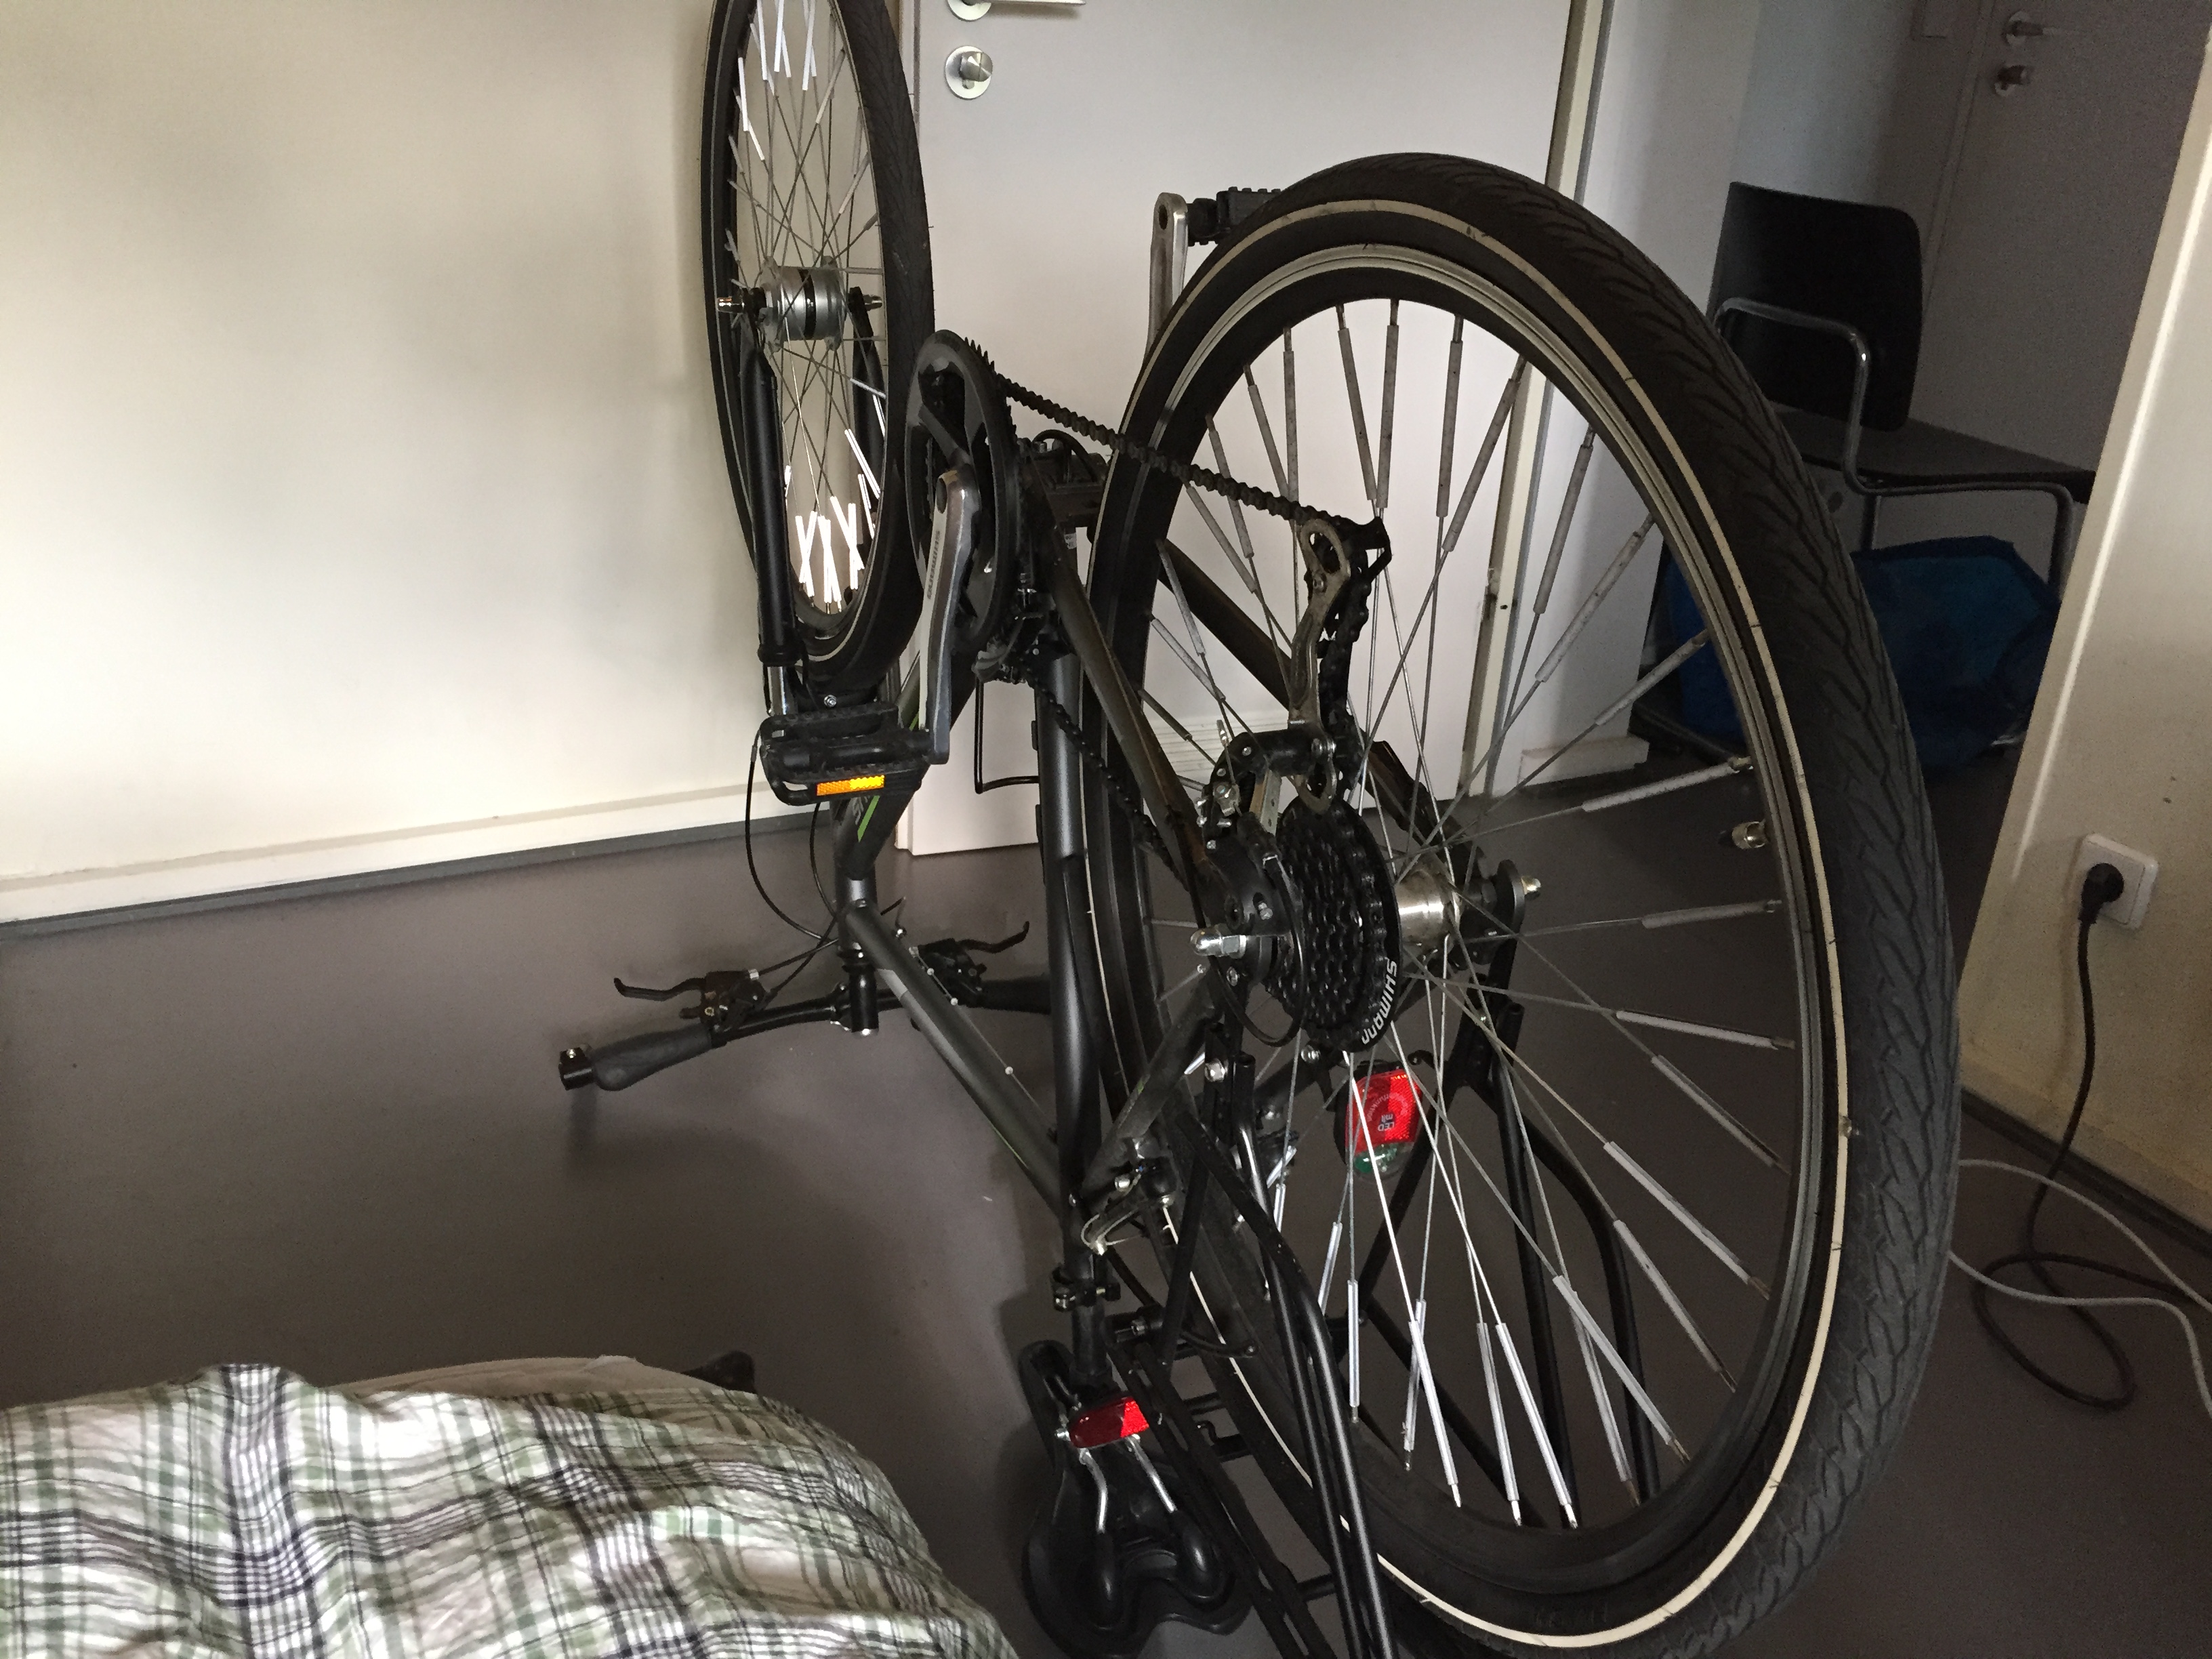
After flipping the bike, it was necessary to remove the rear wheel to gain easier access to the wiring and lighting system.
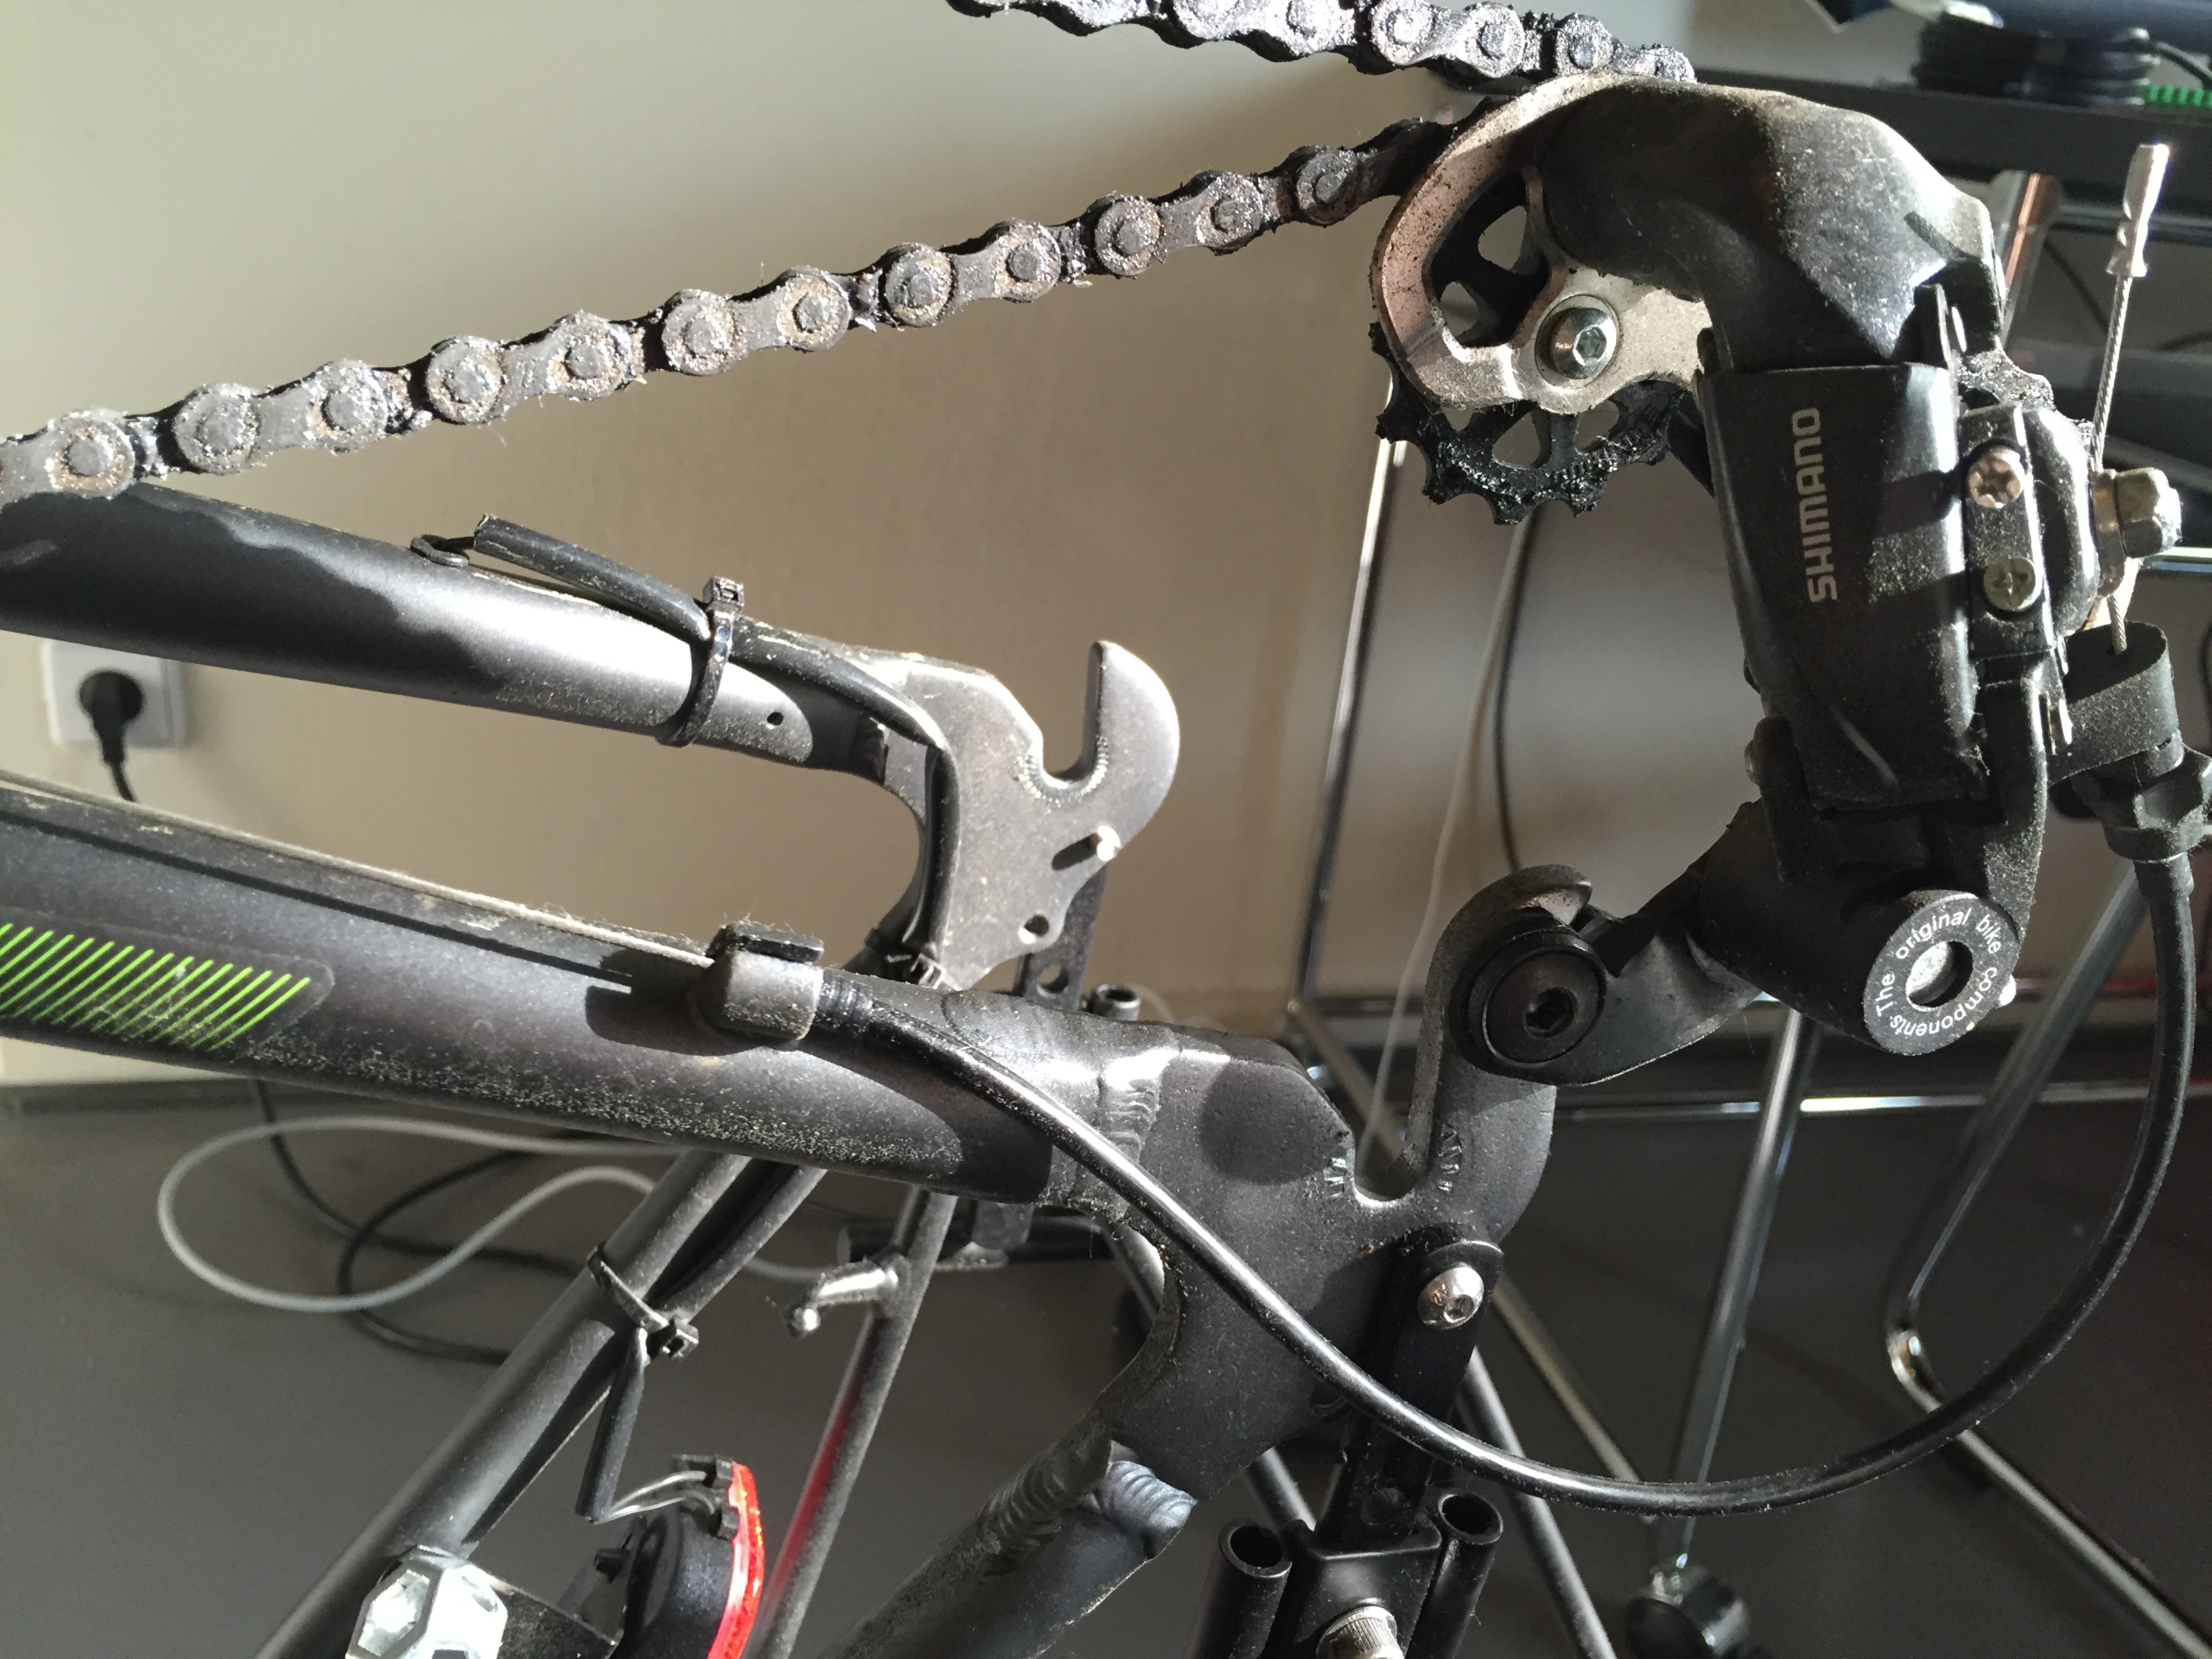
With the rear wheel now removed, I could easily set about removing the light:
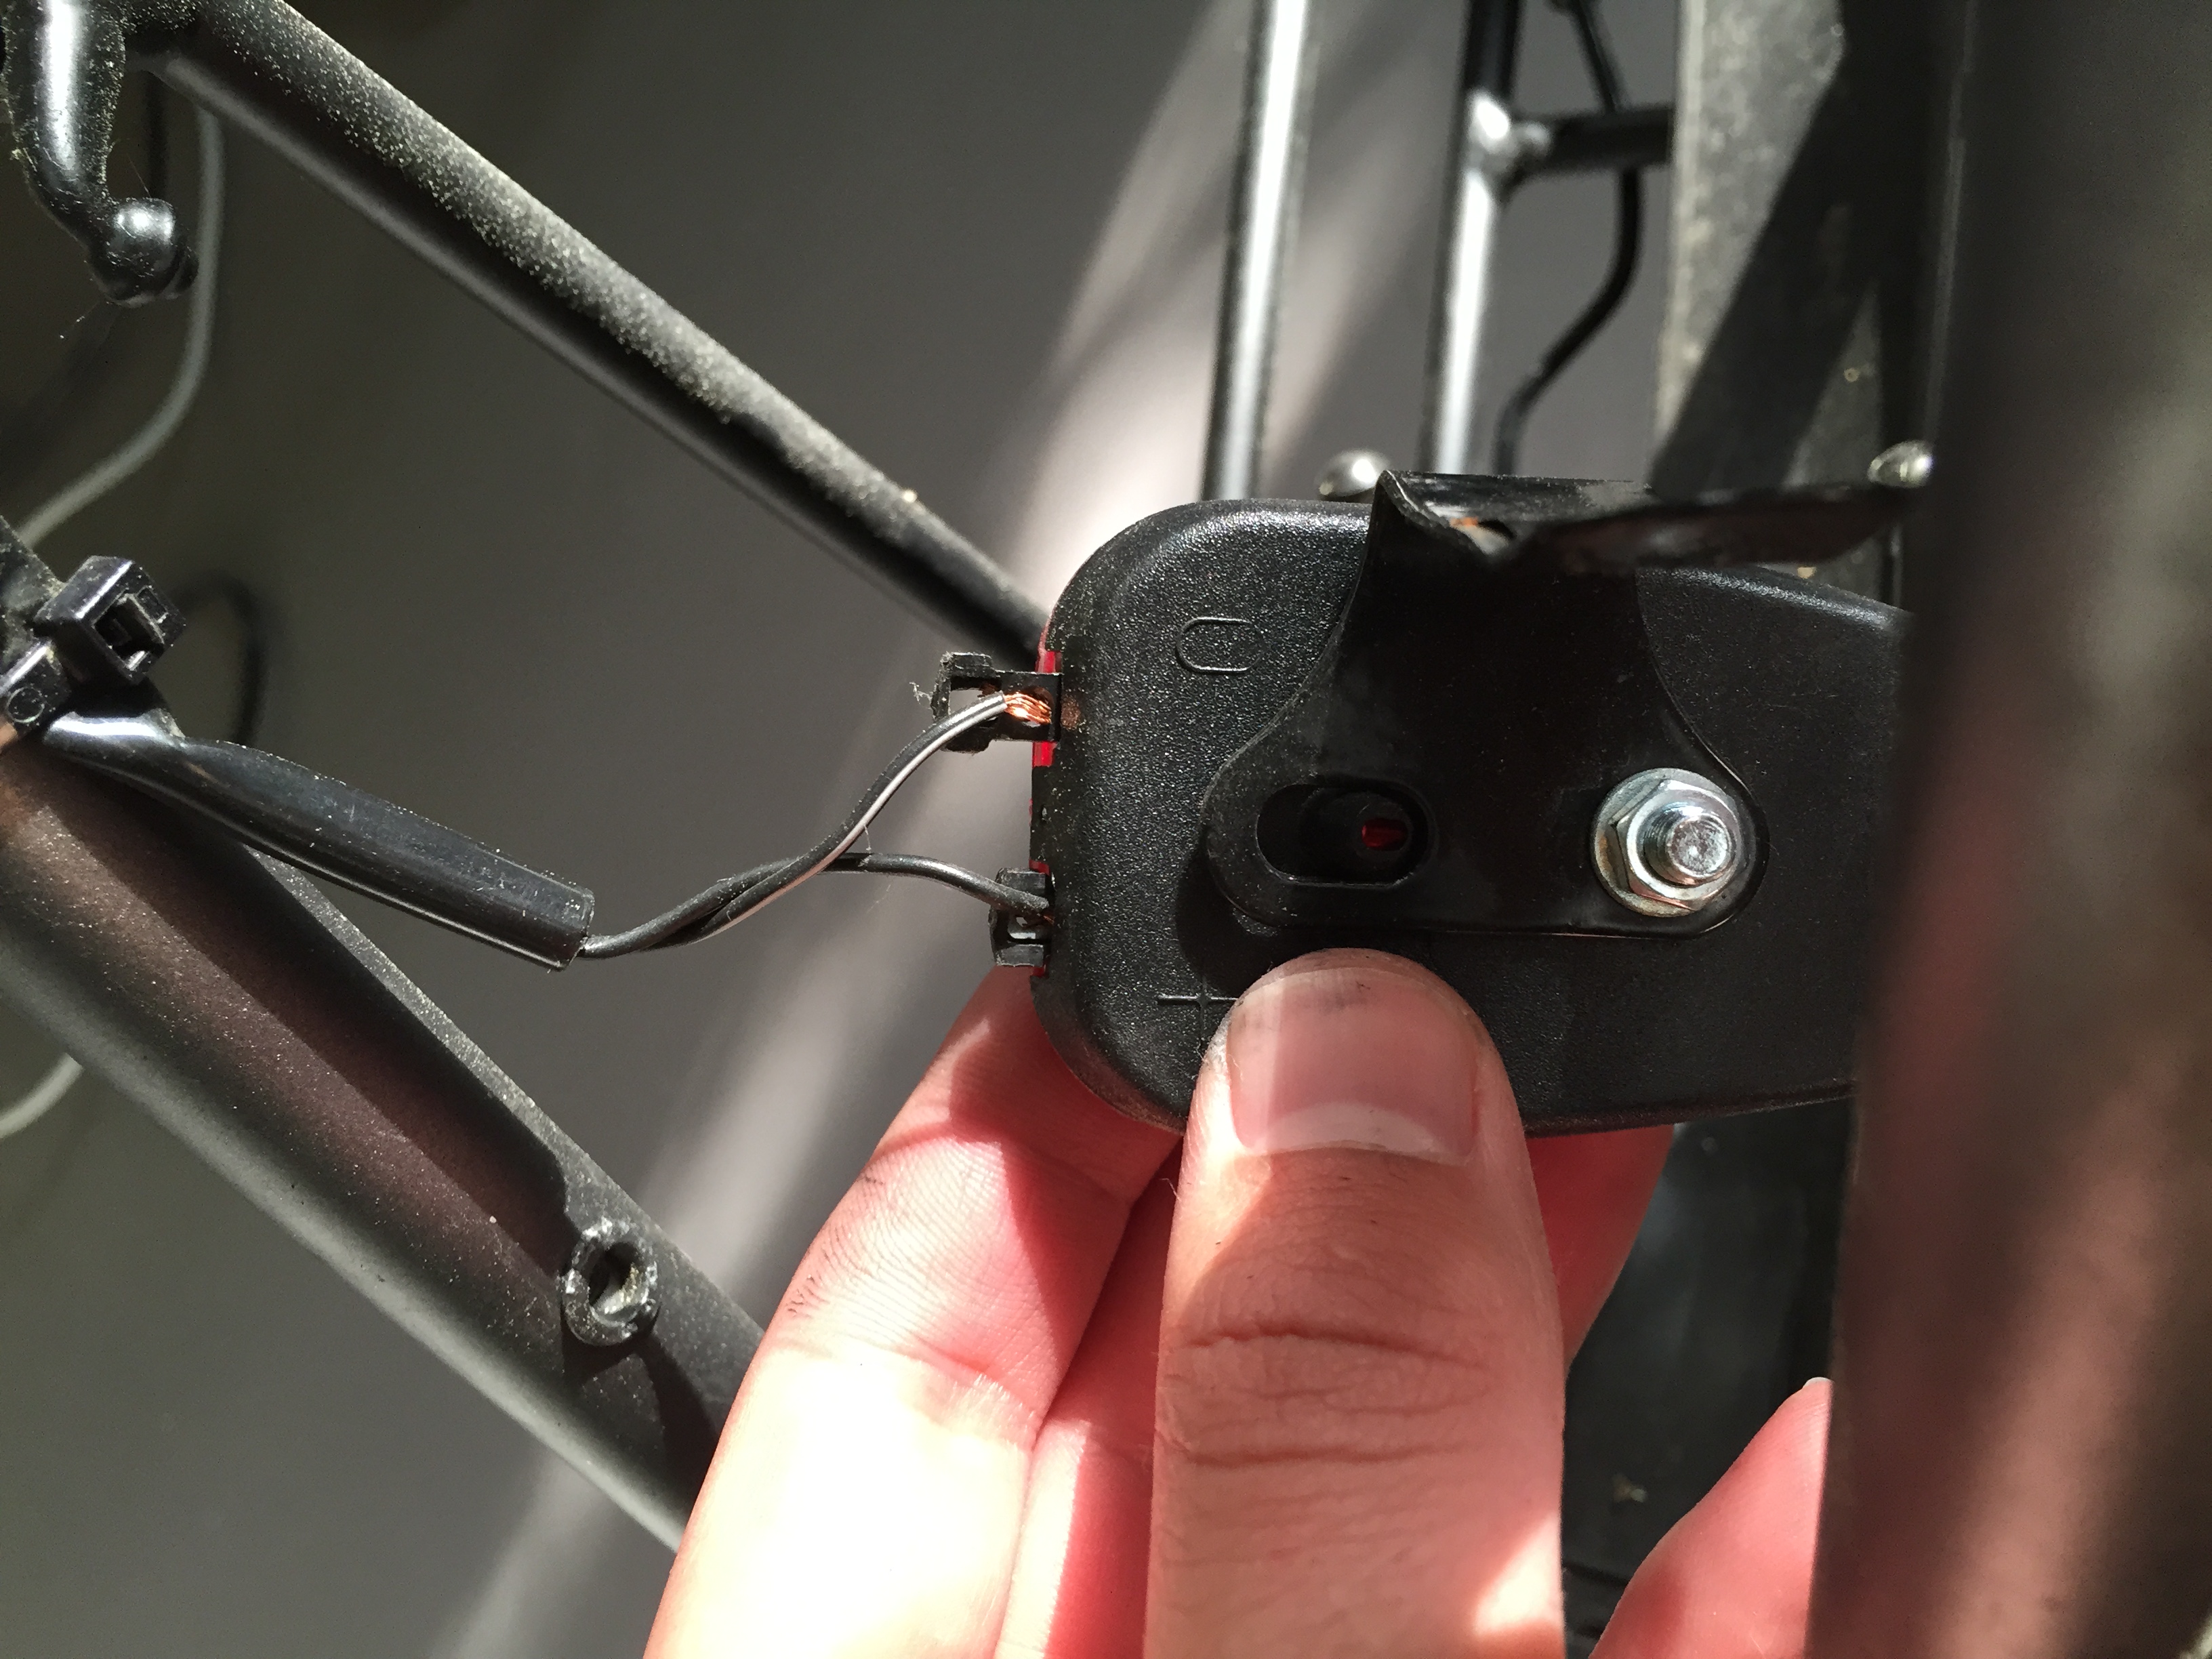
After removing the old light, I discovered that on bicycles they simply use a type of tension fastener similar to speakers. You place the wire leads into the light enclosure and then depress a tab securing them in place.
Justification of the Pannier Bicycle Junction
With the old light and wiring removed, it was time to set about creating the interface between the pannier rack and the bicycle. Because it is sometimes necessary to remove the pannier from the bicycle (maintenance etc), I wanted it to be a quick disconnect at the interface between the two.
Due to the nature of securing wiring to the pannier, it was not possible to simply use the existing bicycle method of quick disconnects at the light interface. The issue with this is that the wiring extends onto the pannier, and once on the pannier must be secured with zip ties. Therefore, when removing the pannier, it would still be tethered to the bicycle via the power cable. To overcome this issue, the junction was placed between the pannier and bicycle. The junction can simply be loosened and the pannier/light assembly can be removed in one piece.
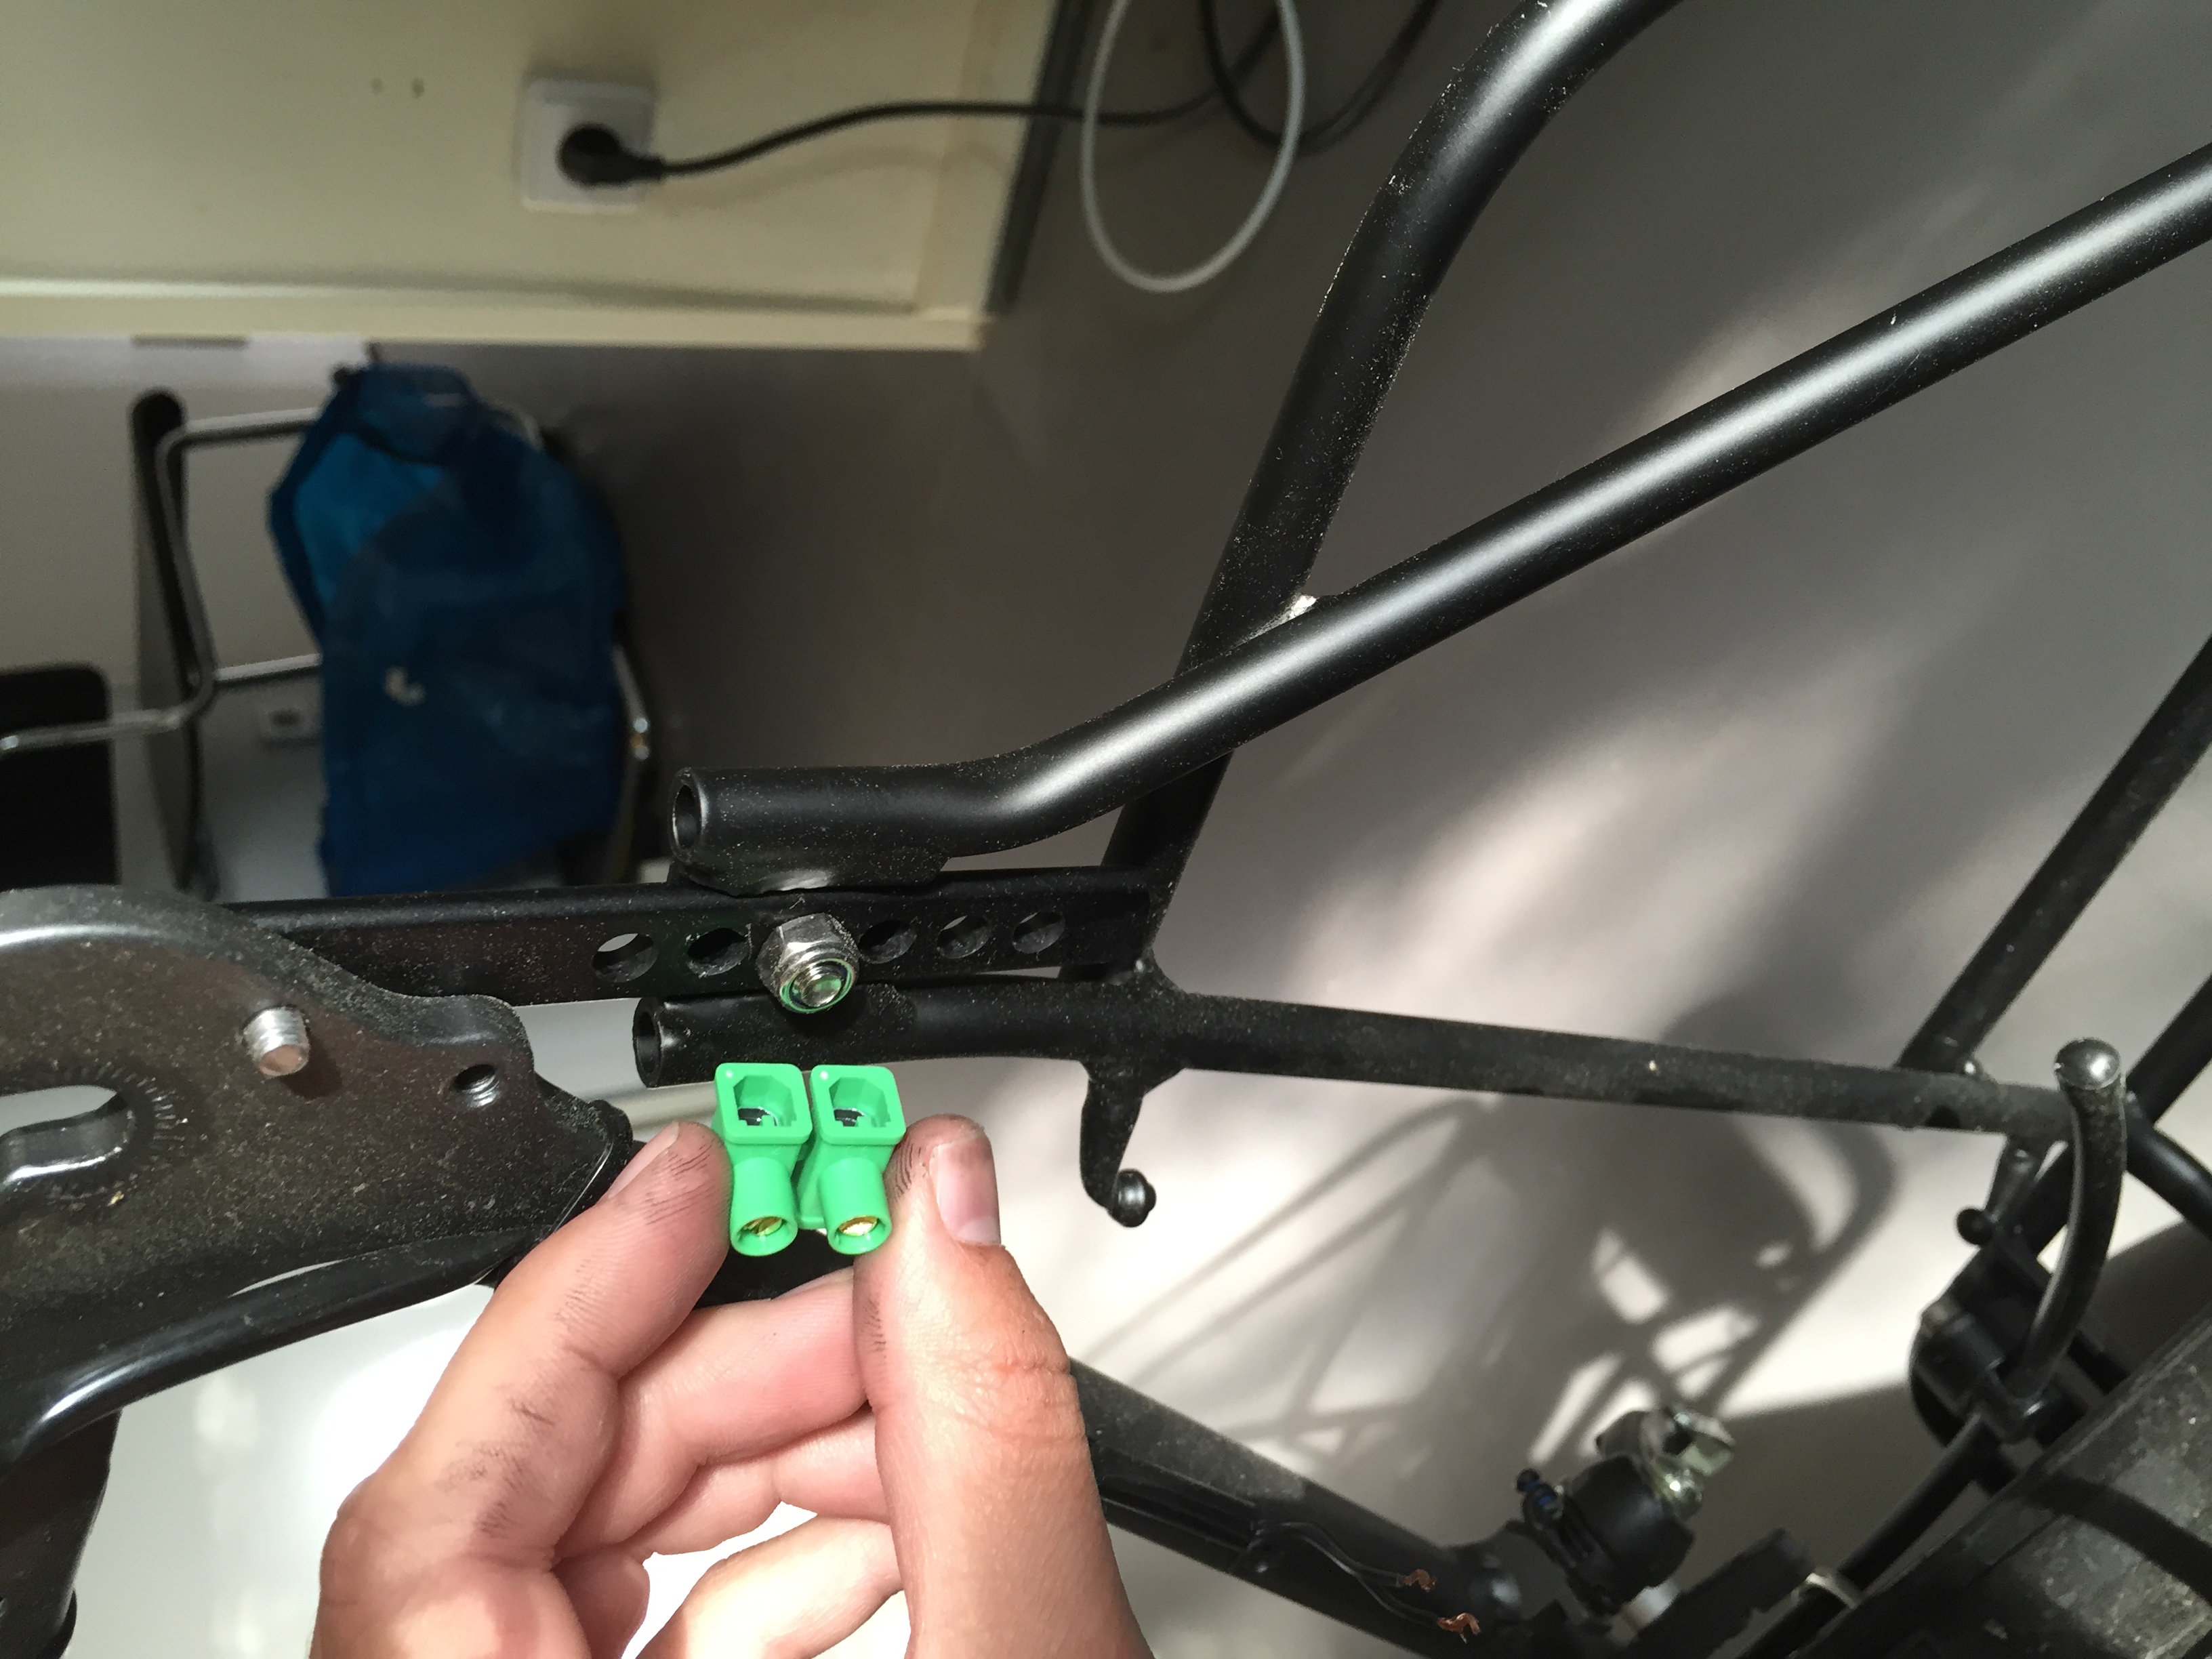
If the above was confusing, the above image may clarify.
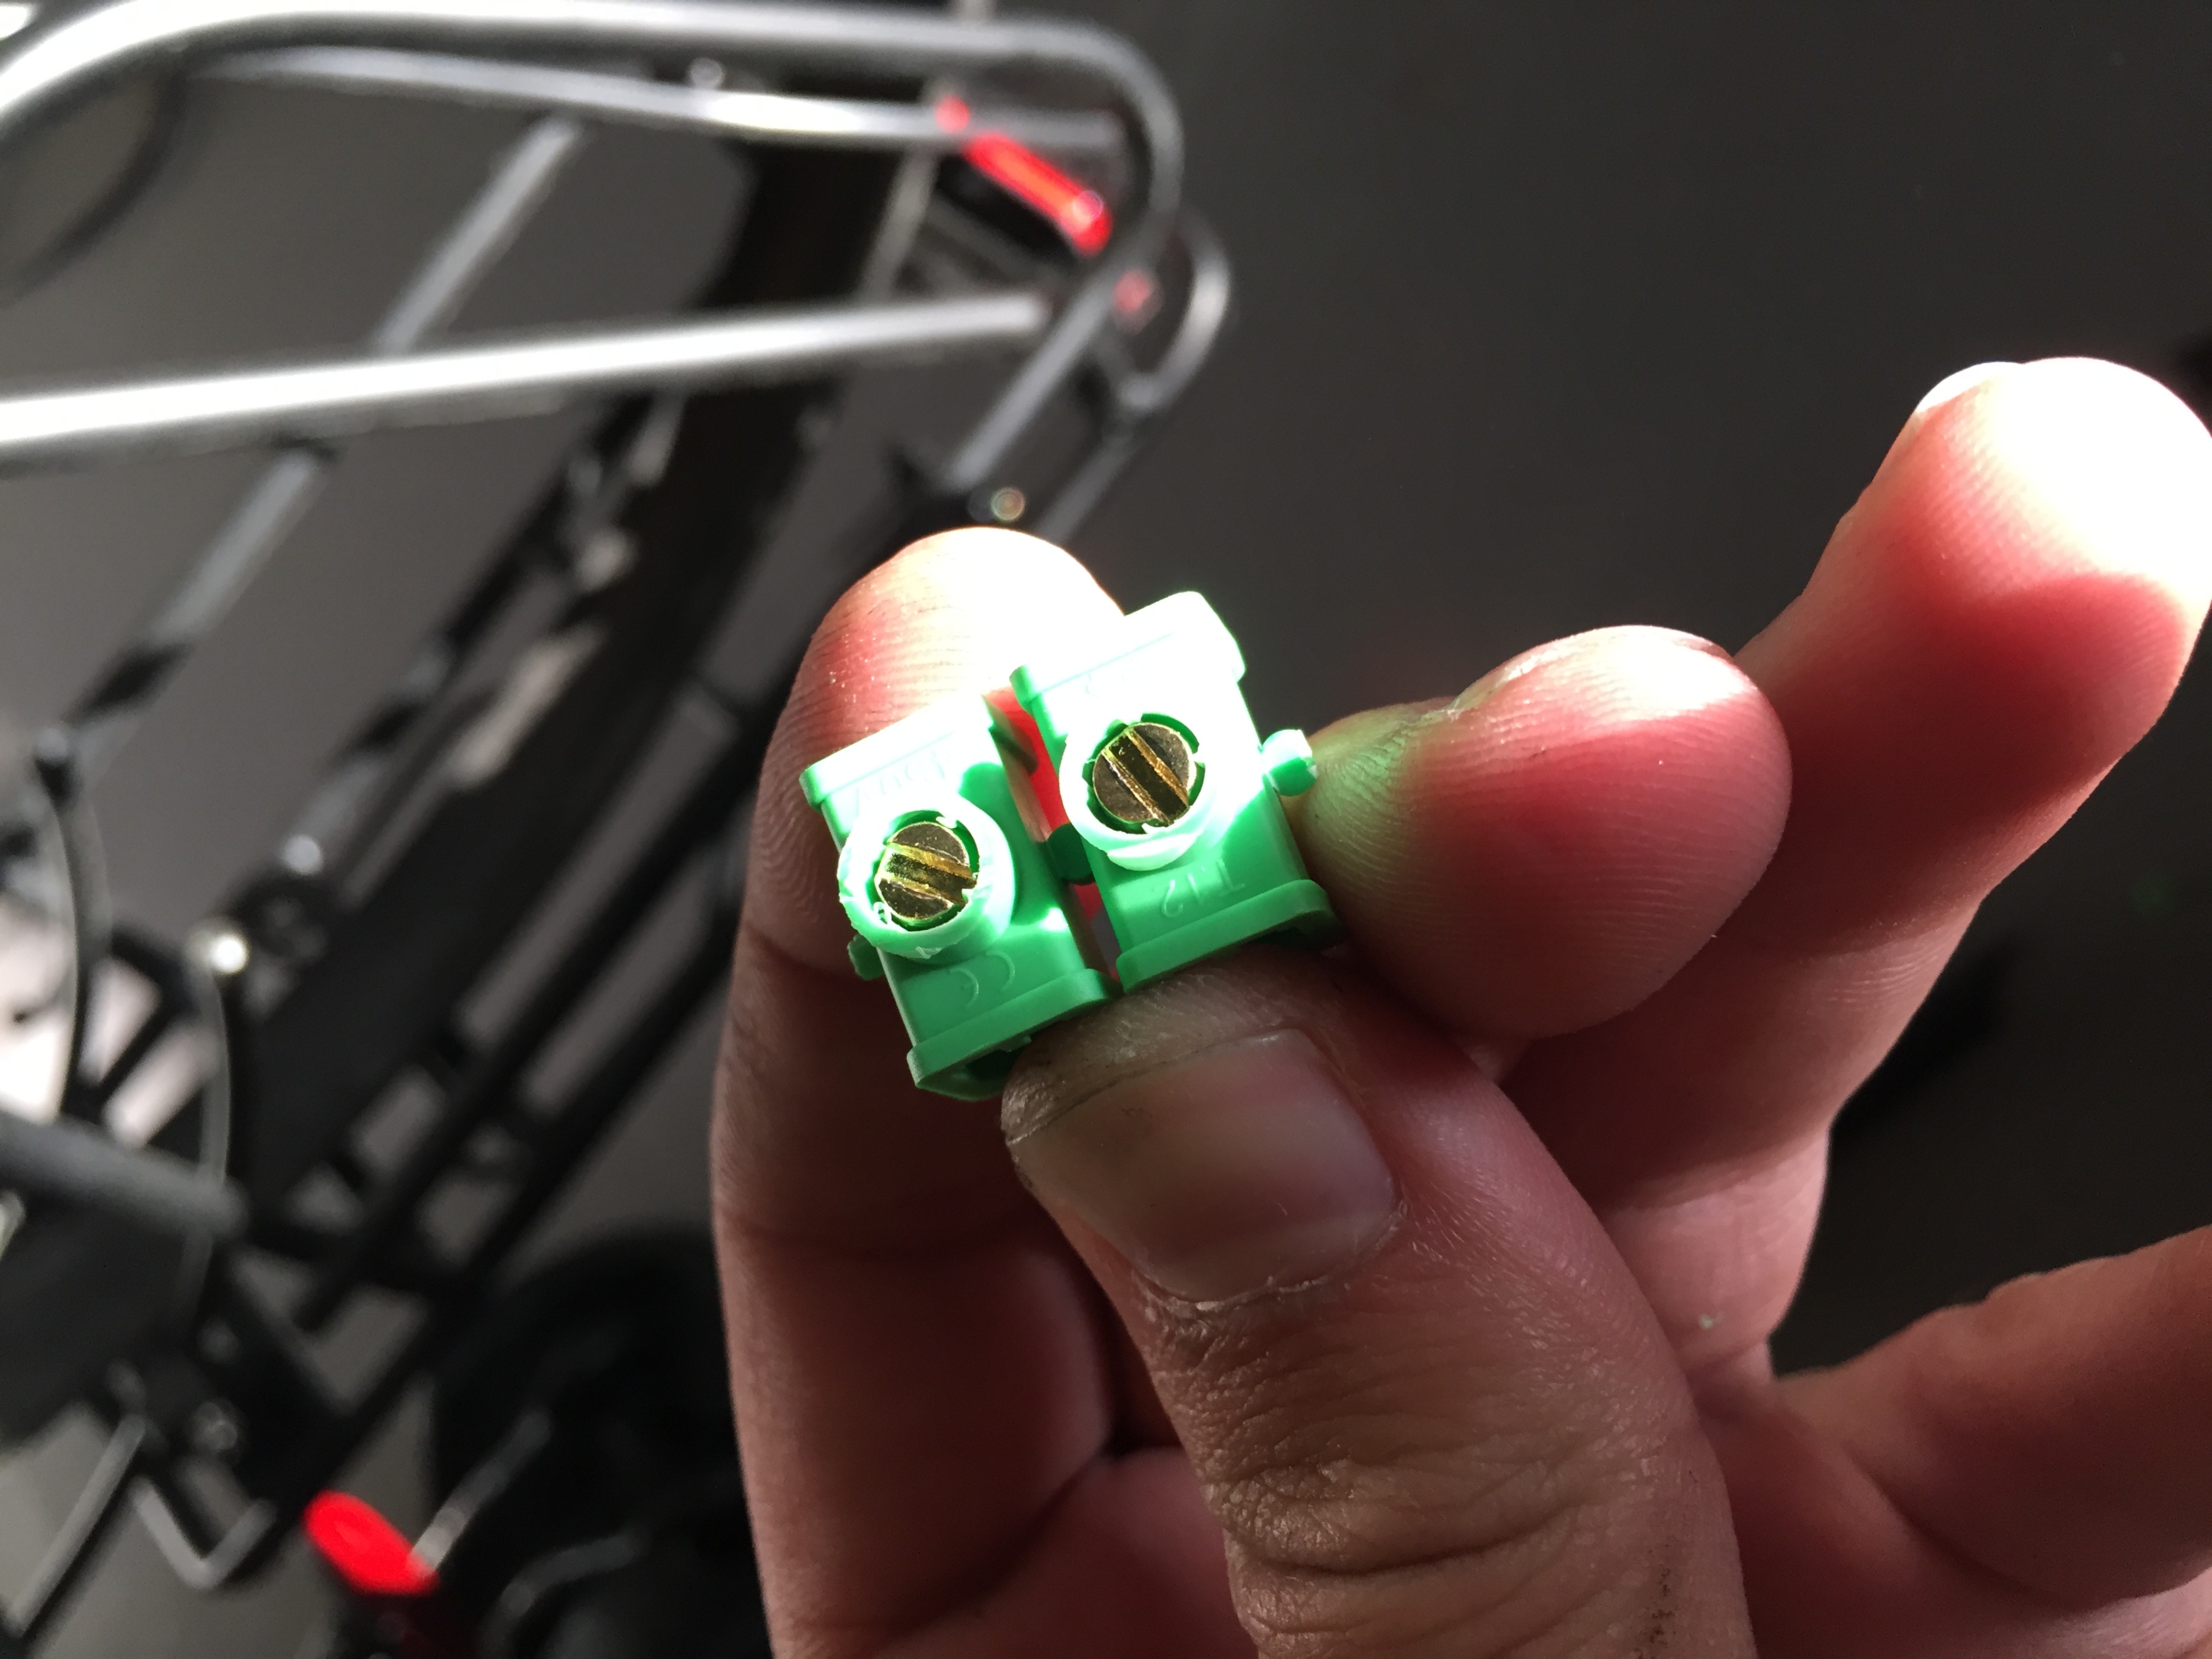
This junction is not appropriate for the voltages and gauge of wiring that I am using, but it is one of my favorite shades of green, so I really wanted to make it work.
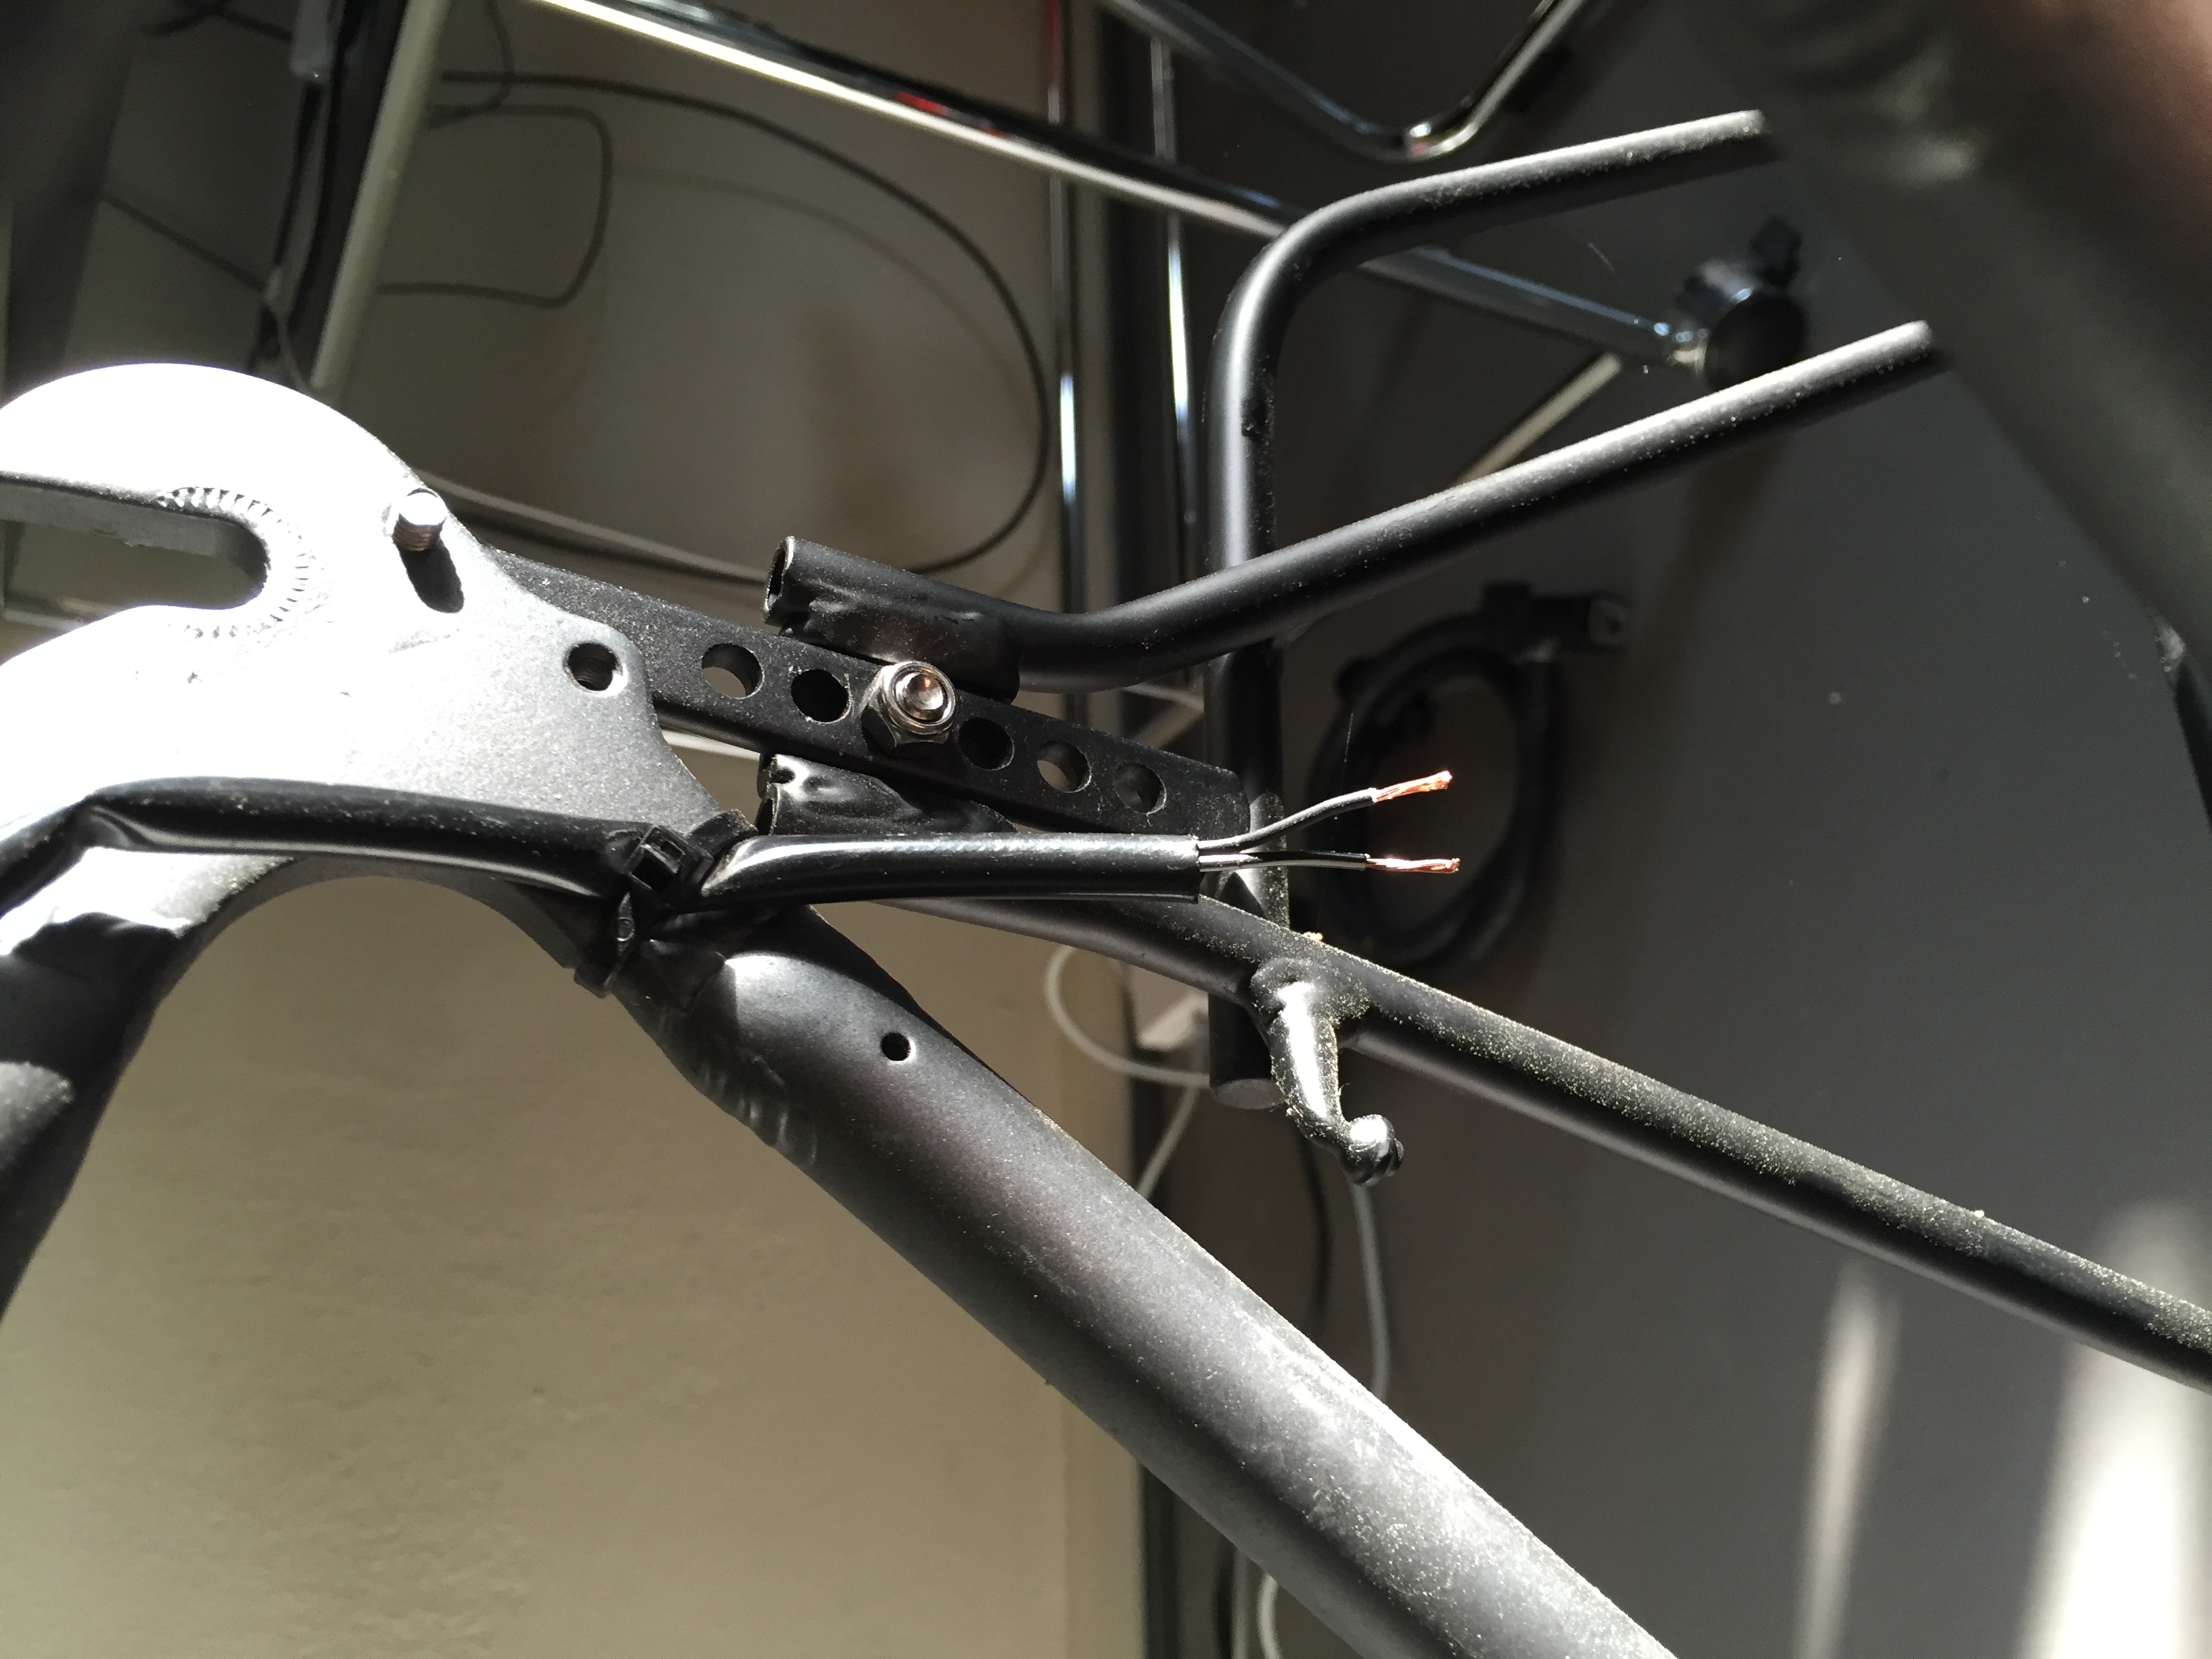
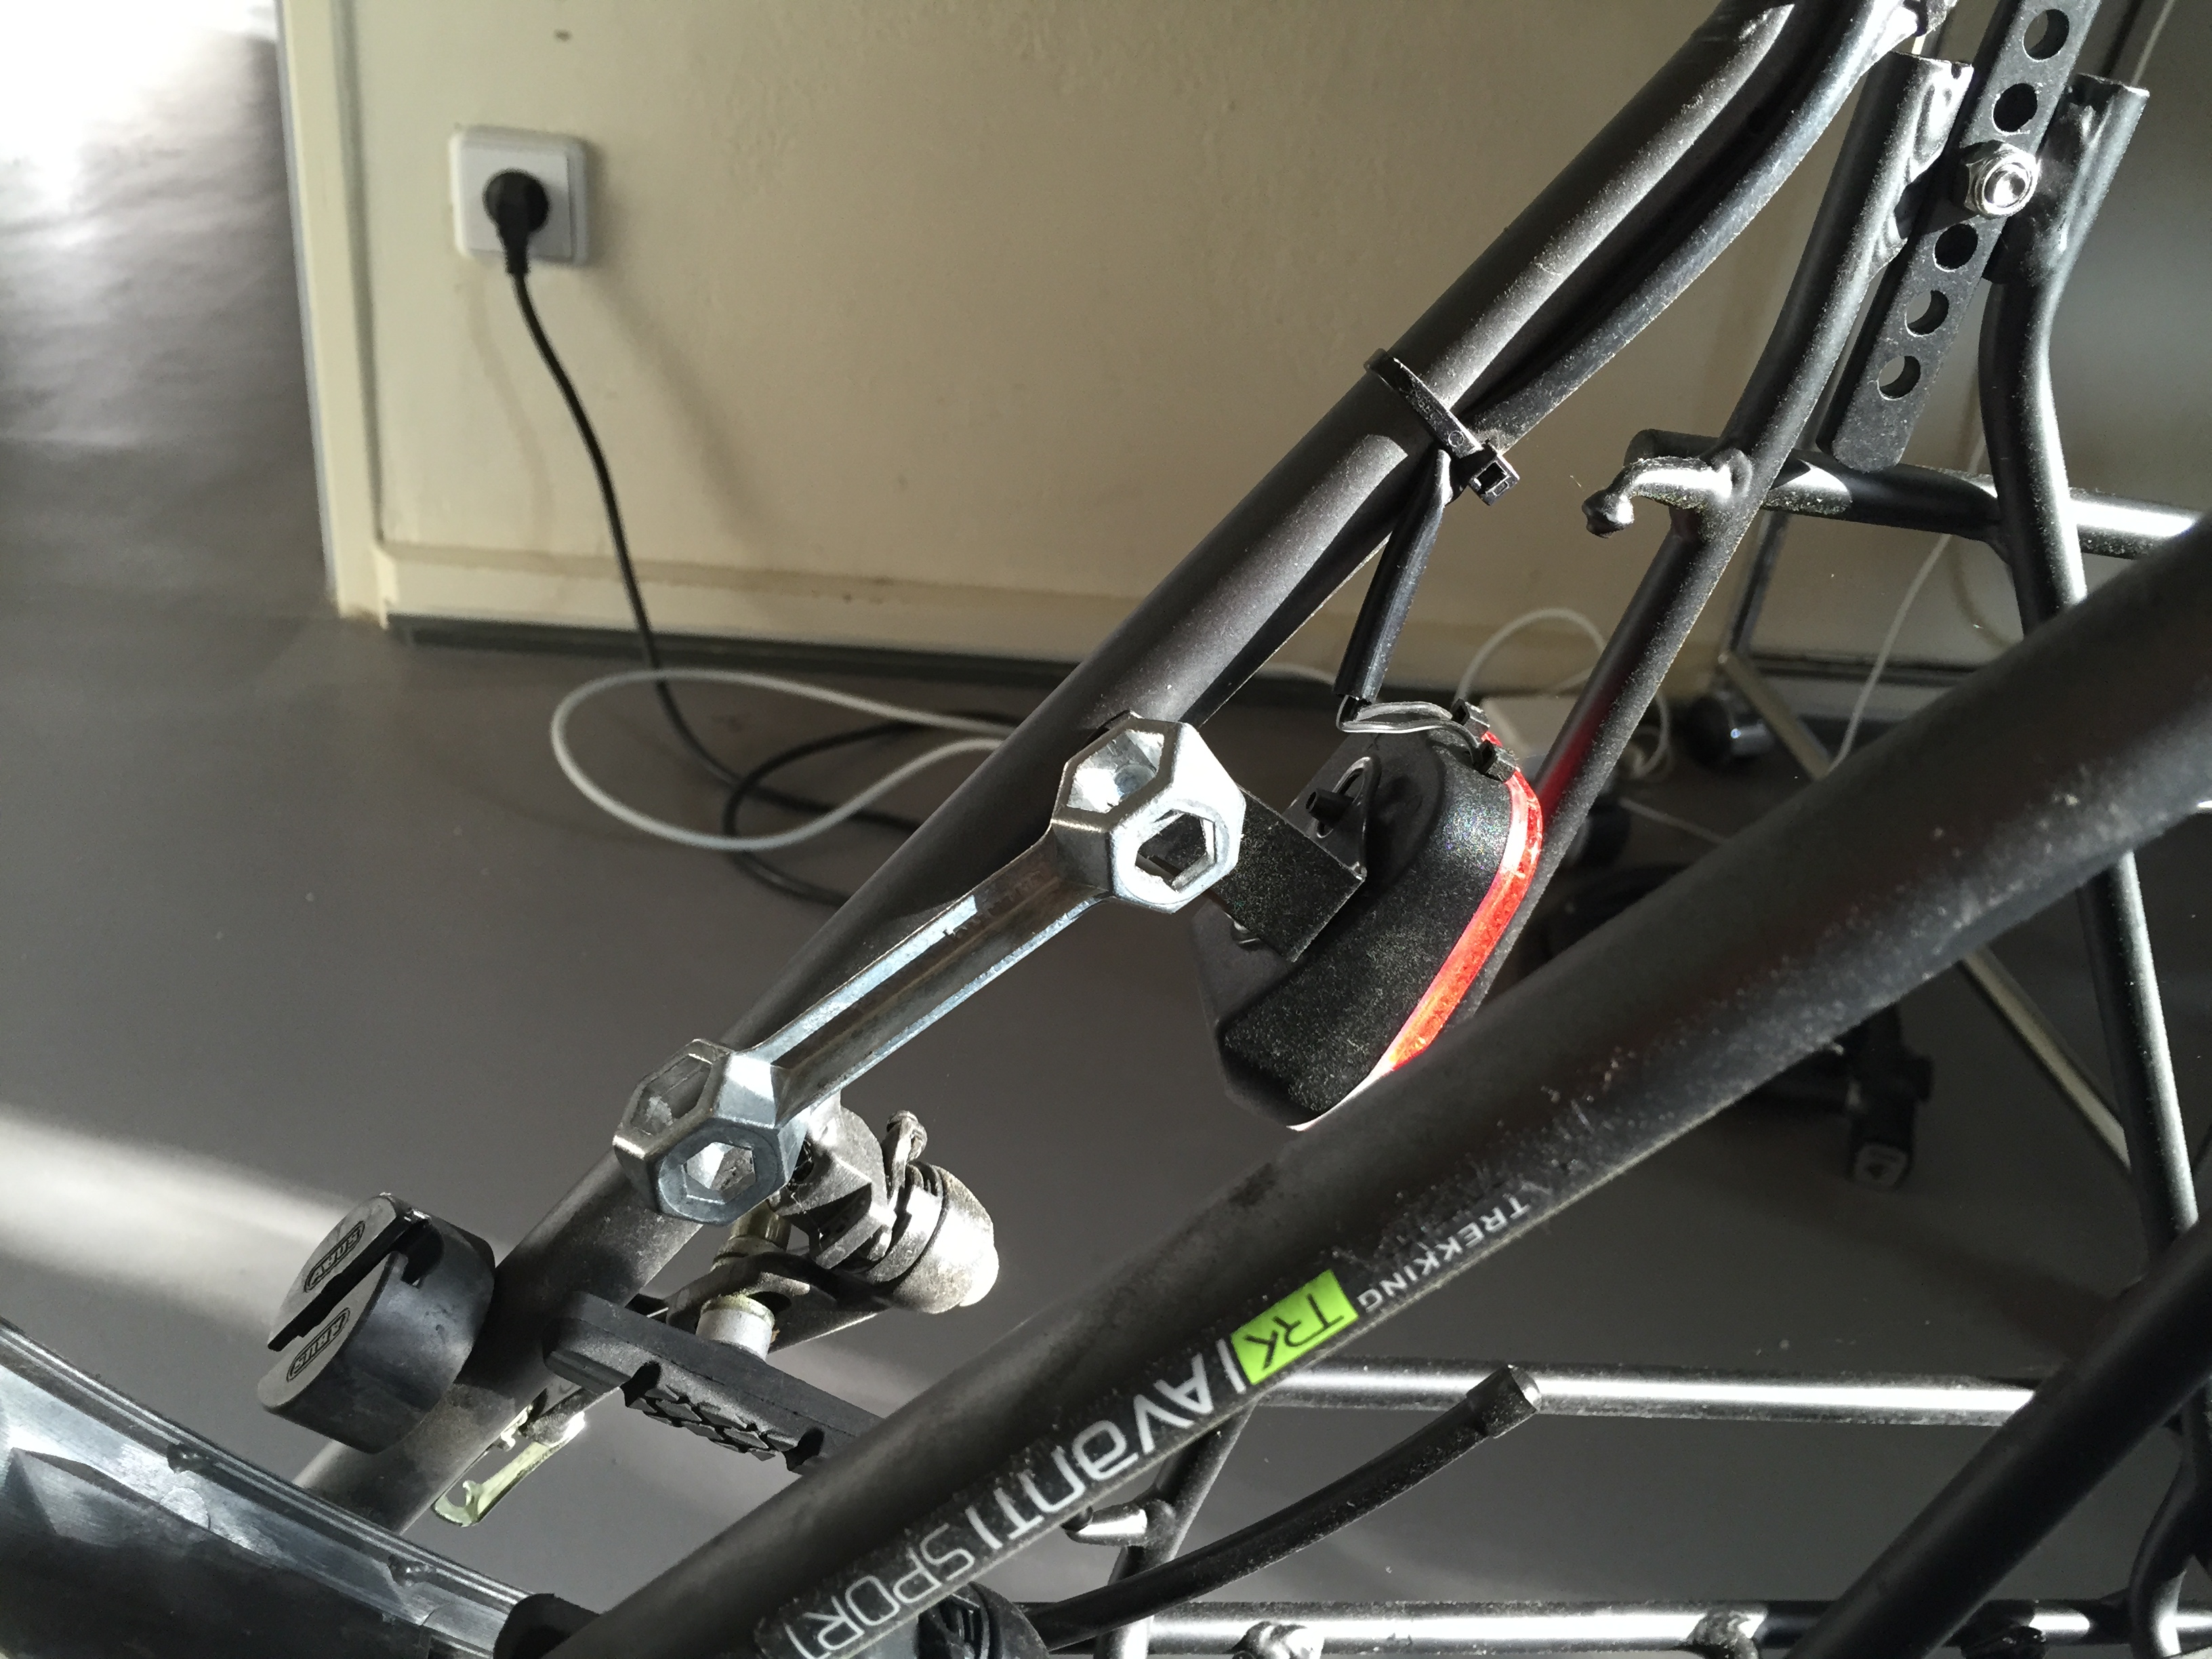
Having removed the old lighting and brackets, I shortened the wire attached to the frame so that it would attach nicely to the interface.

In addition, the junctions as originally designed were shrouded in a way that inhibited screwdriver access. To circumvent this I shaved the top of them to allow for a broader width of flatheads to turn them.
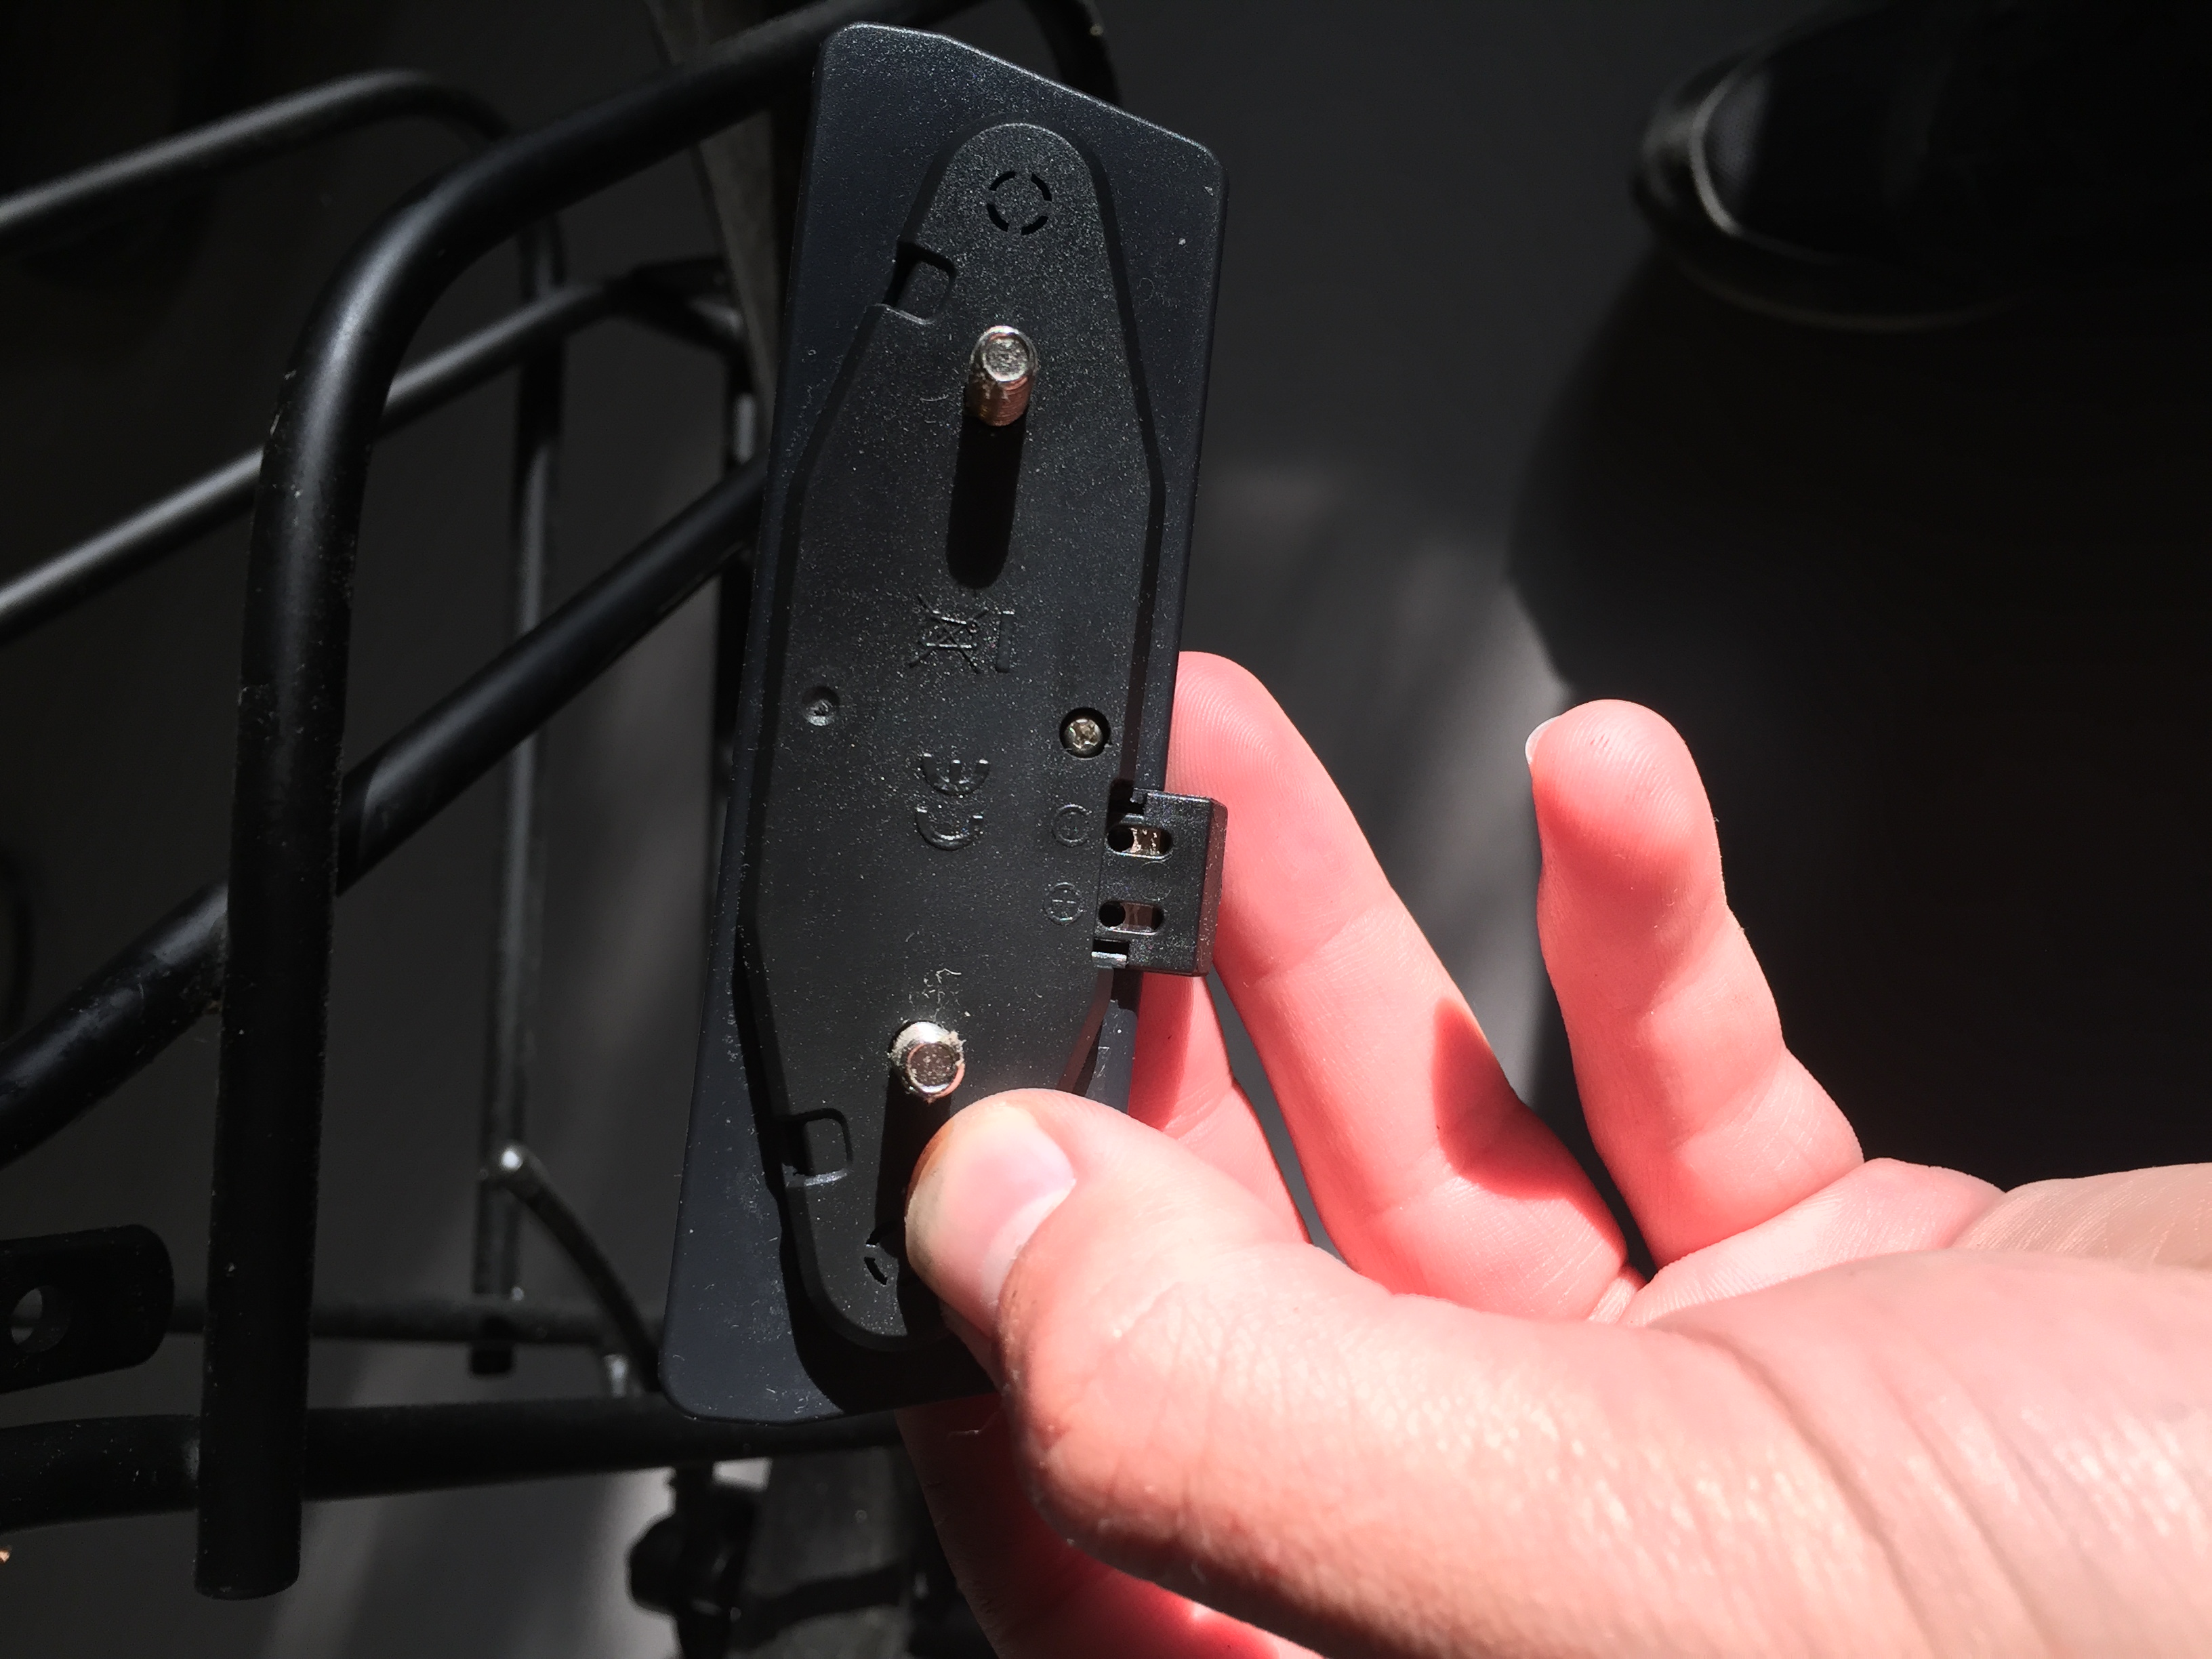
Having completed the junction between the bicycle and pannier, I was ready to mount the light. The light mounts simply with a few bolts and has an identical interface as the previous light.
Finally, with the light and wiring in place, I gave the front wheel dynamo a turn, and- light!
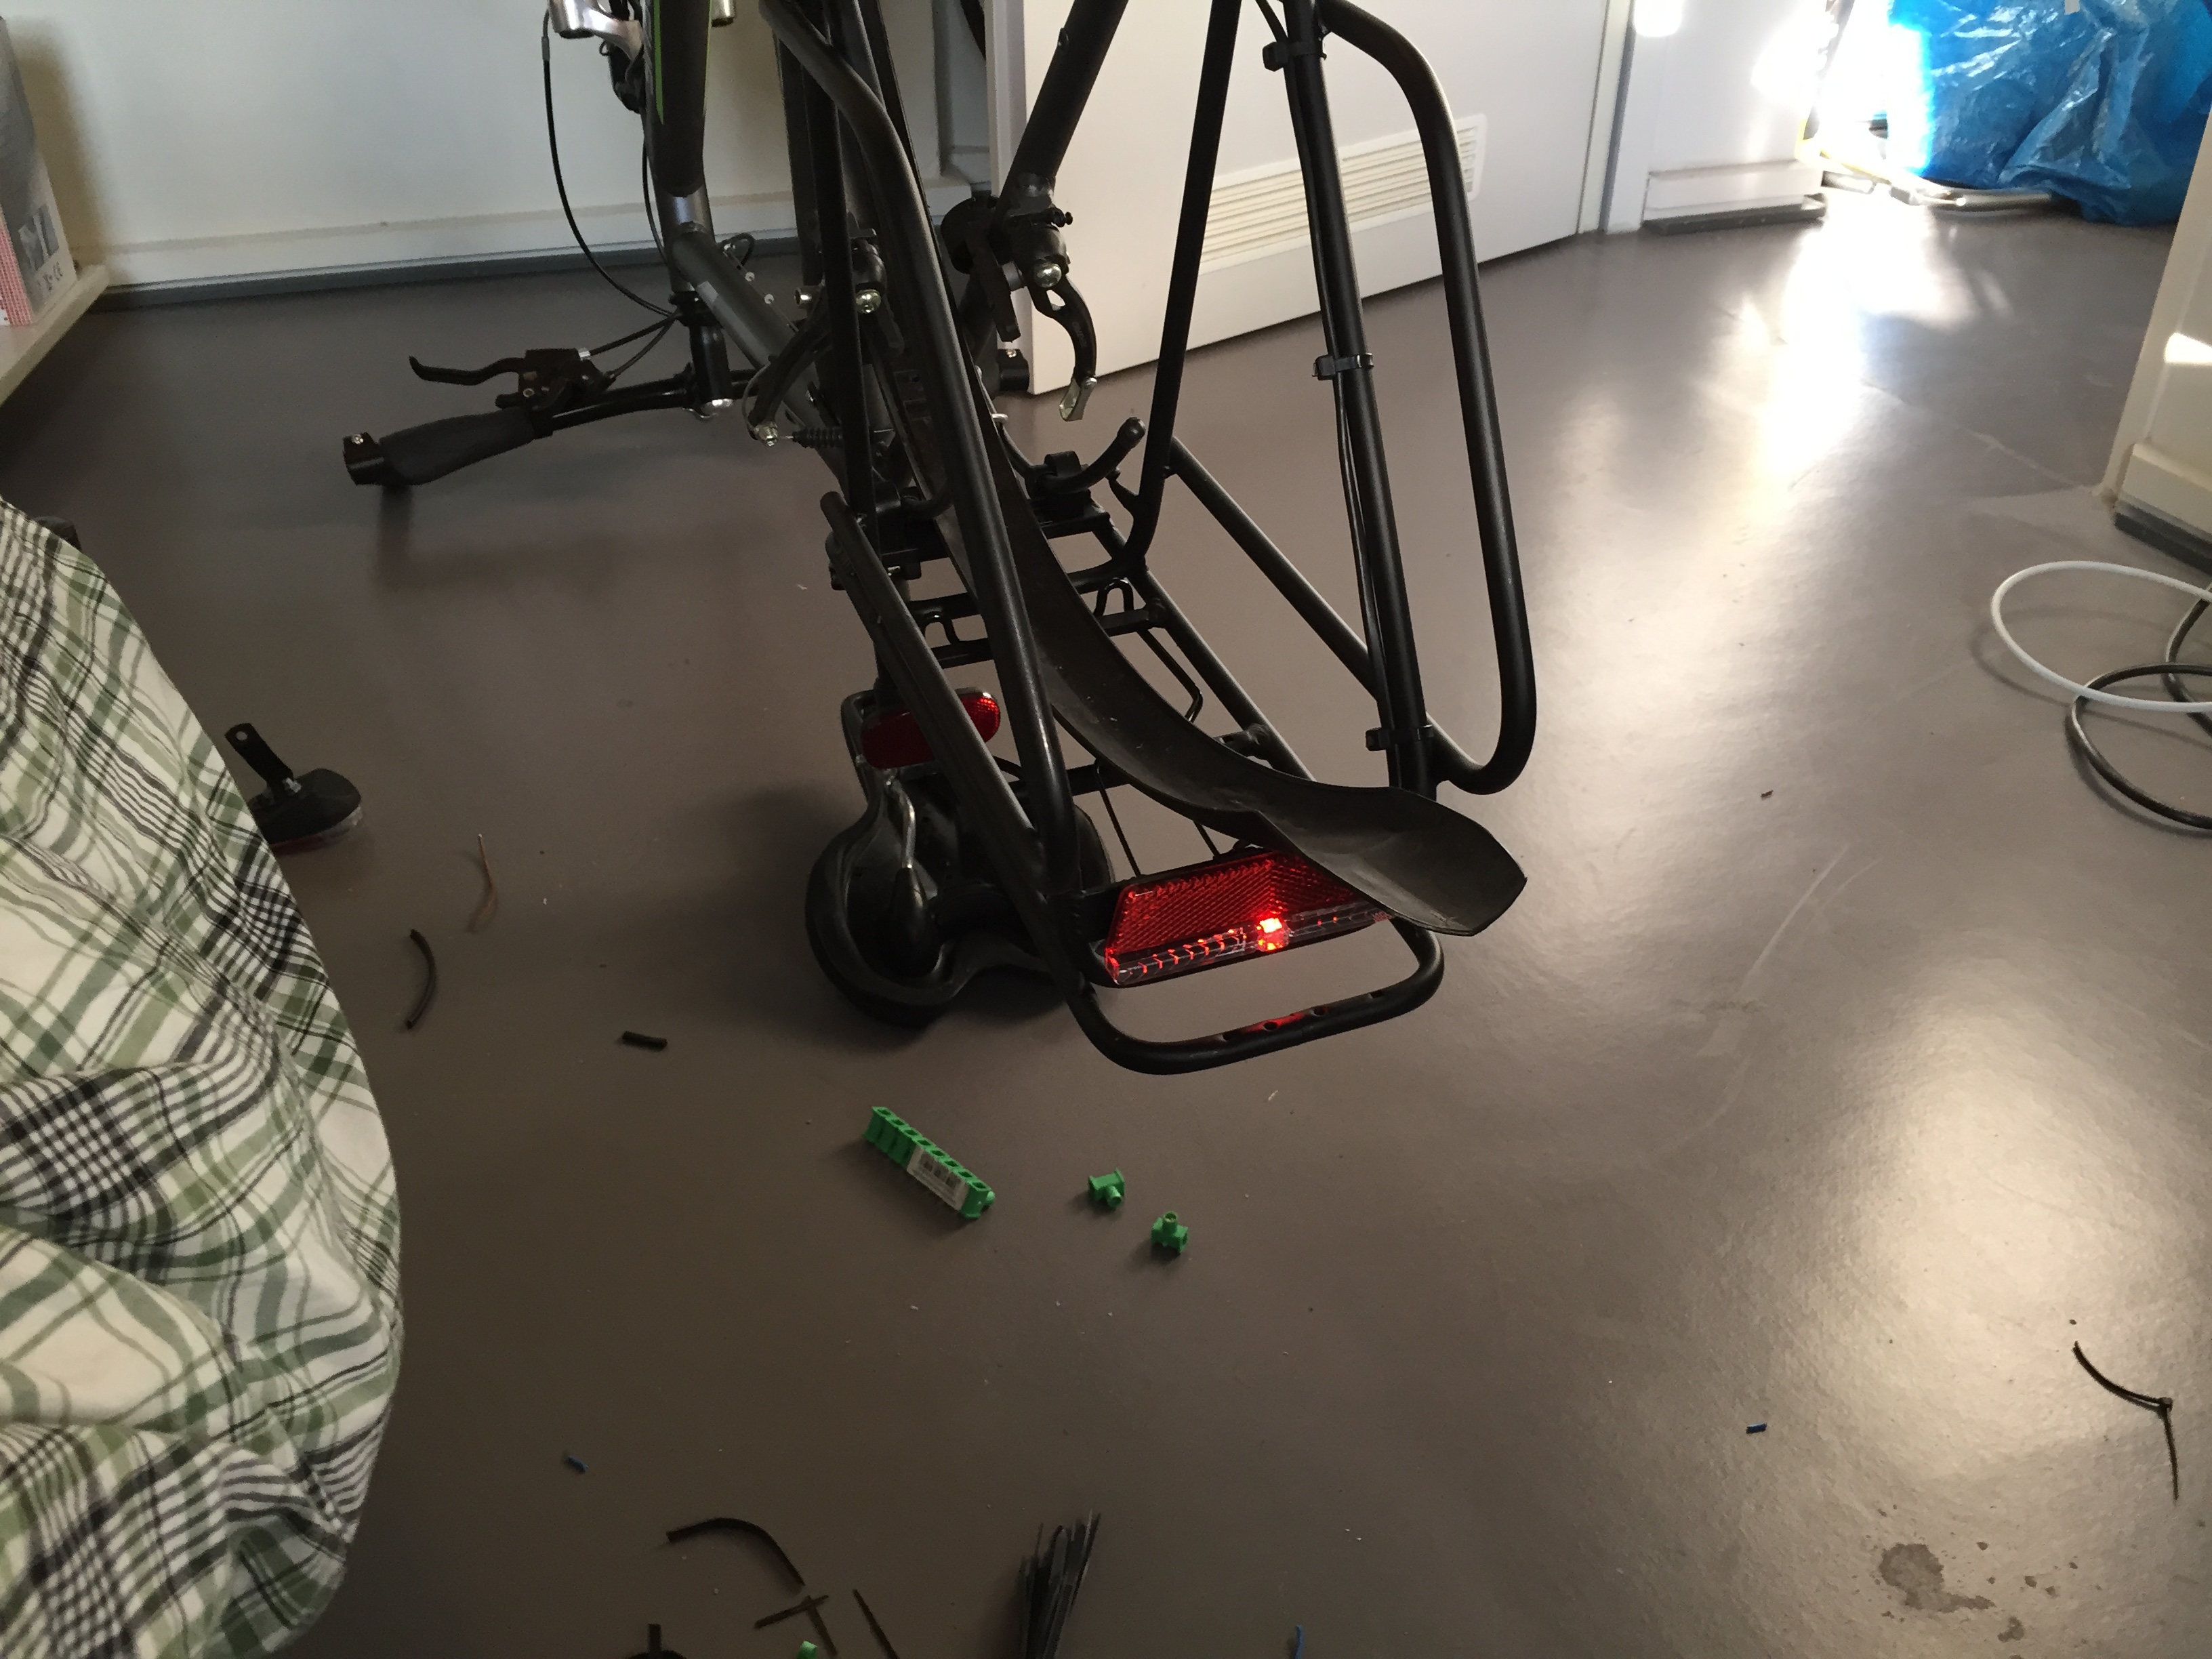
In the above picture, you can also see zip ties attaching the cabling to the pannier rack. This would normally make it impossible to remove the pannier rack, but because of our junction, it is now possible to do so without removing the zip ties.
The Finished Product
Here's a final photo of everything reinstalled and all the wiring securely zip tied. The install is completely stealthy and undetectable.

Here is a picture of the bicycle light outside in full daylight in standlicht mode (running on standby power when the dynamo is not charging the light; e.g. at a traffic light).
Conclusions & Further Developments
Overall I am very satisfied with the bicycle light and install. In total the cost was roughly 18 euros, the equivalent of purchasing the light and installing at the bicycle store would have been 22 euros. Because I installed it myself, I now have extra cabling, zip ties, junctions, and a bike that is easier to service.
In the future, I would like to improve upon the junction between the bicycle frame and pannier. Firstly, installing the junction to the bike via zip ties is not a secure solution and places undue strain on the connector. Secondly, it would vastly ease the connection/disconnection of the junction if used crimp type connectors in conjunction. Because the gauge of the wires is not large enough to easily make a secure connection; it takes significant effort to line up the wires/securing screw.
I hope you enjoyed this article, and thanks for reading!